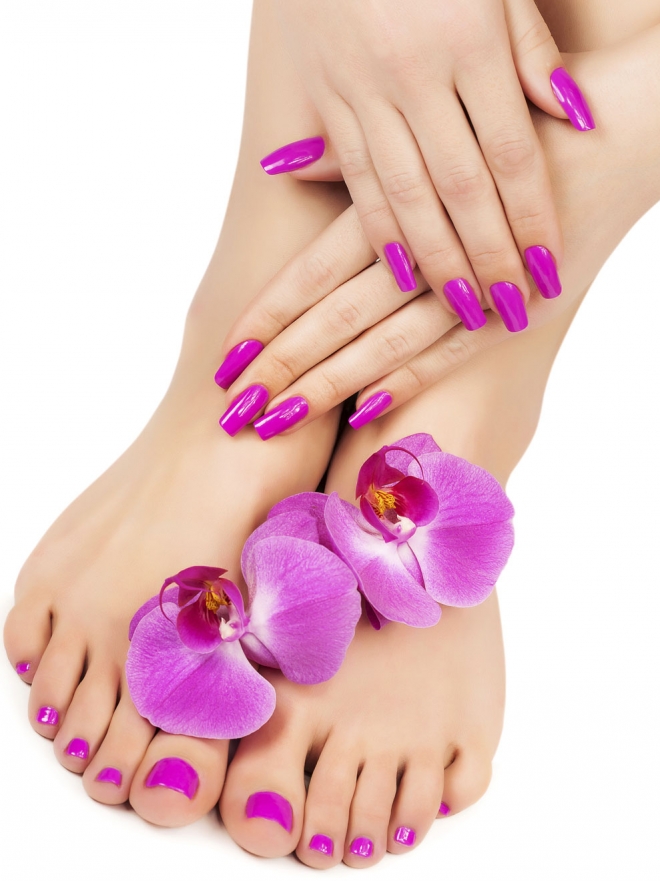
Nail art is not just for your fingers; decorated toenails can be a showstopper too! In this comprehensive guide, we’ll explore everything you need to know about uñas decoradas para los pies, from popular styles and techniques to tips for maintaining your decorated toenails. I’ll share my personal experiences and insights, ensuring that you feel empowered to try out stunning nail designs on your own feet.
Why Decorate Your Toenails?
Decorating your toenails is a fantastic way to express your personality and elevate your overall look. Whether you’re prepping for a beach day, a special occasion, or just want to feel fabulous on a regular day, decorated toenails can add flair to your style.
The Benefits of Toenail Art
- Self-Expression: Nail art allows you to showcase your unique style.
- Boosts Confidence: Well-groomed toenails can enhance your self-esteem.
- Fashion Statement: It’s a trendy way to complement your footwear.
Popular Styles of Uñas Decoradas para los Pies

Let’s dive into some of the most popular styles of nail art for your feet. Each of these styles can be adapted to suit your preferences and the occasion.
1. French Pedicure
The classic French pedicure never goes out of style. It features a nude or light pink base with white tips, offering a clean and elegant look.

Pros and Cons
| Pros | Cons |
|---|---|
| Timeless and elegant | Can be seen as too basic for some |
| Pairs well with any outfit | Requires regular touch-ups |
2. Floral Designs
Bright floral patterns can add a fun and cheerful vibe to your feet, perfect for summer or a tropical getaway.

Popular Floral Patterns
- Sunflowers
- Daisies
- Cherry Blossoms
3. Geometric Designs
Geometric patterns, such as triangles, stripes, and dots, can create a modern and chic appearance.

Color Combinations
Consider using contrasting colors to make the designs pop, such as black and gold or teal and white.
4. Glitter and Sparkles
For those who love a little bling, adding glitter or sparkles can make your toenails shine and stand out.

Best Glitter Colors
- Gold
- Silver
- Rose Gold
Techniques for Decorating Toenails

Now that you have an idea of the styles, let’s explore the techniques you can use to achieve beautiful nail art.
1. Nail Polish Application
The foundation of nail art starts with a good nail polish application. Ensure your nails are clean and apply a base coat before your color.
2. Use of Nail Stencils
Nail stencils can help create precise designs. These are especially useful for intricate patterns, such as floral or geometric shapes.
3. Dotting Tools
Dotting tools allow you to create perfect dots and patterns, which are essential for many designs.
4. Nail Art Brushes
Fine nail art brushes can help you achieve detailed designs and intricate lines.
Caring for Your Decorated Toenails
Maintaining your decorated toenails is crucial to ensure they look great for as long as possible. Here are some tips from my personal experience:
1. Regular Maintenance
Schedule regular pedicures to keep your toenails in shape and to touch up any chips or fading.
2. Moisturizing
Keep your feet and toenails moisturized to prevent dryness and cracks.
3. Avoiding Harsh Chemicals
When cleaning your feet, avoid harsh chemicals that can damage your nail polish or nail art.
DIY Nail Art: A Step-by-Step Guide
If you’re feeling adventurous, why not try creating your own nail art at home? Here’s a simple DIY guide:
Materials Needed
- Nail Polish (Base color and design colors)
- Nail Stencils
- Dotting Tools
- Nail Art Brushes
- Top Coat
Step-by-Step Instructions
- Start with clean, dry toenails and apply a base coat for protection.
- Apply your chosen base color and let it dry completely.
- Use stencils or dotting tools to create your desired design.
- Apply a top coat to seal in your design and enhance shine.
- Allow your toenails to dry fully before putting on socks or shoes.
Choosing the Right Nail Polish
The right nail polish can make all the difference in achieving that stunning look. Here are some factors to consider:
1. Finish
From glossy to matte finishes, choose what appeals to you the most.
2. Drying Time
Some polishes dry faster than others – this is important to consider if you’re short on time.
3. Longevity
Look for polishes that promise long-lasting wear, especially if you’re planning on a vacation.
FAQs About Uñas Decoradas para los Pies
1. How long do decorated toenails last?
Typically, well-done nail art can last anywhere from one week to several weeks, depending on your activities and maintenance.
2. Can I use regular nail polish for toenail art?
Yes! Regular nail polish works well, but nail art-specific polishes can provide better coverage and durability.
3. How do I remove decorated toenails safely?
Soak a cotton ball in nail polish remover and gently rub it over the nail until the polish is removed. Avoid harsh scrubbing.
4. What should I do if my toenail art starts chipping?
You can use a top coat to cover up chips, or touch up with a small brush and matching polish.
Conclusion: Embrace Your Creativity!
Decorating your toenails offers a unique way to express yourself and elevate your style. Whether you choose to go bold with geometric designs or keep it classic with a French pedicure, the options are endless. With proper care and a little creativity, your uñas decoradas para los pies will turn heads.
Are you ready to step into the world of nail art for your feet? Let’s get started!