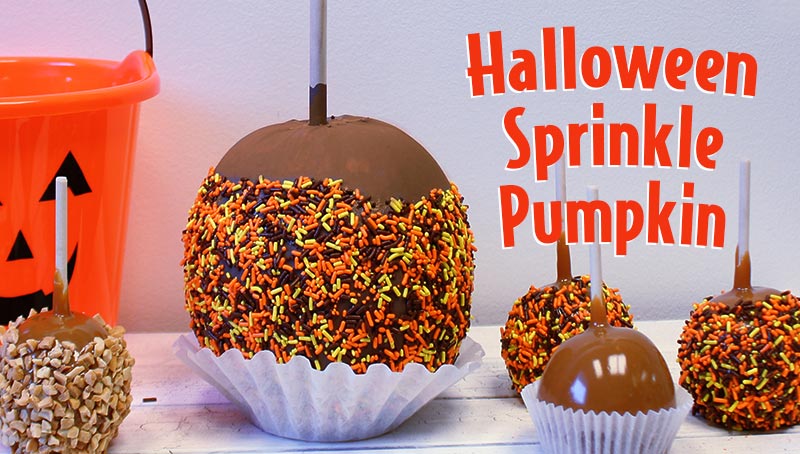
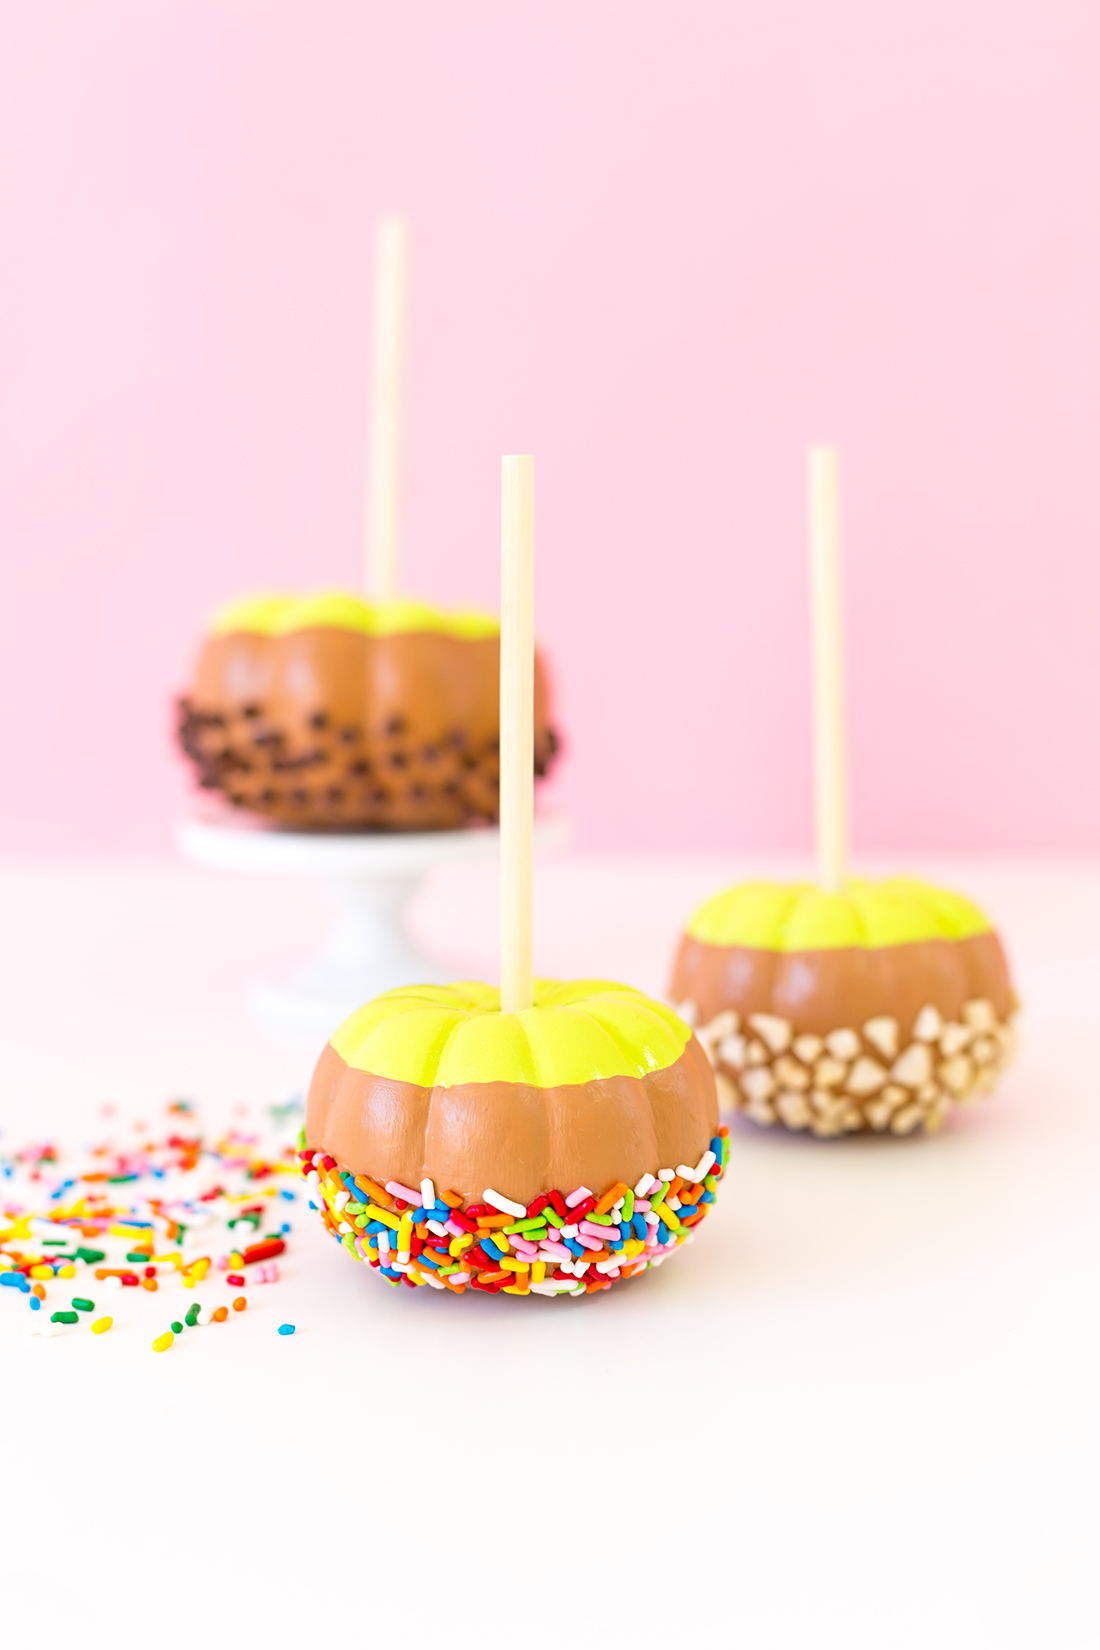
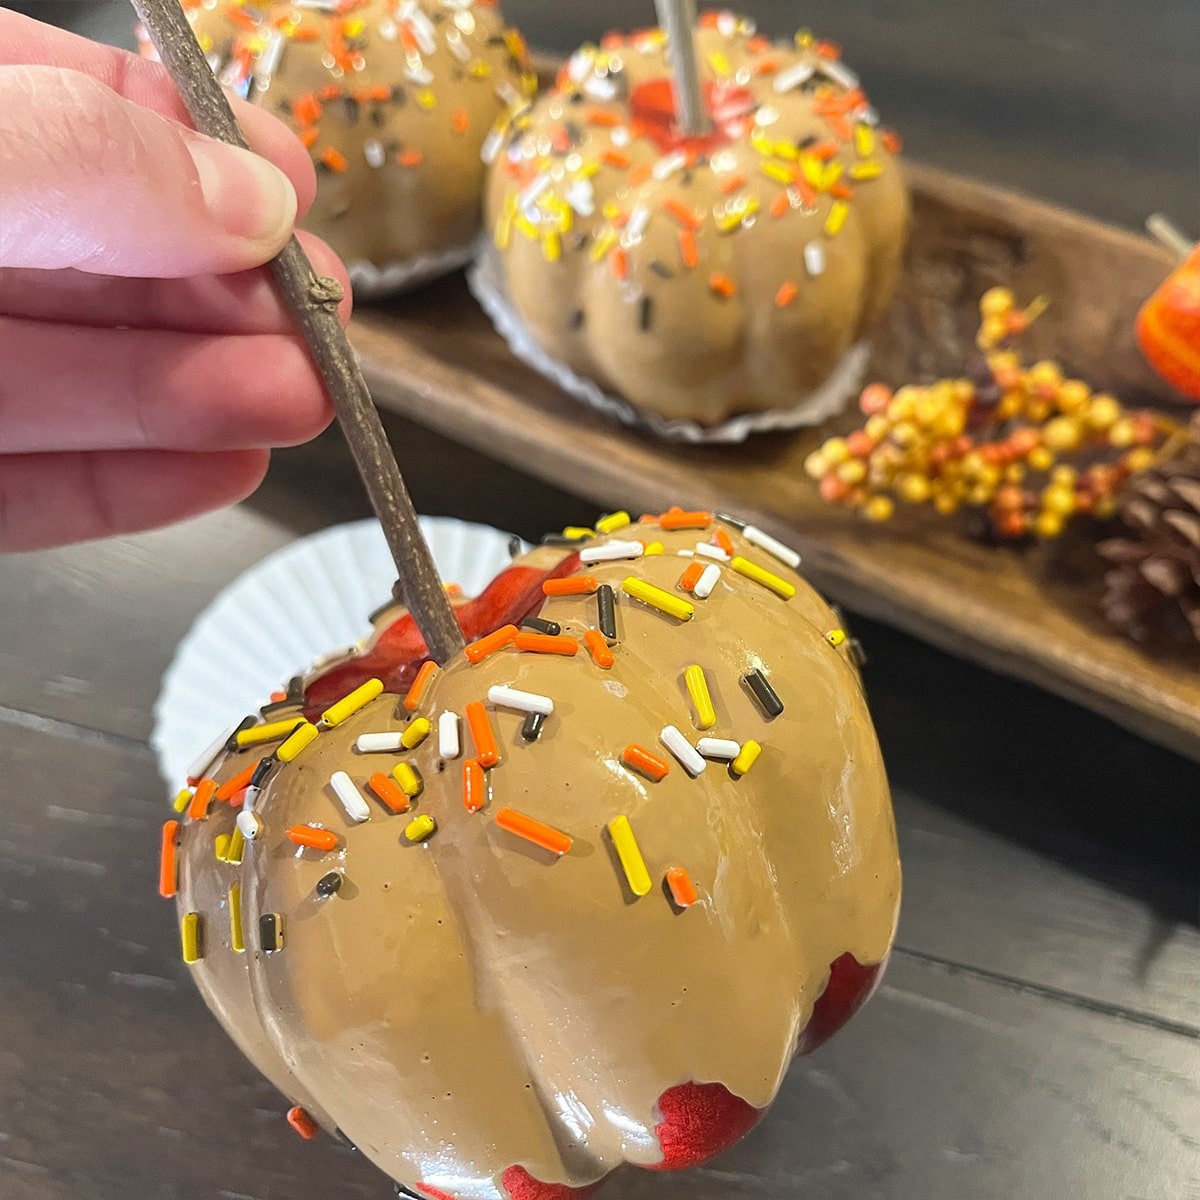
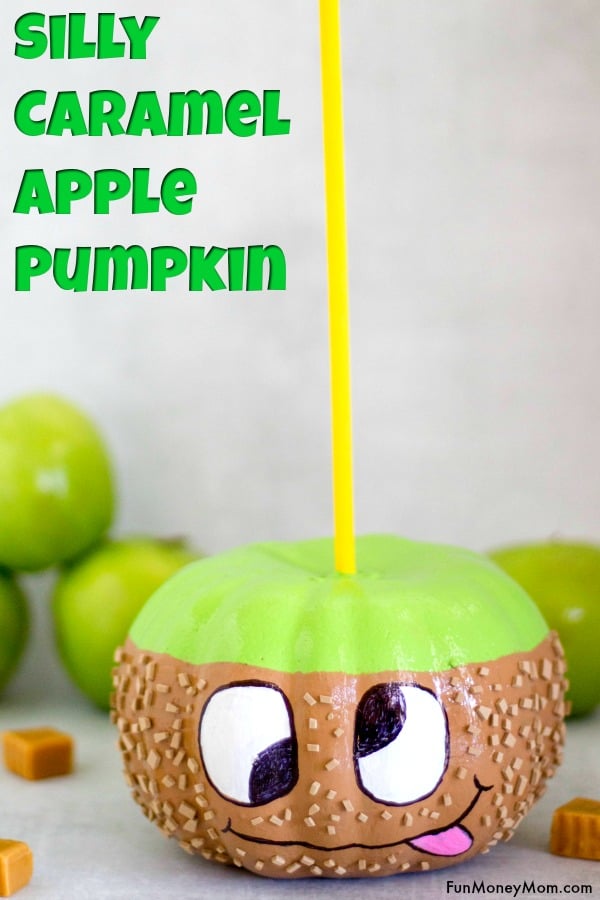
As the leaves turn and the air grows crisp, autumn brings with it a wonderful array of traditions and decorations. Among these, the caramel apple decorated pumpkin stands out as a fun and deliciously creative project. I still remember the first time I attempted this craft with my children—let me tell you, it was a delightful experience full of laughter and sticky fingers!
What is a Caramel Apple Decorated Pumpkin?
A caramel apple decorated pumpkin is essentially a pumpkin that has been transformed into a charming autumn decoration, often incorporating the flavors and aesthetics of caramel apples. Think vibrant pumpkins adorned with caramel drizzles, colorful sprinkles, and perhaps even a few faux apple slices on top. It’s a whimsical way to celebrate the season and enjoy some sweet treats at the same time!
Why Choose a Caramel Apple Theme?
The caramel apple theme is not only visually appealing but also incredibly nostalgic. It evokes memories of county fairs, Halloween, and cozy family gatherings. Plus, it has the added bonus of being a fun project that can engage all ages—from toddlers to grandparents.
Benefits of Caramel Apple Decorated Pumpkins
- Fun for all ages
- Encourages creativity
- Delicious scent of caramel
- Perfect for fall gatherings
Gathering Your Supplies
Before you embark on your caramel apple pumpkin journey, it’s essential to gather your supplies. Here’s what you’ll need:
Basic Supplies
- Small to medium-sized pumpkins
- Caramel sauce (store-bought or homemade)
- Chocolate drizzle (optional)
- Colored sprinkles
- Fake apple slices or small décor items
- Parchment paper
- Small paintbrushes (for better caramel application)
- Scissors and glue (if using faux items)
- Tablecloth or old newspapers (for easier cleanup)
Choosing the Right Pumpkin
When selecting your pumpkin, consider the following:
- Shape: Round pumpkins work best for a traditional look, but feel free to experiment with unique shapes!
- Size: Medium-sized pumpkins are easier to manage, especially for children.
- Surface: Ensure the surface is smooth for easier caramel application.
Creating Your Caramel Apple Decorated Pumpkin
Now that you have everything you need, let’s get started on crafting your very own caramel apple decorated pumpkin!

Step-by-Step Instructions
- Prepare Your Workspace: Lay down a tablecloth or newspapers to protect your working area.
- Wash the Pumpkin: Rinse your pumpkin under cold water to remove dirt and debris.
- Caramel Application: Melt your caramel sauce in a microwave or on the stovetop. Once melted, use a paintbrush to apply caramel onto the pumpkin’s surface. Allow it to drip for that authentic caramel apple look.
- Decorate: While the caramel is still warm, sprinkle with colored sprinkles or add fake apple slices for extra flair.
- Chocolate Drizzle (optional): If you want to take it to the next level, drizzle melted chocolate over the top.
- Drying Time: Place your decorated pumpkin on parchment paper and let it dry completely.
Tips for Best Results
- Work quickly after melting the caramel to ensure it adheres properly.
- Experiment with different color sprinkles.
- Consider adding a candy apple stick for that authentic look.

Personal Experience: My First Attempt
The first time I made a caramel apple pumpkin, it was a whirlwind of laughter and chaos. My kids were eager to help, and we ended up with caramel all over the table, our hands, and even a bit in our hair! Despite the mess, we created something beautiful. Watching my children’s eyes light up as they saw our creation was worth every sticky moment!
Displaying Your Caramel Apple Pumpkin
Once your masterpiece is complete, you’ll want to show it off! Here are a few ideas for display:
Indoor Display Ideas
- On a mantelpiece
- As a centerpiece on your dining table
- In a cozy corner of your living room

Outdoor Display Ideas
- As part of a fall-themed porch display
- Amongst other fall decorations like hay bales and corn stalks
Pros and Cons of Caramel Apple Decorated Pumpkins
Pros
- Unique decoration
- Fun for all ages
- Creates lasting memories
.jpg)
Cons
- Can be messy
- May attract pests if displayed outdoors
- Short shelf life as it may spoil quicker than regular pumpkins
Comparing Other Pumpkin Decorating Ideas
| Decorating Idea | Materials Needed | Difficulty Level | Family-Friendly |
|---|---|---|---|
| Caramel Apple Decorated Pumpkin | Caramel, sprinkles, faux apples | Medium | Yes |
| Traditional Pumpkin Carving | Knife, carving tools | High | No (requires supervision) |
| Painted Pumpkins | Paint, brushes | Low | Yes |
| Decoupage Pumpkins | Paper, glue | Medium | Yes |

Frequently Asked Questions (FAQs)
How long will my caramel apple pumpkin last?
Due to the use of caramel, your decorated pumpkin may last about 1-2 weeks. Store it in a cool, dry place to extend its life.
Can I eat the caramel from the pumpkin?
While the caramel itself is edible, it’s best to enjoy it shortly after application as the pumpkin may spoil.

What other decorations can I add to my pumpkin?
You can add edible glitter, candy corn, or themed stickers to enhance your pumpkin’s appearance!
Is this a safe project for young children?
Yes, it’s a great family project! However, parents should handle melting the caramel to ensure safety.

Conclusion: Embrace the Fall with Caramel Apple Decorated Pumpkins
Create delightful memories and delicious decor this autumn with caramel apple decorated pumpkins. It’s a simple yet fun craft that can be enjoyed as a family, bringing everyone together for a sticky and sweet time. I encourage you to try it out and add your personal touch, ensuring that your pumpkins are not just visually delightful but also evoke the warmth of the season.