Russian egg decorating, particularly associated with the Easter celebration, has a rich history and a deeply rooted cultural significance. This article delves into the intricate world of Russian eggs, covering everything from techniques and materials to personal anecdotes. Whether you’re a seasoned artist or a curious beginner, this comprehensive guide aims to foster your understanding and appreciation of this beautiful art form.
What Are Russian Eggs?
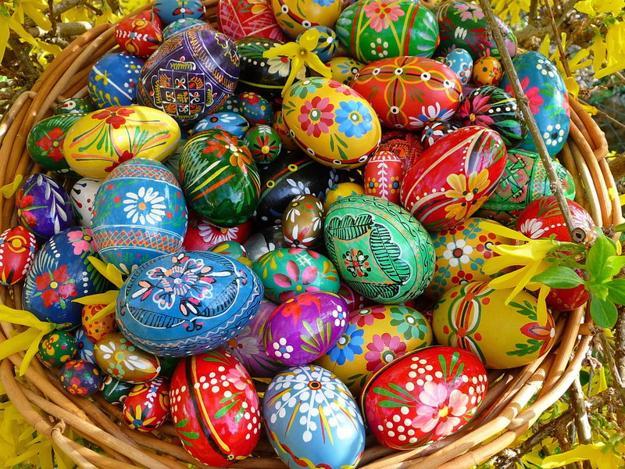
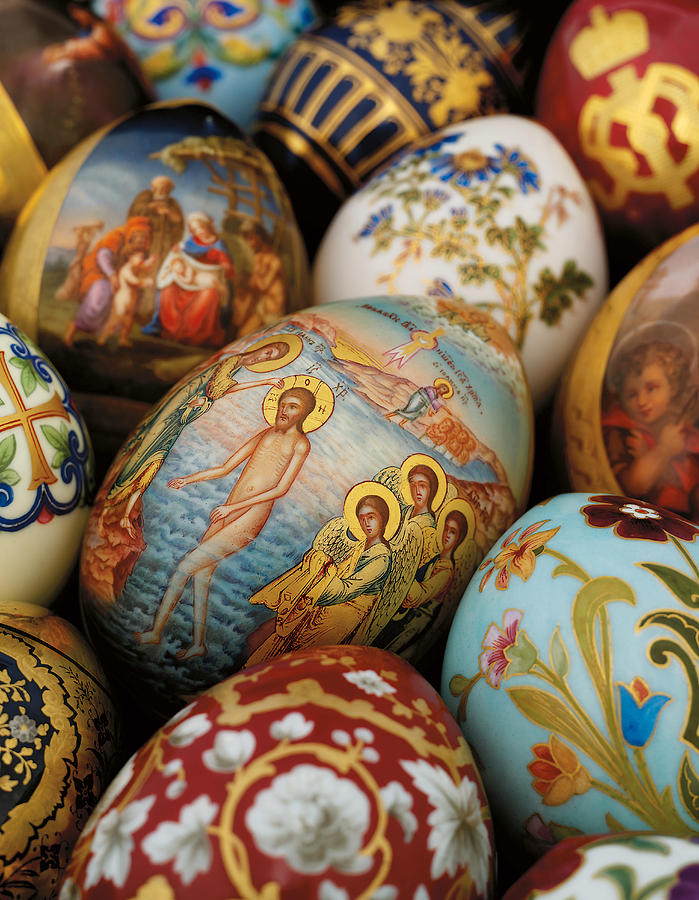
Russian eggs are typically decorated eggs, most famously known through the intricate designs of Fabergé eggs. These eggs symbolize spring, rebirth, and new beginnings—a suitable theme for the Easter holiday. Decorated eggs are more than mere aesthetics; they possess cultural significance and elaborate craftsmanship.
The Historical Background of Russian Egg Decoration
The tradition of decorating eggs has origins that stretch back thousands of years. In Russia, egg decoration became prominent in the 18th century, with different regions developing their unique styles.
The Emergence of Fabergé Eggs
One cannot discuss Russian decorated eggs without mentioning Fabergé eggs. Crafted by jeweler Peter Carl Fabergé for the Russian Tsars, these eggs are exquisite examples of craftsmanship and artistry. The first Fabergé egg was made for Tsar Alexander III as an Easter gift for his wife, and it set the stage for a series of luxurious treasures.
The Cultural Significance of Egg Decoration
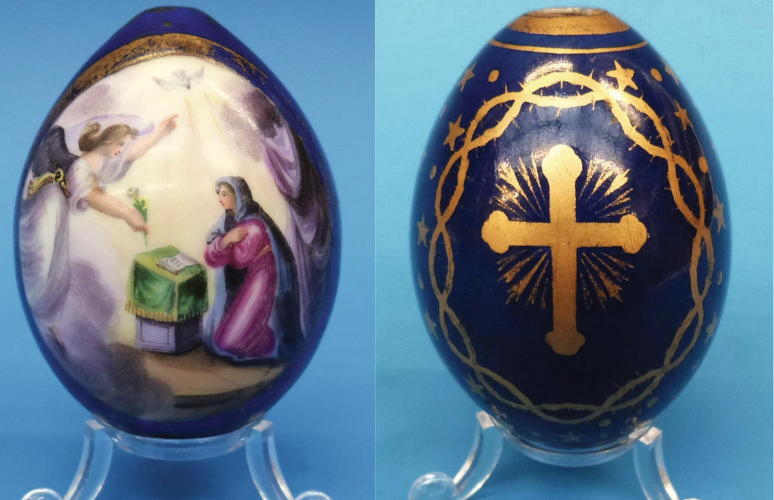
In Christian tradition, eggs represent the resurrection of Jesus Christ. The symbolism carried through generations, making decorated eggs a cherished practice during Easter celebrations across Russia and beyond.
Techniques for Decorating Russian Eggs
Decorating eggs can be a fun and engaging activity. There are several techniques that enthusiasts can use to create stunning designs.
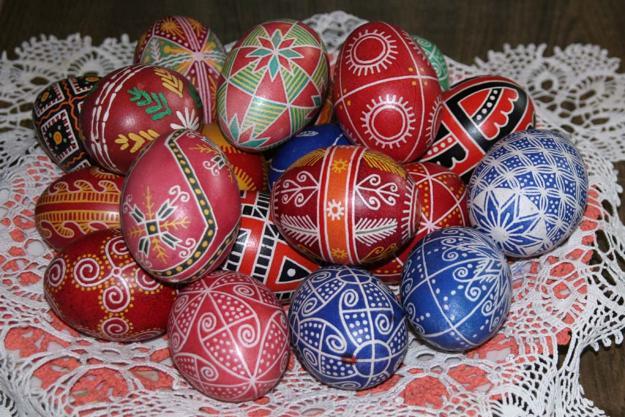
1. Pysanka Technique
The Pysanka technique involves using wax resist to create intricate patterns. This method can be traced back to Ukrainian traditions and has been adopted in Russia as well.
Materials Needed:
- Raw eggs (preferably white)
- Beeswax
- Pysanky tool (kistka)
- Dyes (natural or synthetic)
- Vinegar and water solution
Steps to Follow:
- Prepare the egg by cleaning it with vinegar and water.
- Draw your design lightly with a pencil.
- Use the kistka to apply wax over your design.
- Dip the egg in the first dye color, then let it dry.
- Repeat the waxing and dyeing process with different colors, removing the wax at the end with heat.
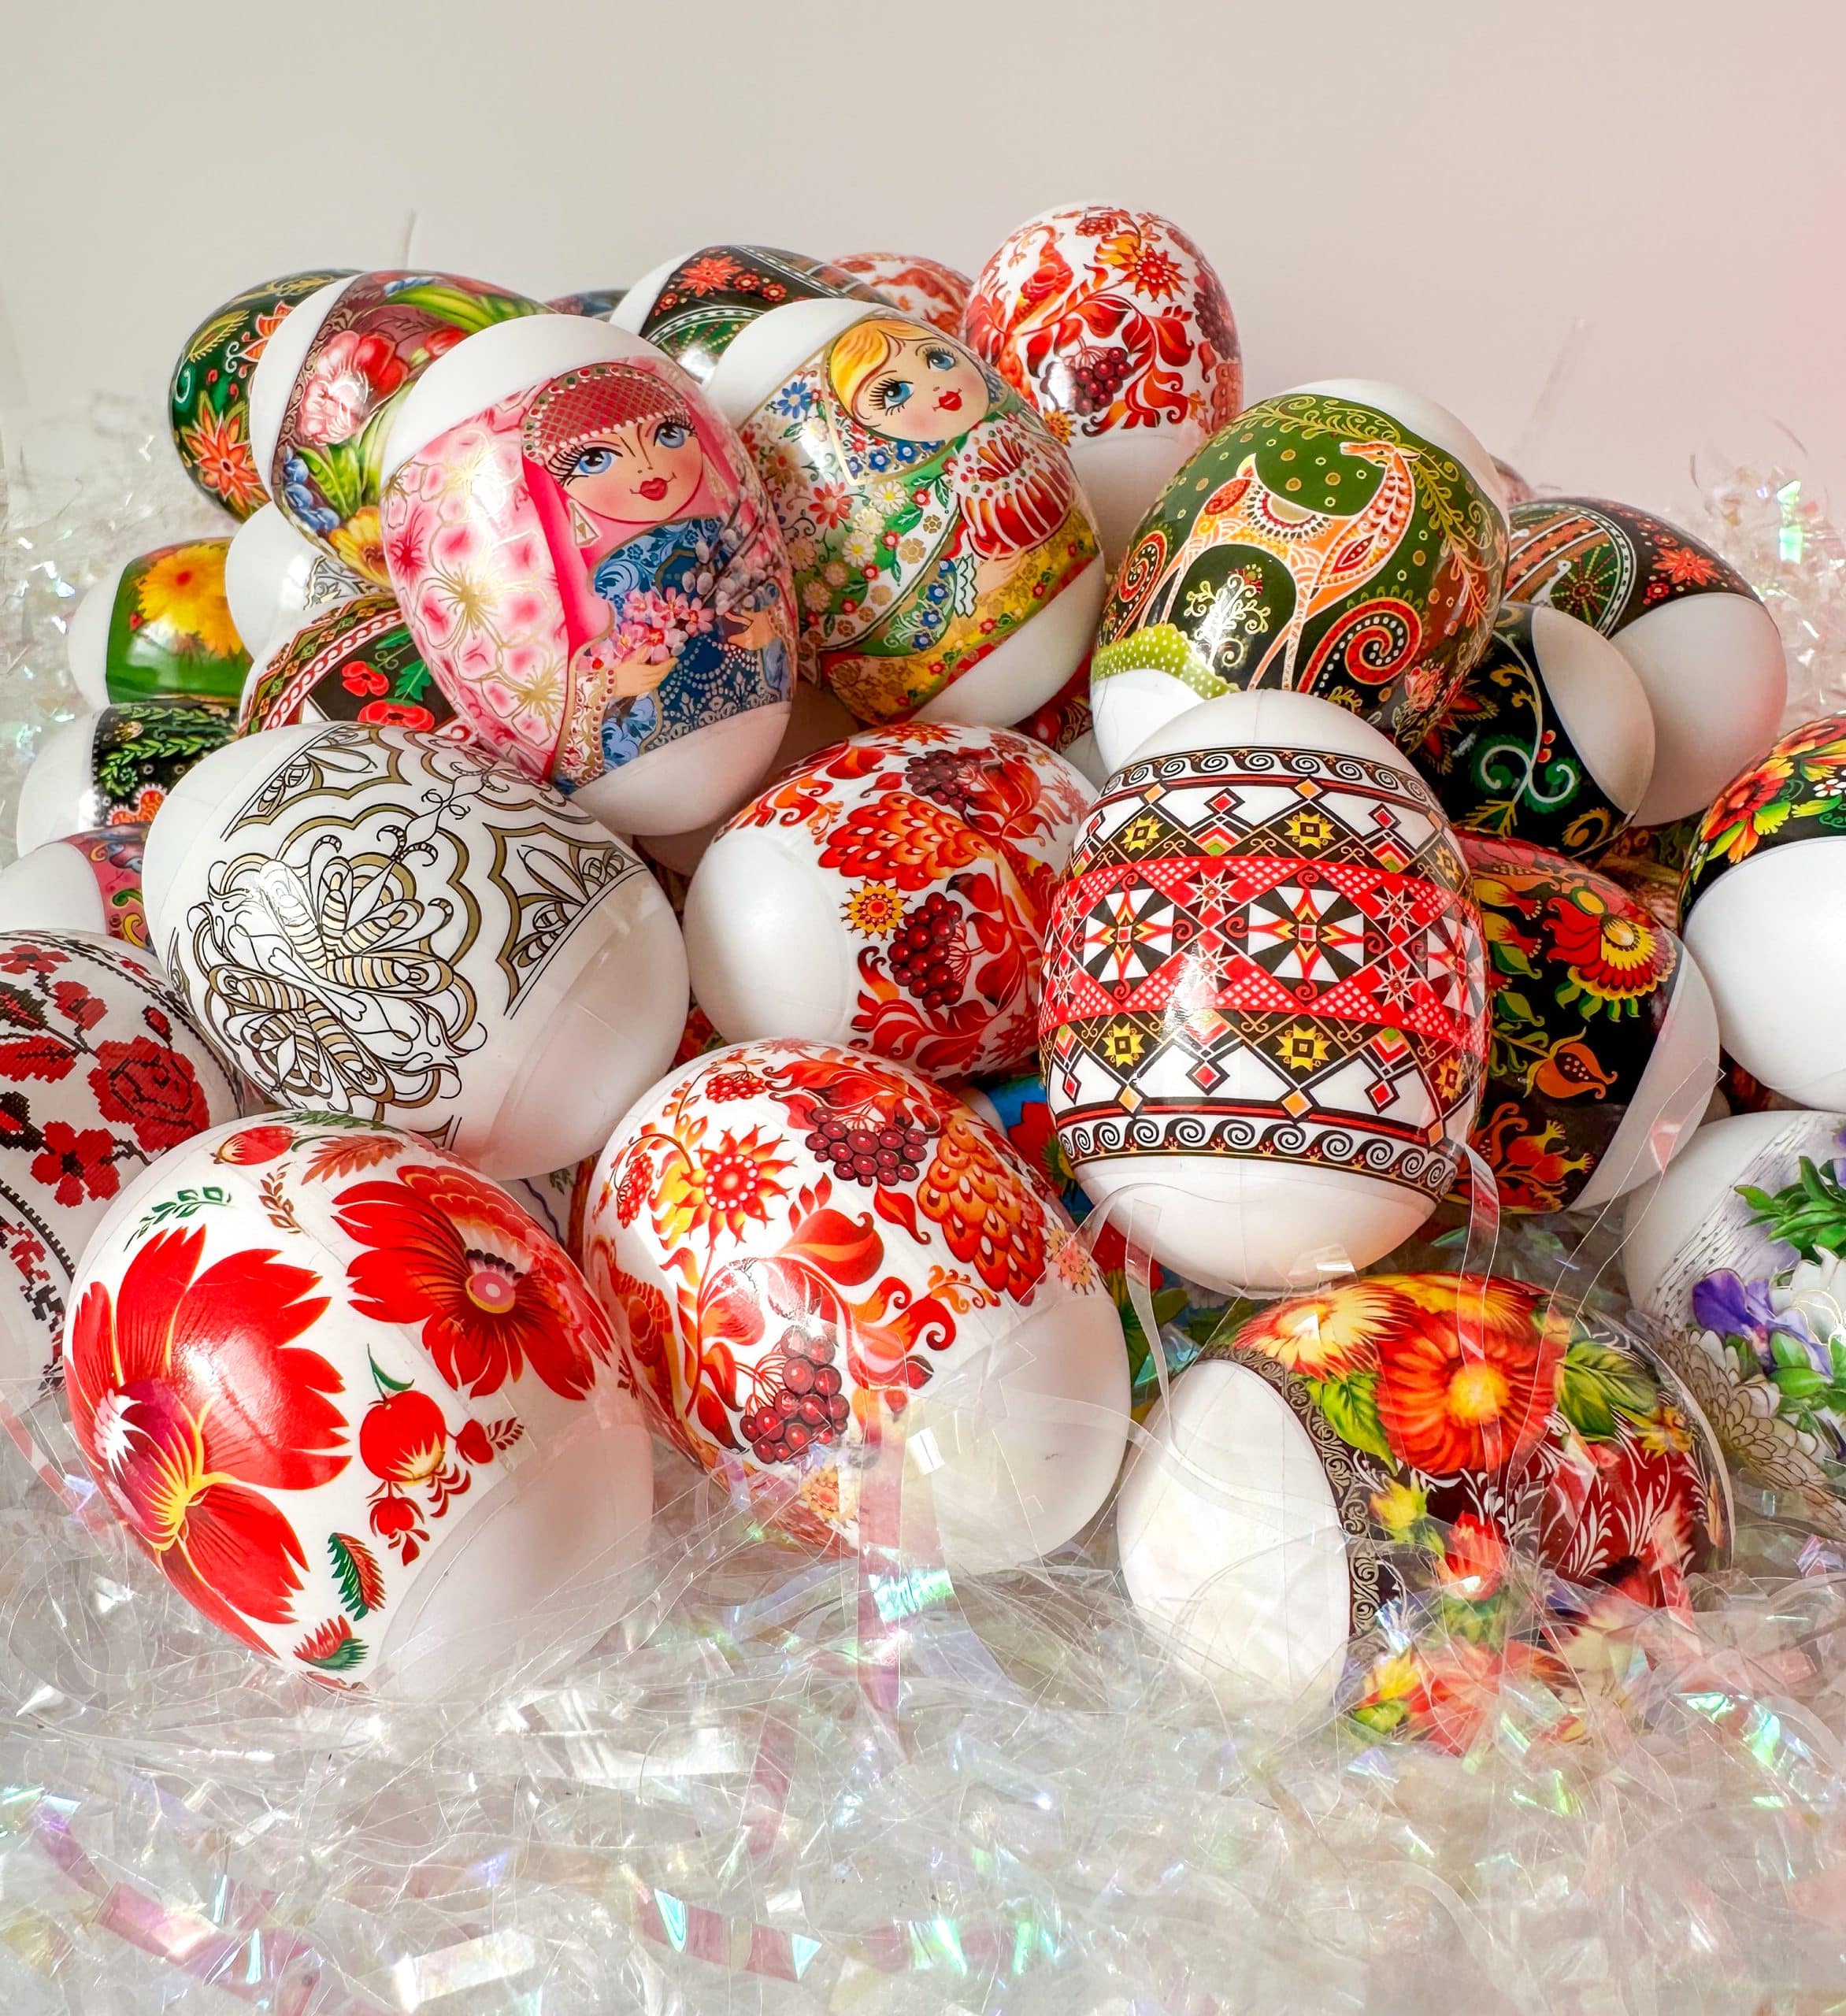
2. Decoupage Technique
Decoupage is another popular method where images or patterns are cut from paper and glued onto the eggs.
Materials Needed:
- Hard-boiled eggs
- Decoupage medium or glue
- Scissors
- Paintbrush
- Sealant (optional)
Steps to Follow:
- Choose and cut out images from paper.
- Apply decoupage medium to the egg surface.
- Carefully place the paper onto the egg, smoothing out wrinkles.
- Apply additional decoupage medium over the top of the paper once it’s dry.
- Seal the design with a clear coat, if desired.
3. Hand Painting
For those with a knack for painting, hand painting can create unique and personalized designs.
Materials Needed:
- Eggs (raw or hard-boiled)
- Acrylic or watercolor paints
- Fine brushes
- Palette
- Sealant (if using acrylic paints)
Steps to Follow:
- Prepare your workspace and gather your materials.
- Sketch your design lightly onto the egg.
- Begin painting with your chosen colors, allowing layers to dry between applications.
- Finish with a sealant to protect your artwork.
Choosing the Right Materials
When it comes to decorating Russian eggs, the materials you choose can significantly impact the final result. Here’s a comparative table to help you decide.
| Material | Pros | Cons |
|---|---|---|
| Raw Eggs | Traditional, natural form for decoration | Fragile and can break easily |
| Hard-Boiled Eggs | More durable, easier for kids | Less traditional, can spoil |
| Wooden Eggs | Durable, reusable | Less authentic feel |
| Plastic Eggs | Lightweight, very durable | Plastic look may not be appealing |

Personal Experience with Russian Egg Decorating
As someone who has engaged in the delightful tradition of decorating Russian eggs with family, I can attest to the joy it brings. The smell of vinegar, the buzzing excitement of selecting colors, and the stories shared while applying wax or paint make it a memorable experience. It’s a time for bonding, creativity, and learning about the significance of the craft.
Pros and Cons of Decorating Russian Eggs
Pros:
- Encourages creativity and artistic expression.
- Fosters community and family bonding during the decorating process.
- Teaches cultural appreciation and historical significance.
- Can be a relaxing and meditative activity.

Cons:
- Can be time-consuming, especially for intricate designs.
- The process may require specialized materials and tools.
- Not all methods are beginner-friendly; some require practice.
Displaying Your Decorated Eggs
Once your eggs are beautifully decorated, the next step is to showcase your handiwork. Here are some creative ways to display your Russian eggs:
Using Egg Stands
Decorative egg stands can elevate your designs and make them the centerpiece of your table.
Creating a Display Bowl
A bowl filled with decorative eggs can create an eye-catching arrangement. Mix various styles for a unique display.
Using a Glass Dome
Placing decorated eggs under a glass dome not only protects them but also adds a touch of elegance to your decor.
Frequently Asked Questions
What are the best dyes for decorating Russian eggs?
Natural dyes made from plants (like beets for red, turmeric for yellow) or commercial egg dyes specifically formulated for egg decorating are recommended for vibrant results.
How do you remove wax from decorated eggs?
Using a heat source like a candle, gently melt the wax off and use a soft cloth to wipe it away. Be careful to avoid cracking the egg.
Can I decorate eggs for other occasions besides Easter?
Absolutely! Decorated eggs can be used for various occasions, including birthdays, weddings, and cultural festivals—just let your creativity shine!
Is it safe to eat decorated eggs?
If using raw eggs, be cautious as they spoil (especially if the shell is punctured). Hard-boiled eggs can be eaten only if they haven’t been left out for too long after decorating.
Conclusion
Decorating Russian eggs is more than just a craft; it’s a journey into a rich tradition that spans generations. With various techniques, materials, and endless design possibilities, anyone can participate in this beautiful art form. Whether you choose to display your creations or give them as gifts, Russian eggs decorated with love and care are sure to be cherished treasures.
So, gather your materials, invite some friends or family, and embark on this colorful adventure. You might just find that decorating Russian eggs becomes a beloved tradition in your own home! Happy decorating!