When it comes to enhancing the aesthetic appeal of your home, decorative trim can make all the difference. Whether you’re installing crown molding, baseboards, or wainscoting, choosing the right nails is essential for both functionality and aesthetics. In this guide, we will explore the best nails for decorative trim based on personal experience, industry standards, and expert opinions.
Understanding Decorative Trim
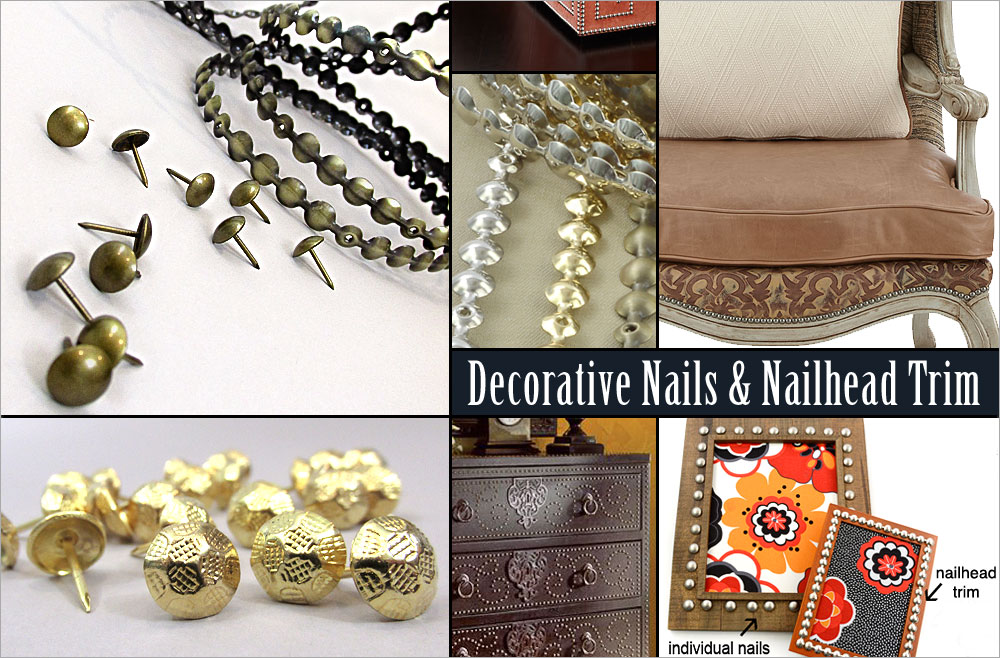
Decorative trim refers to the finishing elements that enhance the beauty of a room. This includes items like:
- Crown Molding
- Baseboards
- Chair Rails
- Wainscoting
- Door and Window Casings
Selecting the right nails for these applications is crucial to achieving a seamless and professional look. Let’s explore the different nail types available for decorative trim projects.
Types of Nails for Decorative Trim
Not all nails are created equal, especially when it comes to trim work. Here are the most common types used for decorative trim:
1. Finishing Nails
Finishing nails are the go-to choice for most decorative trim applications. With a small head and slender body, they can be driven into the wood and hidden easily, providing a clean finish.

Pros:
- Minimal visibility after installation.
- Less chance of splitting the wood.
- Available in various lengths and gauges.
Cons:
- May require a nail set for a perfect finish.
- Not ideal for heavier trims.
2. Brad Nails
Brad nails are another popular choice, especially for lighter trim. They are slightly thicker than finishing nails but still provide a low-profile look.
Pros:
- Good for lighter trim projects.
- Less prone to bending compared to thinner nails.
Cons:
- Not suitable for thick or heavy moldings.
3. Pneumatic Nails
Pneumatic tools are often used in professional settings for speed and efficiency. Pneumatic nails come in various sizes and types tailored for different trim applications.

Pros:
- Quick installation.
- Consistent depth and pressure.
Cons:
- Can be more costly due to equipment requirements.

4. Finishing Screws
While not necessarily a nail, screws can also be used for decorative trim, especially in situations where durability is paramount.
Pros:
- Stronger hold than nails.
- Easier to remove if necessary.
Cons:
- More visible than nails.
Choosing the Right Nail Size
Nail size is critical when you’re installing decorative trim. Here’s a quick guide to help you select the proper nail size:
| Trim Type | Recommended Nail Size | Common Materials |
|---|---|---|
| Crown Molding | 1.5″ – 2″ | Pine, MDF |
| Baseboards | 2″ – 2.5″ | Pine, Oak |
| Wainscoting | 1.25″ – 1.75″ | Pine, MDF |
| Chair Rail | 1.25″ – 1.5″ | Pine, MDF |
Best Nails for Decorative Trim: Recommendations
Based on my personal experiences and extensive research, here are some of the best nails for decorative trim you should consider:
Top Finishing Nails
- Porter-Cable 18 Ga. 1-1/4-Inch Brad Nails: Excellent for various trim applications.
- Hitachi 18-Gauge Brad Nails: Affordable and perform well with pneumatic tools.
Top Pneumatic Nails
- Bostitch 18-Gauge Brad Nailer: An excellent option for quick installations with consistent results.
- Dewalt DCN680D1 20V Max Li-Ion Brushless Cordless: Great for heavy-duty decorative trim.
Top Finishing Screws
- Kreg 1-1/4″ Fine Thread: Fantastic for securing heavy trim pieces without the fear of splitting.
- GRK Fasteners 1-1/4″ Coarse Thread: Ideal for thicker materials and a solid hold.
Installation Tips for Decorative Trim
Now that you know the best nails to use, let’s delve into some installation tips to ensure you achieve a professional finish:
1. Mark Your Studs
Before you start nailing, use a stud finder to locate and mark the wall studs. This will give your trim extra stability and prevent it from coming loose over time.
2. Pre-drill Holes
If you’re using finishing screws, it’s essential to pre-drill holes. This will prevent the wood from splitting and ensure a cleaner finish.
3. Use a Nail Set
When using finishing nails, be sure to use a nail set to countersink the nail heads. This allows for a smooth finish when painting or staining.
Common Mistakes When Installing Decorative Trim
Even seasoned DIY enthusiasts can make errors while installing trim. Here are some common pitfalls to avoid:
1. Incorrect Nail Size
Using nails that are too short may not provide adequate hold, while nails that are too long can split the wood.
2. Rushing the Process
Take your time to measure and cut accurately. Rushing can lead to mistakes that require additional effort to fix.
3. Neglecting to Use Clamps
Clamps can help hold your trim in place while you nail, ensuring a precise fit and reducing the chance of errors.
FAQs About Nails for Decorative Trim
What type of nail is best for baseboards?
Finishing nails are typically the best choice for baseboards due to their ability to be hidden and their strong hold.
Can I use brad nails for heavy trim?
While brad nails can work for lighter trim, it’s advisable to use finishing nails or screws for heavier pieces to ensure durability.
How do I prevent splitting when nailing trim?
To prevent splitting, use a nail set to countersink the nails, and consider pre-drilling holes if you’re using screws.
What’s the best way to hide nail holes?
Using wood filler or caulk can effectively hide nail holes, making the trim look seamless once painted.
Conclusion
Choosing the right nails for decorative trim is essential for achieving a professional look and ensuring the longevity of your project. By selecting the correct type and size of nails, and following proper installation techniques, you can transform any room with beautiful trim work. Remember, it’s not just about the nails; it’s about the finishing touches that create a welcoming and elegant home.
Thank you for joining me in this comprehensive exploration of nails for decorative trim! If you have any questions or personal experiences to share, feel free to leave a comment below.