Every year, as the vibrant hues of fall approach, many of us look forward to celebrating the Day of the Dead (Día de los Muertos). One of the most delightful traditions associated with this celebration is the decorating of sugar skulls. A sugar skull decorating kit can transform your creative impulses into colorful, edible art. With personal experience in using these kits, let’s dive deep into everything you need to know about sugar skull decorating kits, including their components, benefits, and tips for creating stunning designs.
What is a Sugar Skull Decorating Kit?
A sugar skull decorating kit typically contains all the essential supplies you need to create beautiful, decorative skulls made from sugar. These kits can vary in complexity and price, catering to both beginners and experienced decorators.
Components of a Sugar Skull Decorating Kit
- Sugar Skull Molds: Essential for shaping your sugar mixture into skulls.
- Edible Decorations: Includes icing, food coloring, and edible glitter.
- Decorating Tools: Piping bags, tips, and spatulas for detailed work.
- Instructions: A guide to help you through the decorating process.
Why Use a Sugar Skull Decorating Kit?
Using a sugar skull decorating kit not only simplifies the process but also ensures you have all the necessary materials at your fingertips. Here are some of the benefits:

- Convenience: Everything you need is included.
- Creativity: Encourages artistic expression through decoration.
- Family Fun: A great activity for children and adults alike.
- Tradition: Engages you in cultural practices through art.
How to Choose the Right Sugar Skull Decorating Kit

With so many options available, selecting the right sugar skull decorating kit can be overwhelming. Here’s a quick guide to help you make the best choice.
Factors to Consider

1. Skill Level
Are you a beginner or an experienced decorator? Choose a kit that matches your skill level to ensure a fun experience without frustration.
2. Kit Contents
Review the included items. Does it come with molds, icing, and other essential tools? More comprehensive kits may provide better value.

3. Quality of Materials
Look for kits that use high-quality sugar and food-safe materials. This ensures safety and enhances the final look of your skulls.
4. Price
Determine your budget. Kits can range from affordable to premium options. Compare what’s included in each price range.

Comparison Table of Popular Sugar Skull Decorating Kits
| Product Name | Skill Level | Includes | Price Range | Customer Rating |
|---|---|---|---|---|
| Basic Sugar Skull Kit | Beginner | Molds, Sugar, Icing | $15 – $20 | 4.5/5 |
| Deluxe Skull Decorating Set | Intermediate | Molds, Edible Glitter, Multiple Icing Colors | $25 – $35 | 4.7/5 |
| Ultimate Sugar Skull Art Kit | Advanced | Molds, Tools, Icing, Decorations | $40 – $50 | 4.9/5 |
Step-by-Step Guide to Decorating Your Sugar Skulls
Once you’ve chosen your kit, it’s time to unleash your creativity. Here is a step-by-step guide based on my personal experience.
Step 1: Prepare the Sugar Skull Mixture
Follow the instructions provided in your kit to prepare the sugar mixture. Typically, you will combine sugar with meringue powder and a splash of water until it has a thick consistency.
Step 2: Mold the Sugar Skulls
Press the mixture into the molds firmly. Allow the skulls to dry for several hours or overnight, depending on the kit’s instructions.
Step 3: Begin Decorating
Once the skulls are dry, start decorating! Use the icing and edible decorations to add your personal touch. I often suggest planning your design before starting to ensure it flows well.
Step 4: Finish and Display
Allow your designs to dry thoroughly. Once completed, these sugar skulls make fantastic decorations for your Day of the Dead celebrations.
Tips for Stunning Sugar Skull Designs
To elevate your sugar skull creations, consider these tips:
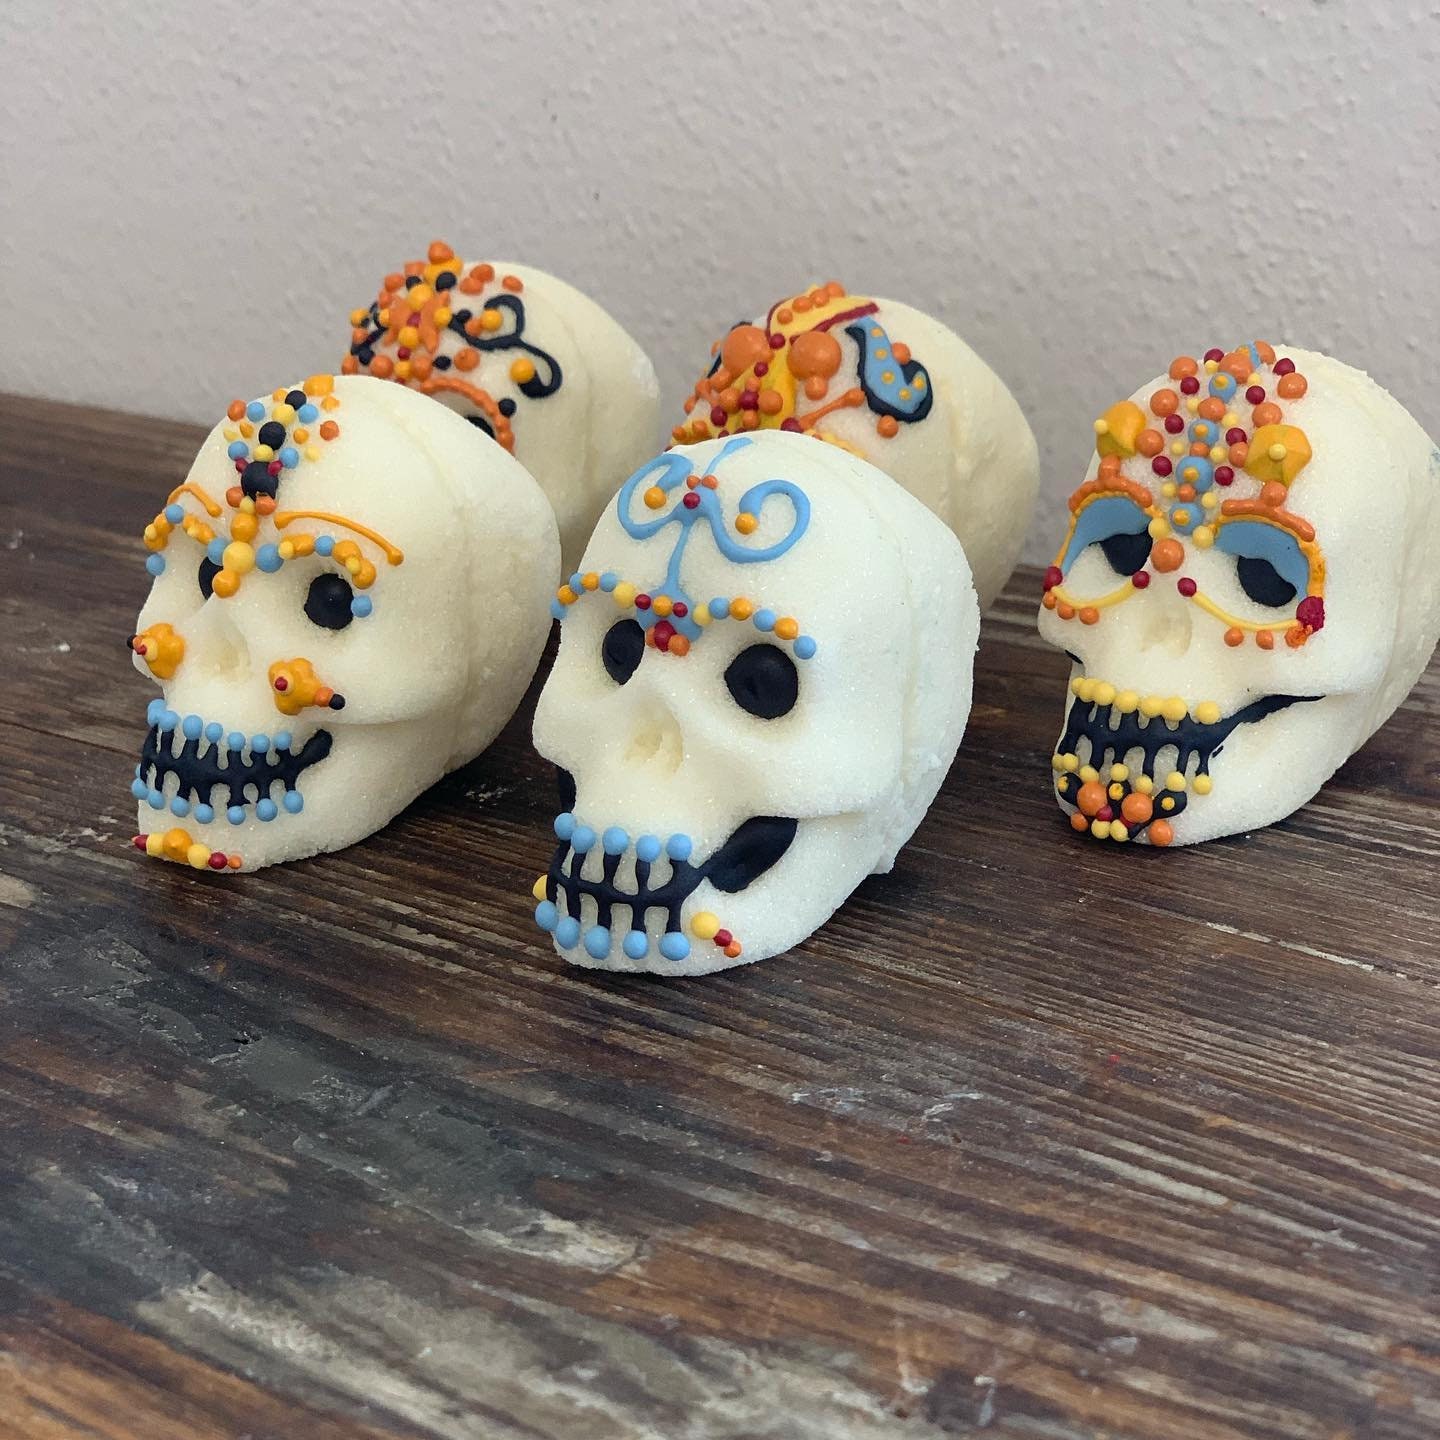
- Use Contrasting Colors: Bright colors against a white background make your designs pop.
- Add Personal Touches: Incorporate symbols or initials to make them unique.
- Experiment: Don’t be afraid to try new designs or techniques.
- Practice: The more you decorate, the better you’ll become!
Common Mistakes to Avoid When Decorating Sugar Skulls
Even with a straightforward process, there are pitfalls to watch out for:
- Rushing the drying process can lead to crumbling.
- Overloading the skulls with too much icing can make them unstable.
- Using low-quality supplies can hinder the overall appearance and safety of your decorations.
Frequently Asked Questions About Sugar Skull Decorating Kits
What is the best sugar skull decorating kit for beginners?
The Basic Sugar Skull Kit is ideal for beginners, as it contains essential materials and straightforward instructions, making it easy to get started.
Can I reuse sugar skull molds?
Yes, sugar skull molds are reusable. After cleaning them, you can use them for future decorating projects or even different types of candies!
Are sugar skulls edible?
Yes, sugar skulls are edible, but most are created as decorative items for celebrations. If you choose to eat them, make sure to use safe food coloring and ingredients.
Can children participate in decorating sugar skulls?
Absolutely! Decorating sugar skulls is a fantastic family activity, but adult supervision is recommended for younger children.
Conclusion: Celebrate Creativity with Sugar Skull Decorating Kits
Embracing the tradition of decorating sugar skulls is not just an artistic endeavor—it’s a celebration of culture, creativity, and family bonding. Whether you opt for a simple kit or a more advanced set, each sugar skull you create tells a unique story. By choosing the right kit, following our guide, and applying your personal flair, you’re sure to create beautiful pieces for your Day of the Dead altars or as delightful gifts for loved ones.
So gather your family and friends, choose your kit, and let the decorating festivities begin! Remember, the most important part is to enjoy the process and celebrate your unique creativity. Happy decorating!