As a homeowner passionate about DIY home renovation, I remember the excitement of exploring different materials for my flooring projects. One material that often piqued my interest was thinset mortar. Not only does it play a critical role in tile installation, but understanding its characteristics can make or break your flooring design. In this comprehensive guide, I’ll share my personal experiences, insights, and expert advice on thinset for floor and decor projects, ensuring you have all the information you need for your next big project.
What is Thinset Mortar?
Thinset mortar is a cement-based adhesive used to bond tiles to various surfaces, particularly in flooring and wall applications. It’s often composed of Portland cement, sand, and other additives, allowing it to create a durable bond for both ceramic and natural stone tiles.
Why Use Thinset?
Thinset is an ideal choice because it provides excellent bonding strength and flexibility, which is essential for maintaining tile integrity over time. Here are some reasons I personally prefer thinset:
- Versatile: Can be used for a variety of tiles.
- Durable: Provides a strong bond that lasts.
- Water-resistant: Suitable for wet areas, such as bathrooms and kitchens.
Types of Thinset Mortar
Understanding the different types of thinset can make your project planning much easier. Here’s a breakdown of the primary types:
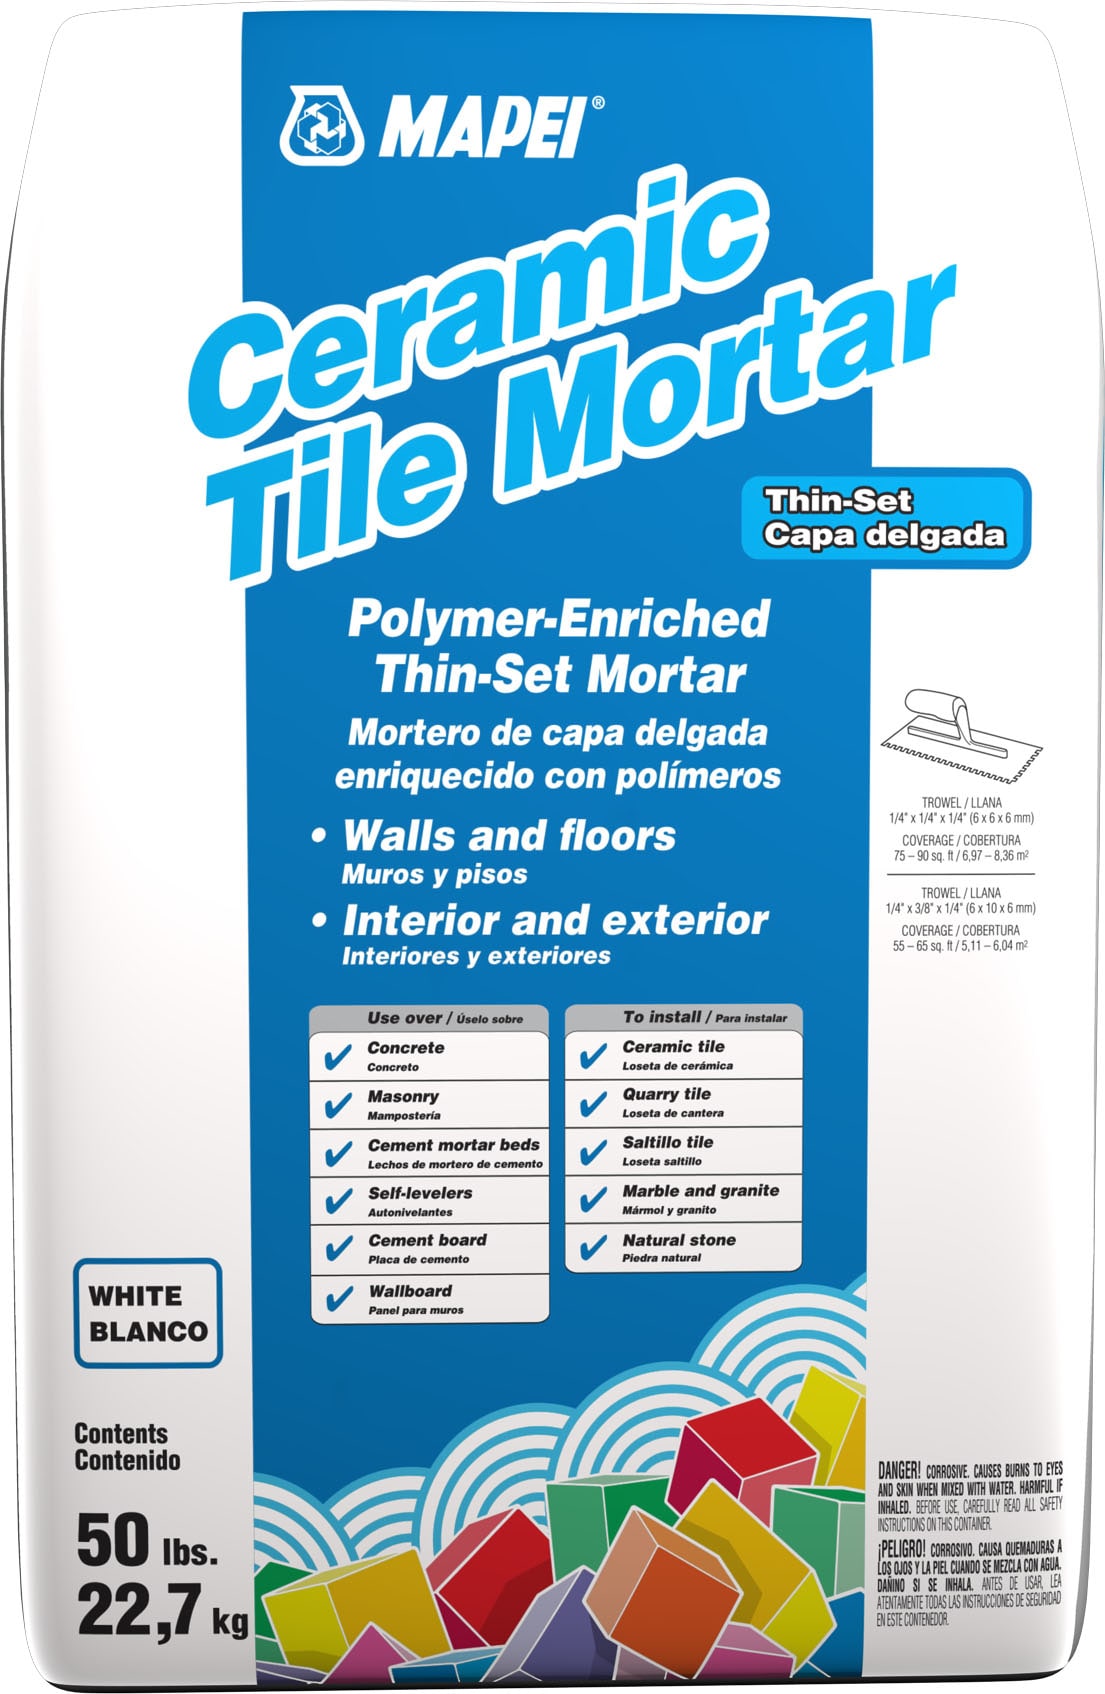
1. Standard Thinset
Standard thinset is the most common type and is suitable for most indoor and outdoor tile applications. It provides a strong hold but may require longer cure times.
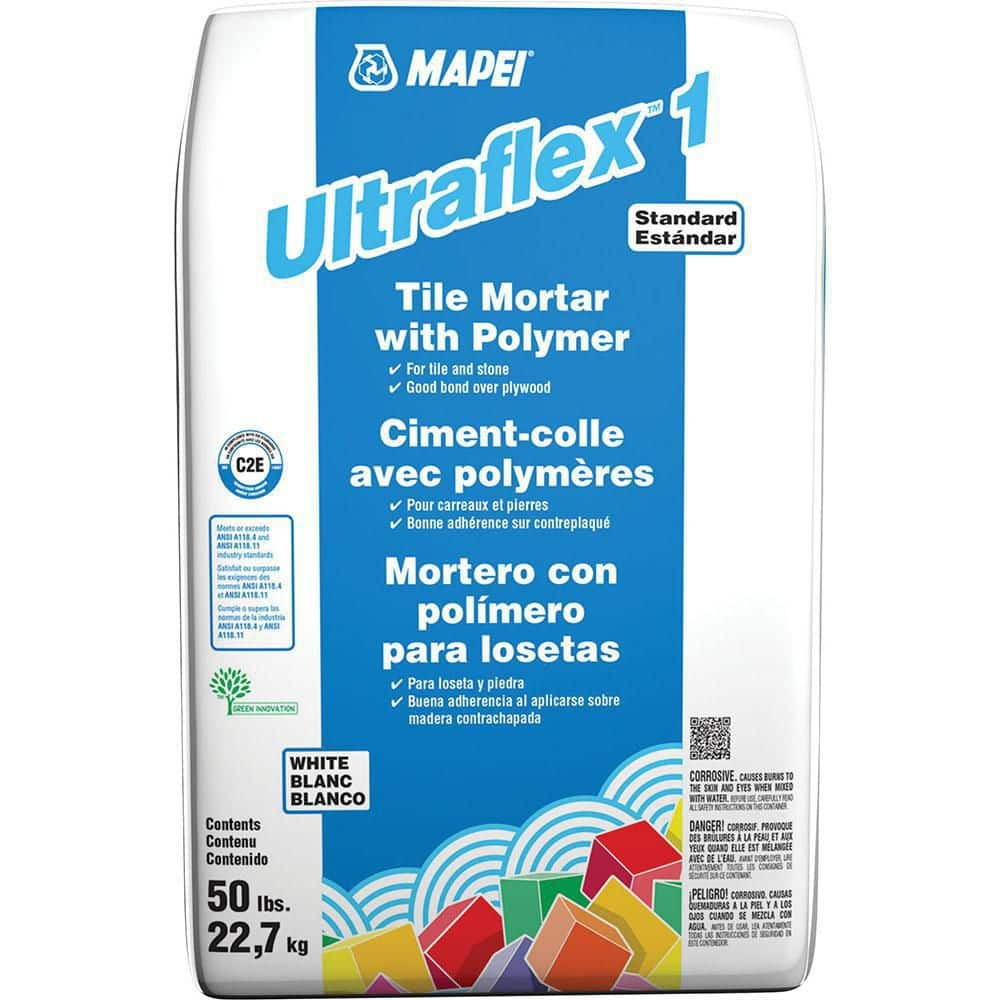
2. Modified Thinset
Modified thinset contains additives that enhance its adhesion properties and flexibility. It’s perfect for areas with fluctuations in temperature and moisture, making it suitable for exterior projects.
3. Unmodified Thinset
Unmodified thinset is a more traditional option that doesn’t contain additional polymers. It requires a specific tile substrate for optimum bonding.
Comparison of Thinset Types
| Type | Adhesion | Best Used For | Drying Time |
|---|---|---|---|
| Standard Thinset | Moderate | General tile installations | 24-48 hours |
| Modified Thinset | High | Exterior tiles & wet areas | 12-24 hours |
| Unmodified Thinset | Moderate | Specific substrates | 24-48 hours |
Choosing the Right Thinset for Your Project
When selecting the right thinset, consider the type of tile, installation environment, and the specific requirements of the project. Here’s how I made my choice during my last tiling project:
Factors to Consider
- Tile Material: Choose a thinset compatible with the tile type.
- Location: Interior vs. exterior will impact your decision.
- Moisture Levels: High moisture areas require modified thinset.
Application Process for Thinset
Having the right technique is vital for a successful application. Here’s a step-by-step guide based on my experiences:
1. Prepare the Surface
Ensure the surface is clean, dry, and free from debris. Repair any damage beforehand.
2. Mix the Thinset
Follow the manufacturer’s instructions for mixing. The consistency should be creamy and not watery.
3. Apply the Thinset
Using a notched trowel, spread the thinset on the surface, keeping the notches aligned for even application.
4. Lay the Tiles
Press the tiles into the thinset, twisting slightly for good adhesion. Use spacers for uniform gaps.
5. Allow to Cure
Let it cure according to the manufacturer’s recommendations before grouting.

Pros and Cons of Using Thinset
Pros
- Strong, reliable bond.
- Versatile for various tile types.
- Water-resistant options available.
Cons
- Can be messy if not handled carefully.
- Requires time to cure.
- Not all thinsets are suitable for all environments.

Common Questions About Thinset
What is the difference between thinset and mastic?
Thinset is a cement-based adhesive that dries stronger and is more durable than mastic, which is water-based and more suitable for dry, indoor conditions.
How long does thinset take to dry?
Drying times vary but generally range from 12 to 48 hours, depending on the type of thinset and environmental conditions.
Can I use thinset outdoors?
Yes, as long as you select a modified thinset that can withstand outdoor conditions.
How do I know if thinset is mixed correctly?
The right consistency should be creamy and smooth, not too thick or soupy. It should hold the notch shape when applied.
Conclusion
Using thinset for your flooring and decor projects can be a game-changer. It truly enhances the durability and aesthetic appeal of your spaces. If you take the time to choose the right type and apply it correctly, you’ll be well on your way to enjoying beautiful, long-lasting results. I encourage you to embrace your inner DIY enthusiast and get started on your next project!
FAQs About Thinset Mortar
1. Can I use thinset for large tiles?
Yes! Just ensure you use a modified thinset for larger tiles to provide proper support and adhesion.
2. Is thinset suitable for heated floors?
Absolutely! Just make sure to choose a thinset specifically designed for use with heated floors.
3. Can I tile over old tile with thinset?
Yes, but ensure the old tiles are firmly bonded and clean. A modified thinset is recommended for better adhesion.