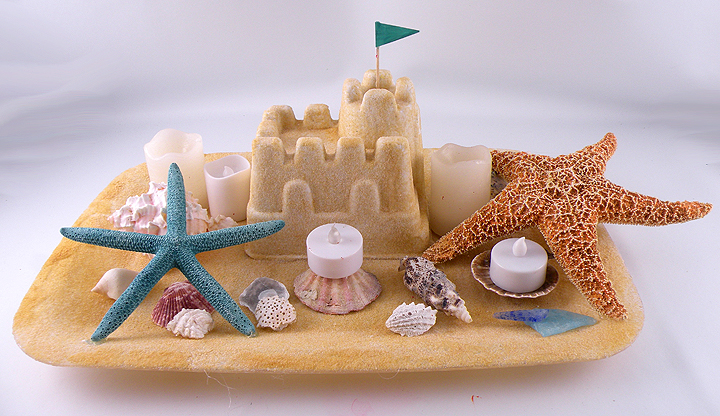
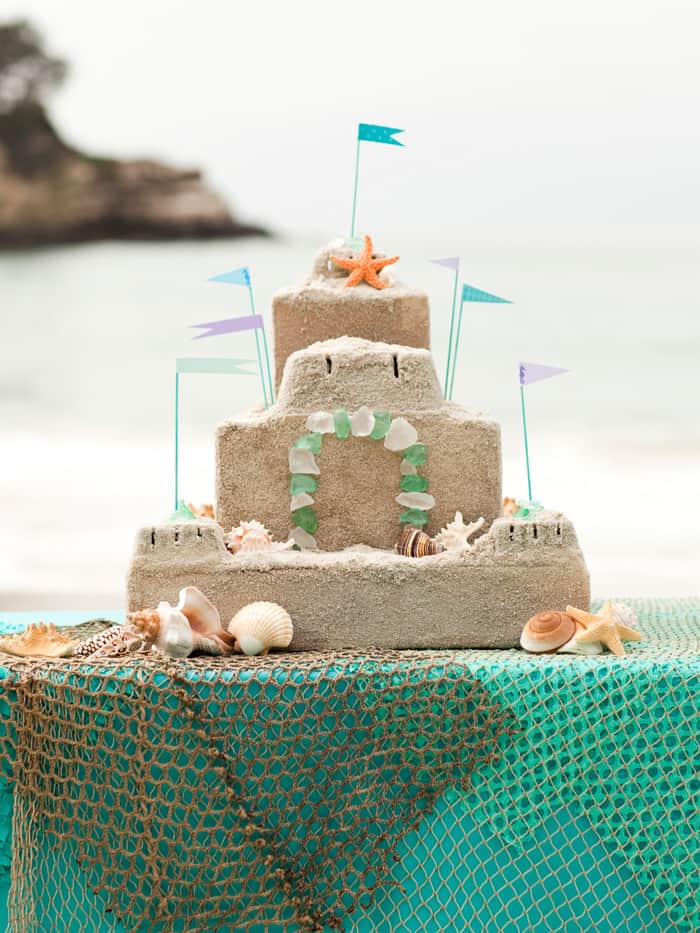
Ah, the beach! The sun, the sea, and the endless possibilities for creativity. One of my favorite summertime activities has always been building sand castles. However, over the years, I’ve discovered that the real magic happens when you incorporate beautiful decorations into these sandy masterpieces. Whether you’re looking to impress your kids, create a stunning centerpiece for your beach party, or just express your artistic side, sand castle decorations can elevate your creations to a whole new level.
Why Sand Castle Decorations Matter
Sand castles can easily become boring mounds of sand without a little flair. Here’s why adding decorations is a game-changer:
- Visual Appeal: Decorations can transform a simple sand structure into an eye-catching piece of art.
- Creativity: Using various materials encourages you to think creatively and encourages children to express themselves.
- Memories: Unique decorations create memorable experiences, perfect for beach trips or summer gatherings.
Types of Sand Castle Decorations
Before we dive into the how-tos, let’s explore the various types of decorations you can use to spruce up your sand castle.

Natural Elements
- Shells: Seashells add a natural beauty and a bit of the ocean’s charm.
- Seaweed: This sea plant can be used for a decorative fringe, giving your castle a unique look.
- Stones: Small pebbles can form pathways, walls, or even roofs!
Man-Made Decorations
- Plastic Flags: These can add a splash of color and character.
- Glow Sticks: For those late beach evenings, glow sticks can make your castle shine.
- Paint: Non-toxic, water-based paints provide endless possibilities for creativity.

Materials You Will Need
To create your masterpiece, you’ll need a variety of materials. Here’s a handy table to help you compare your options:

| Material | Pros | Cons |
|---|---|---|
| Seashells | Natural beauty, lightweight | Can be expensive, may not be durable in strong winds |
| Plastic Decorations | Durable, vibrant colors | Less natural appeal, environmental concerns |
| Glow Sticks | Fun for night-time displays | Not eco-friendly, limited use |
| Paint | Customizable, adds personality | Messy, requires time to dry |
Step-by-Step Guide to Creating a Sand Castle with Decorations

Step 1: Choose Your Location
Find a spot on the beach with soft, wet sand. It’s essential because wet sand holds together better and makes your building easier!
Step 2: Gather Your Materials
Select a mix of natural and man-made decorations that resonate with your vision. Don’t forget your buckets, shovels, and water!

Step 3: Build the Base
Start by creating a large mound of wet sand; this will be the foundation of your castle. Pack the sand down tightly for stability.
Step 4: Shape Your Castle
Use your hands or tools to carve out turrets, walls, and paths. Be as creative as you wish!

Step 5: Add Your Decorations
Once your castle is complete, it’s time to bring it to life! Here’s how to use your decorations effectively:
- Shells: Place them around the perimeter as a protective barrier.
- Seaweed: Use it to create an organic roof or fringe.
- Flags: Stick these into the highest points of your castle for a festive touch.
- Paint: Use brushes to add color and detail once the structure is dry.
Personal Experience: My Favorite Sand Castle Decoration
One year, while on vacation with my family, we decided to enter a sand castle competition. We spent hours crafting an elaborate castle complete with multiple towers and a moat. The real magic happened when I found a bunch of beautifully patterned seashells along the shore. As I arranged them around the castle, I realized how much they enhanced our creation. We didn’t win, but the experience—filled with laughter, creativity, and a surprised beach audience—was the real award.
Tips for Maintaining Your Sand Castle
Now that you’ve created your sand castle, here are some tips to maintain it for as long as possible:
- Spray with Water: Lightly mist your castle with water periodically to keep it moist.
- Shade: If possible, place it under an umbrella to prevent it from drying out too quickly.
- Avoid Disturbance: Keep people away from your masterpiece to prevent accidental damage.
FAQs about Sand Castle Decorations
What are the best materials for sand castle decorations?
The best materials include natural elements like shells and seaweed, as well as colorful plastic decorations, glow sticks, and non-toxic paints.
How can I make my sand castle last longer?
Keep your sand castle moist by spraying it with water, and try to provide some shade to minimize drying from sunlight.
Are there any eco-friendly decoration options?
Yes! Stick to natural elements like shells, seaweed, and stones to avoid plastic waste and keep your beach environment safe.
Can I use food items as decorations?
While it may seem fun to use fruit or snacks as decor, they can attract unwanted animals and create a mess. Stick to non-perishable items!
How long can I expect my sand castle to last?
The lifespan of a sand castle varies based on weather conditions, but with good materials and care, it can last for several hours, sometimes even over a day!
Conclusion: Unleash Your Creativity!
Building and decorating sand castles is not just an enjoyable beach activity; it’s a wonderful way to express creativity and create lasting memories. With the right materials and a dash of imagination, you can create stunning sand castles that will amaze everyone on the beach. So grab your tools, gather your decorations, and let your creativity flow!
Remember, every great sand castle starts with a little bit of inspiration—and a lot of sand!