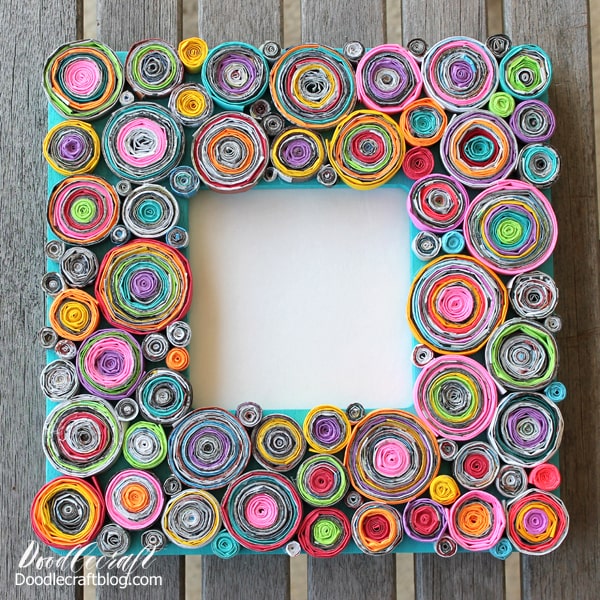
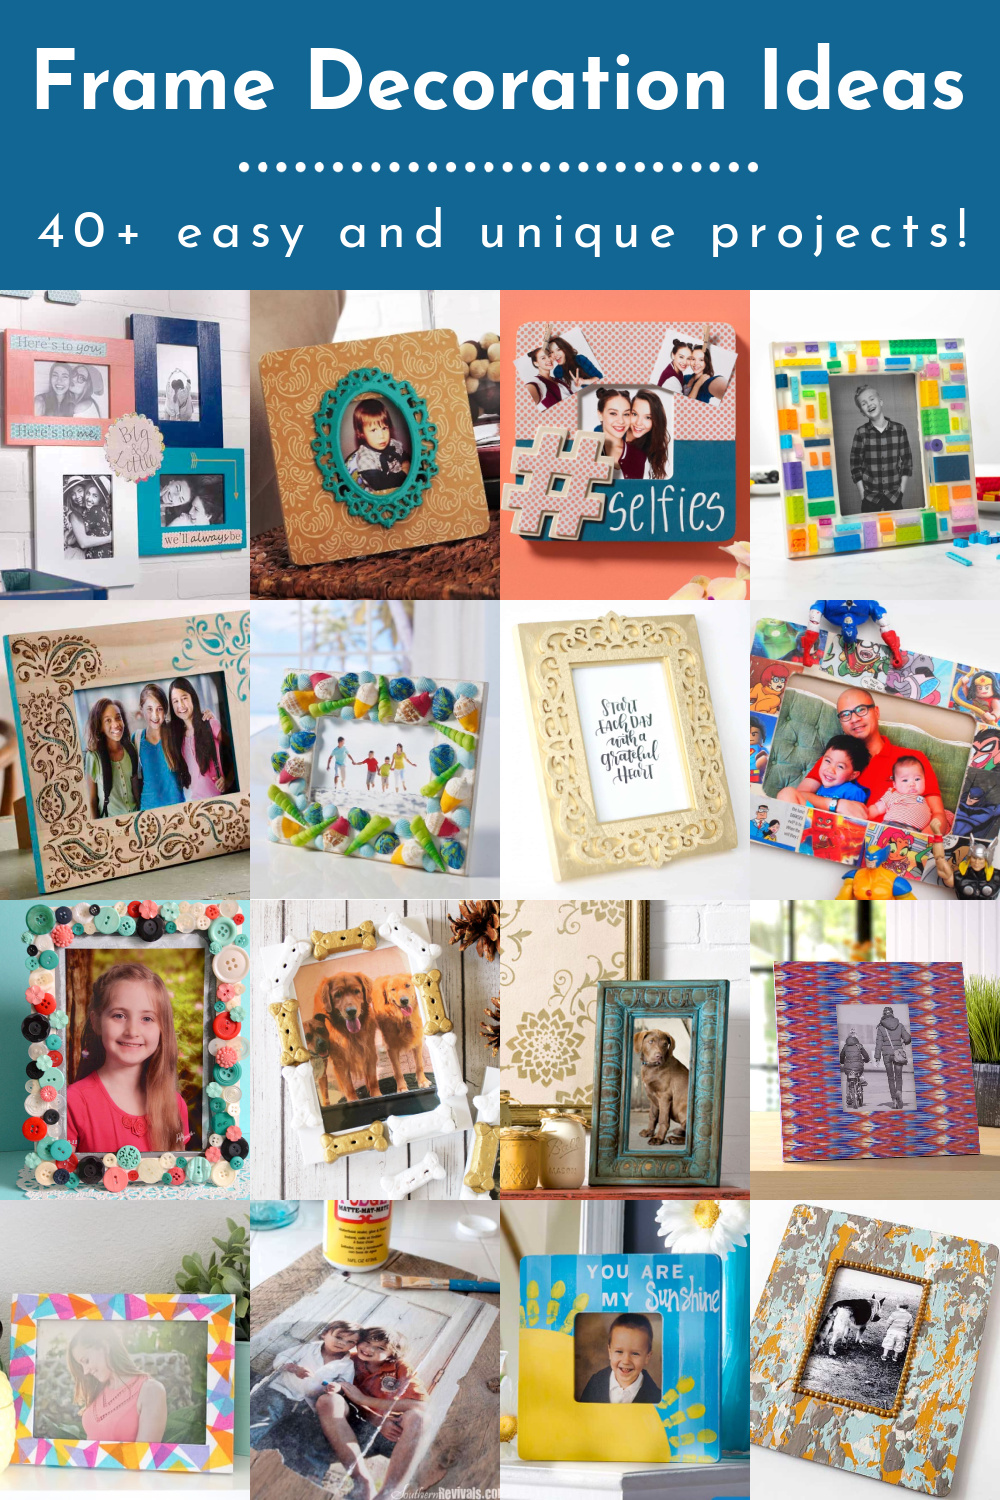
Decorative picture frames are a fantastic way to add personality and style to your home. Not only do they serve a practical purpose by showcasing your favorite memories, but they also enhance the aesthetic appeal of any space. In this article, we will explore a comprehensive DIY guide to creating your own decorative picture frames. Whether you’re a beginner or an experienced crafter, this guide aims to provide inspiration, detailed instructions, tips, and tricks to make your framing project a success. Let’s dive in!
Why Choose DIY Decorative Picture Frames?
Creating your decorative picture frames can be a fulfilling and cost-effective way to personalize your space. Here’s why you should consider making your own:
- Customization: Tailor your frames to match your personal style and decor.
- Cost-Effective: Save money compared to purchasing ready-made frames.
- Creative Outlet: Express your creativity and craftsmanship.
- Meaningful Gifts: Handmade frames make heartfelt gifts for loved ones.
Essential Tools and Materials for DIY Picture Frames

Before we get started, let’s gather all the necessary tools and materials you’ll need for your DIY project.
Basic Tools
- Ruler or measuring tape
- Pencil
- Scissors or craft knife
- Hot glue gun or wood glue
- Paintbrush (if painting)
- Screwdriver (if using hanging hardware)

Materials
- Wood, cardboard, or foam board for the frame
- Decorative paper or paint
- Glass or acrylic sheet (optional for frame protection)
- Backing material (cardboard works well)
- Hanging hardware (D-rings or picture wire)
Step-by-Step Guide to Making Decorative Picture Frames

Now that we have our materials ready, let’s walk through the step-by-step process of creating beautiful decorative picture frames.
Step 1: Choose Your Design

Start by deciding the size and style of your frames. Do you want a rustic, modern, or vintage look? Here are some design ideas to inspire you:
- Rustic Wooden Frame: Use reclaimed wood for a farmhouse feel.
- Colorful Painted Frame: Bright colors can add a pop of fun to your decor.
- Fabric-Wrapped Frame: Use fabric to create a soft, textured look.
- Gallery Wall Arrangement: Create multiple frames of different sizes for a stunning display.
Step 2: Measure and Cut

Once you’ve decided on a design, measure and cut your materials accordingly:
- For wooden frames, cut pieces at a 45-degree angle for a professional finish.
- For cardboard, measure and cut out the desired frame shape.
Comparison Table: Wood vs. Cardboard Frames

| Material | Pros | Cons |
|---|---|---|
| Wood | – Durable – Elegant finish |
– More expensive – Requires power tools |
| Cardboard | – Inexpensive – Easily customizable |
– Less durable – Limited design options |
Step 3: Assemble the Frame

Using your glue, start assembling the frame. Apply glue to the cut edges and hold them together until set. If using wood, consider using clamps to hold the corners tight while the glue dries.
Step 4: Paint or Decorate
Now for the fun part—decorating your frame! You can paint it, wrap it in fabric, or decoupage it with decorative paper. Here are some tips:
- Use a base coat of paint for a uniform color.
- Consider distressing the edges for a vintage look.
- Mix paint colors to create a unique shade.
Step 5: Insert Your Picture
Once the frame is dry and decorated to your liking, insert your favorite photograph or artwork. Use a backing material to secure the picture in place.
Step 6: Add Hanging Hardware
Finally, attach any hanging hardware. D-rings are a great choice for ease of hanging.
Tips and Tricks for Successful DIY Picture Frames
Here are some additional tips that I’ve learned through personal experience to ensure your frame-making project goes smoothly:
- Use Fine Sandpaper: If working with wood, sand the edges for a smooth finish.
- Keep It Simple: Don’t overcomplicate the design; sometimes less is more.
- Practice First: Try a smaller design before committing to a larger project.
Inspiring Decorative Picture Frame Ideas
Feeling creative? Here are some inspiring ideas to spark your imagination:
1. Vintage Lace Frame
Wrap a simple frame with vintage lace for an elegant touch—perfect for weddings or feminine decor.
2. Map Frame
Use old maps for a travel-themed decor piece. Cut the map to fit inside the frame, showcasing your favorite travel memories.
3. Chalkboard Frame
Create a multifunctional piece by painting the glass with chalkboard paint—perfect for jotting down reminders or quotes.
Common Mistakes to Avoid
Even the most experienced crafters can make mistakes. Here are some pitfalls to watch out for:
- Not Measuring Properly: Always double-check measurements before cutting.
- Using the Wrong Type of Glue: Ensure your adhesive is suitable for the material you’re using.
- Skipping Drying Time: Patience is key; allow ample time for glue to set.
Conclusion
Creating decorative picture frames through DIY methods is not only a fun and enjoyable activity but also a creative way to add a personal touch to your home. By following the steps and tips provided in this guide, you can craft unique frames that not only showcase your memories but also reflect your individual style. So, gather your materials and let the crafting begin!
FAQs about DIY Decorative Picture Frames
1. What materials are best for DIY picture frames?
The best materials depend on your style and budget. Wood, cardboard, and foam board are popular choices. Wood offers durability, while cardboard is cost-effective and easier to work with.
2. How can I make my picture frames more decorative?
Use decorative papers, fabrics, paint, or embellishments like beads and sequins to enhance the appearance of your frames.
3. Can I use old picture frames for my DIY projects?
Absolutely! Upcycling old frames is a great way to save money and create something unique. Simply repaint or decorate them to fit your style.
4. What tools do I need for making picture frames?
Basic tools include a ruler, scissors, glue, and a measuring tape. For wood frames, consider adding saws and clamps.
5. Where can I find inspiration for frame designs?
Inspiration can come from various sources, including home decor magazines, Pinterest, and craft blogs. Don’t hesitate to mix and match ideas!