Decorative wall mouldings are one of the best-kept secrets in home design. They elevate any room’s aesthetic while providing a touch of elegance that can make a space feel polished and complete. Having installed them in my own home, I can attest to their transformative power. In this article, we’ll explore everything you need to know about decorative wall mouldings, including types, installation tips, pros and cons, and how to choose the right option for your space.
What Are Decorative Wall Mouldings?
Decorative wall mouldings are architectural elements that can be applied to walls to enhance their visual appeal. They come in various styles, materials, and designs, from simple chair rails to intricate crown mouldings. Let’s dive into the different types available.
Types of Decorative Wall Mouldings
Crown Moulding
Crown moulding is installed at the junction of walls and ceilings, creating a seamless transition that adds height and elegance to a room.
Baseboards
Baseboards run along the bottom of walls, providing a finished look and protecting the wall from damage.
Chair Rails
Chair rails are horizontal mouldings installed at about 30 inches from the floor, serving both decorative and protective functions.
Picture Rails
Picture rails are used to hang artwork and photographs without damaging the wall, complementing the room’s design.

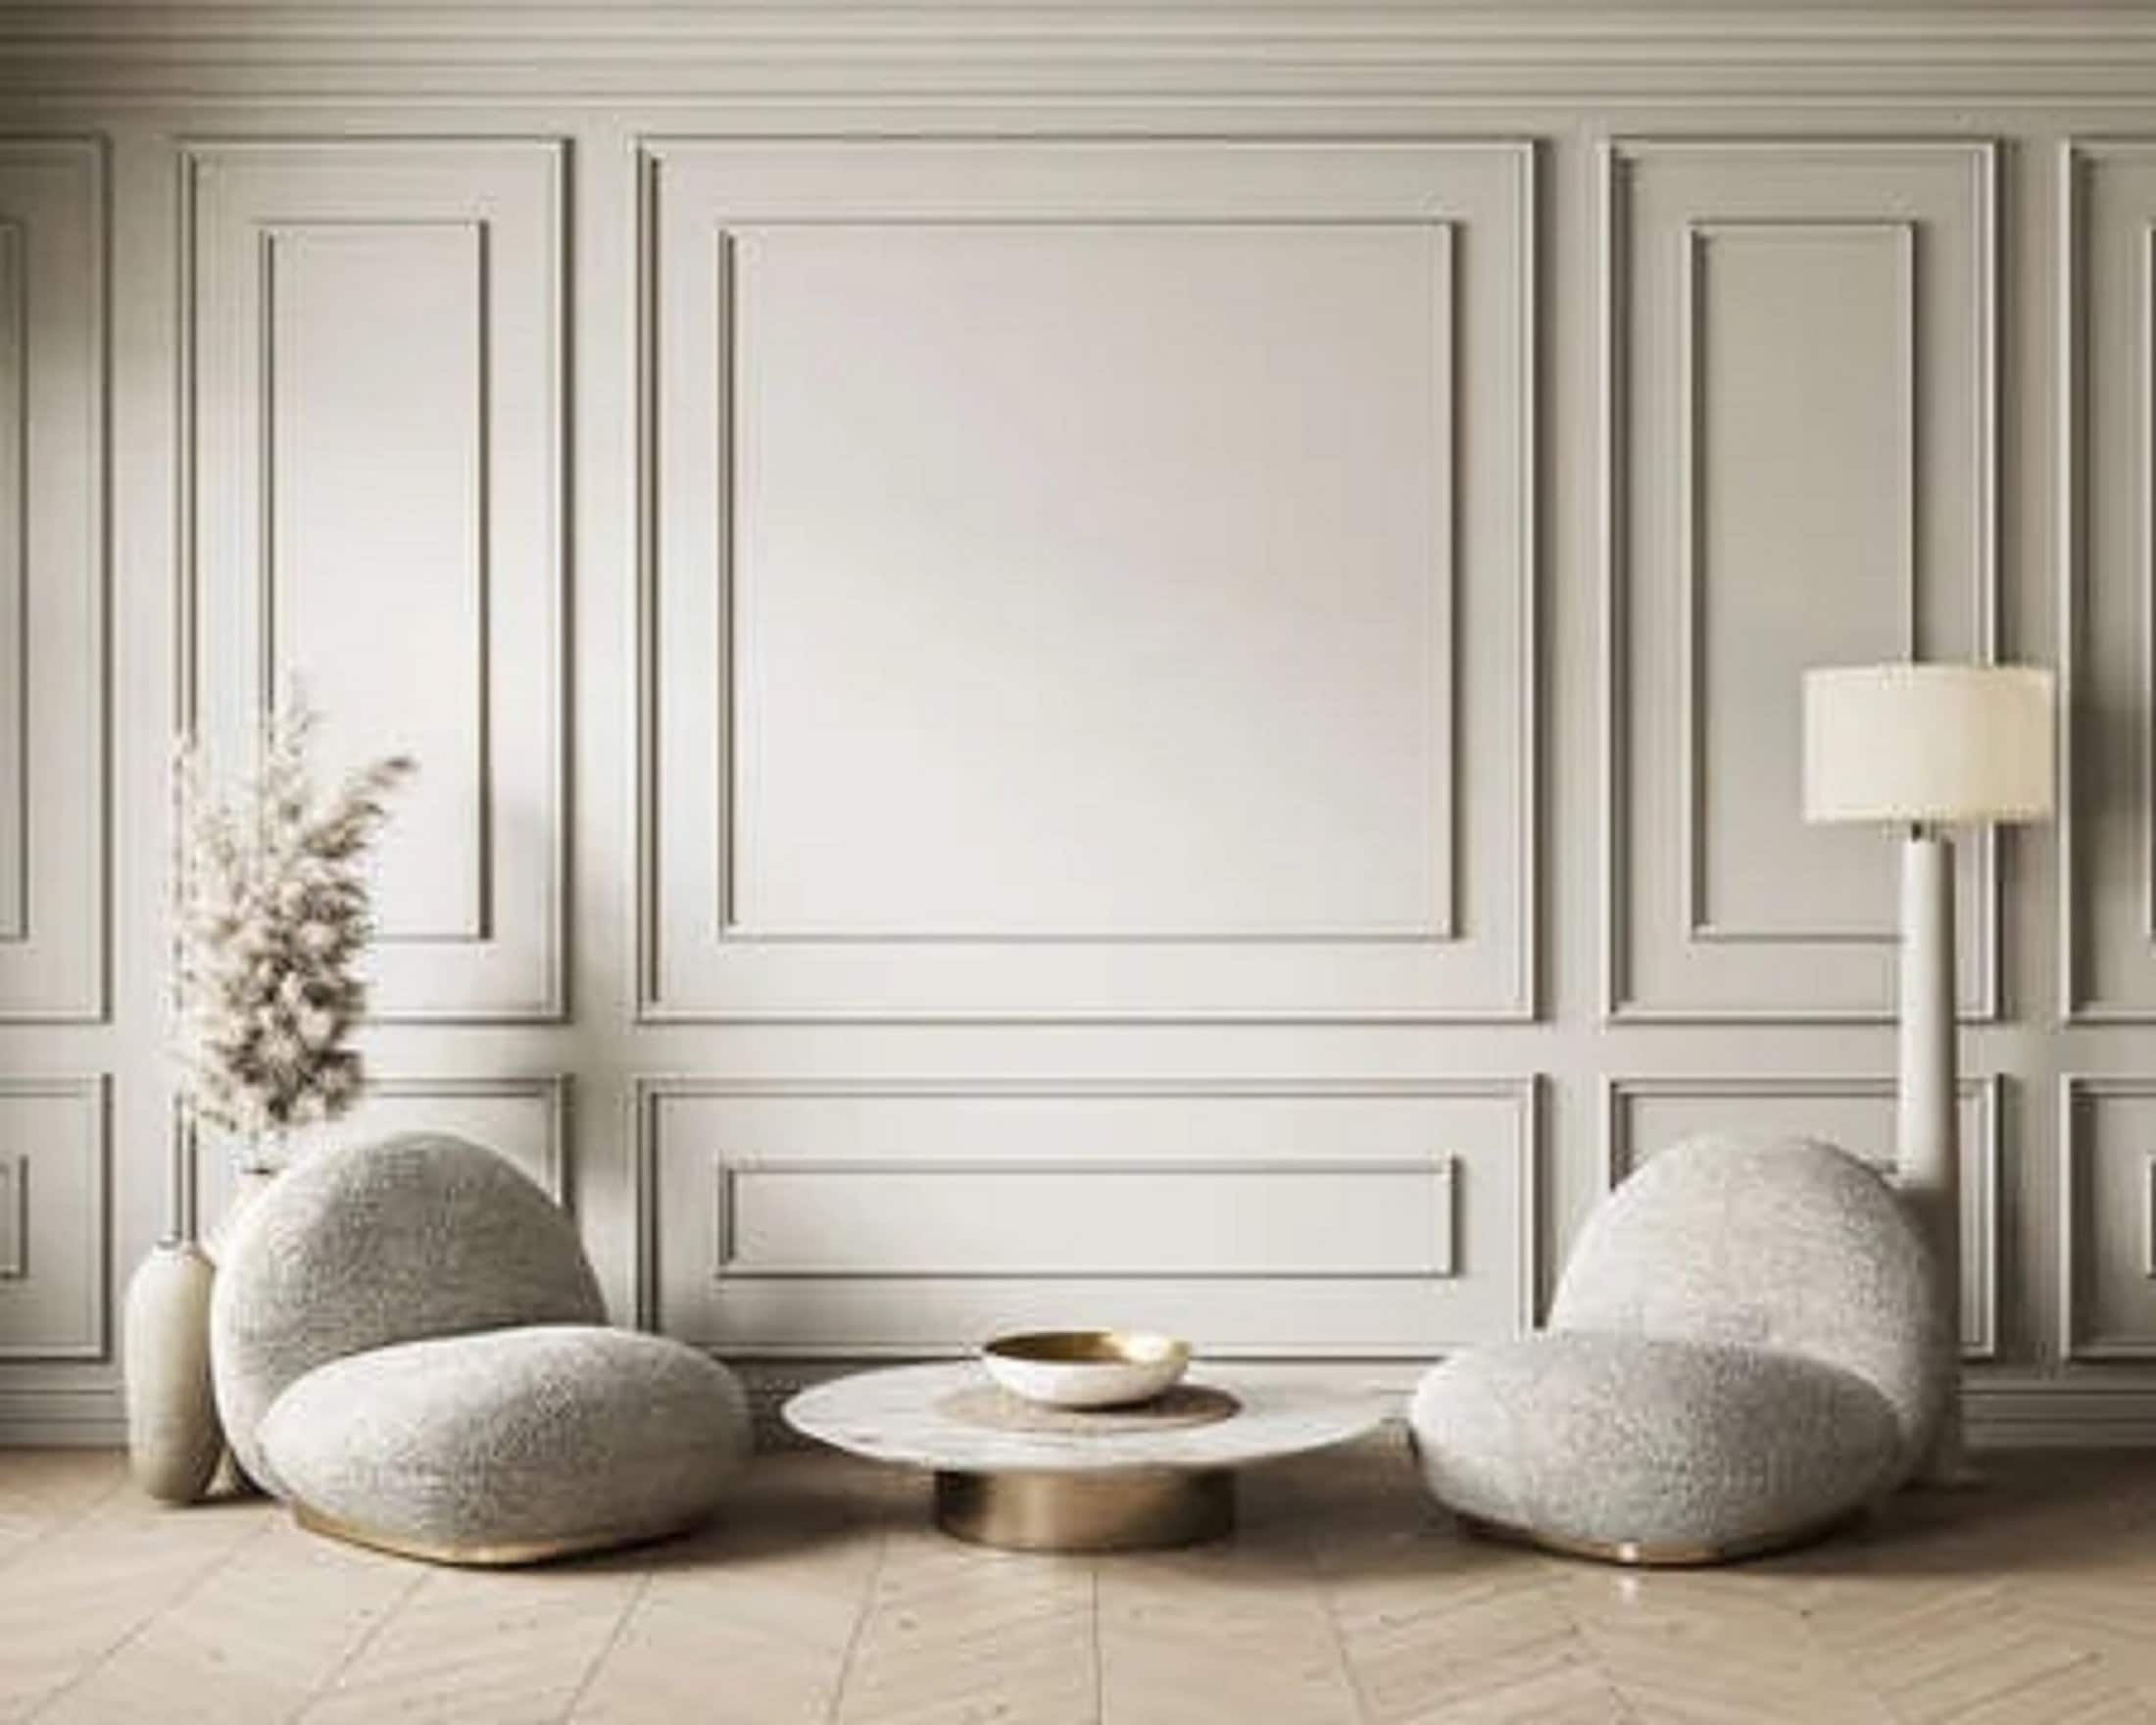
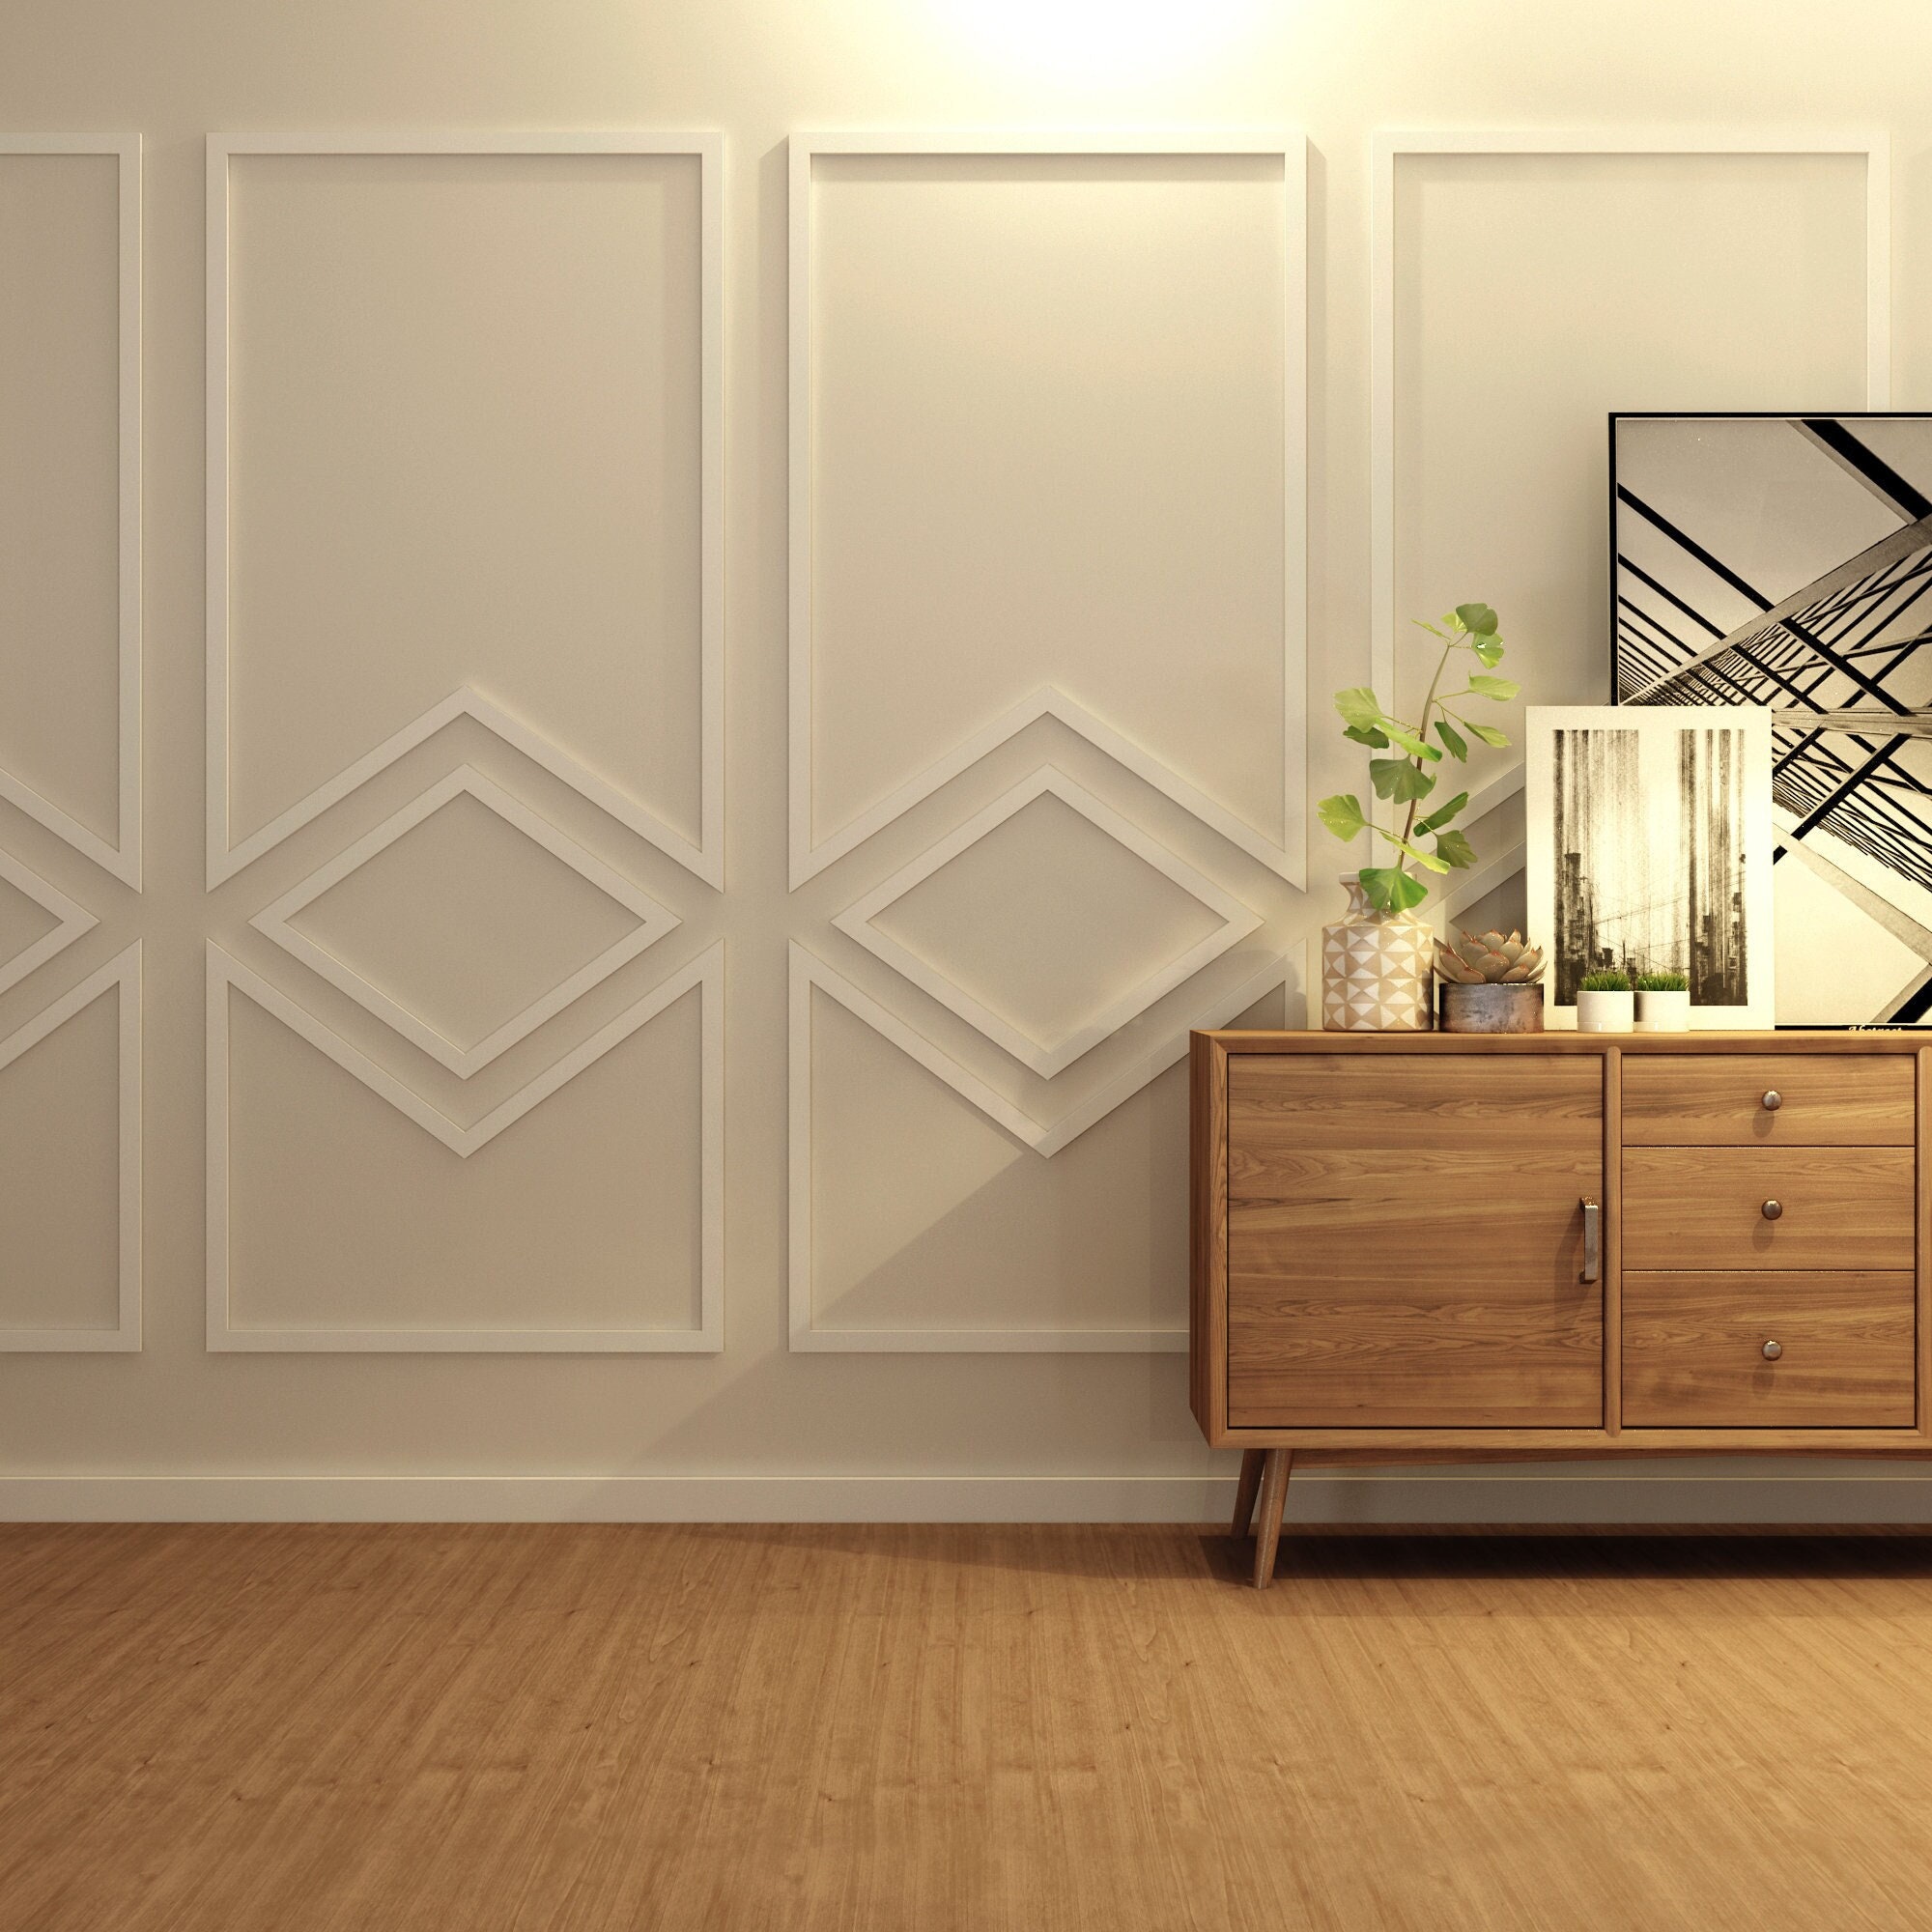
Panel Moulding
Panel moulding adds depth and dimension to flat walls, creating a framed effect that can enhance a room’s character.
Materials Used in Decorative Wall Mouldings
When choosing decorative wall mouldings, the material can greatly affect the overall look and durability. Here are some common materials:

- Wood: Classic choice offering warmth and versatility.
- MDF (Medium Density Fiberboard): More affordable and easy to paint, though not as durable as wood.
- Polyurethane: Lightweight, moisture-resistant, and easy to install, ideal for humid environments.
- Plaster: Provides a traditional look but can be more expensive and harder to install.
The Installation Process

Tools Required
Before starting your installation, gather the necessary tools:
- Measuring tape
- Miter saw
- Nail gun or hammer
- Level
- Adhesive (for some moulding types)
Step-by-Step Installation
- Measure the area where you plan to install the moulding.
- Cut the moulding to size using a miter saw for angled cuts.
- Secure the moulding to the wall using nails or adhesive.
- Fill in any gaps or nail holes with caulk or wood filler.
- Finish with paint or stain as desired.
Pros and Cons of Decorative Wall Mouldings
| Pros | Cons |
|---|---|
|
|

Choosing the Right Decorative Wall Moulding for Your Space
Selecting the right moulding requires consideration of style, material, and room function. Here are some tips:
Consider the Style of Your Home
Traditional homes often benefit from detailed, ornate mouldings, while modern spaces can be enhanced by sleek, minimalist designs.

Room Size and Height
In smaller rooms, opt for thinner mouldings to avoid overwhelming the space. In larger rooms, you can go for bolder, thicker designs.
Functionality
Determine whether you want moulding for purely decorative purposes or if it should serve a functional role—such as protecting walls or supporting picture frames.
Personal Experiences and Projects
In my own home renovation, I opted for crown moulding and chair rails in my living room. The crown moulding added a touch of sophistication that was missing, while the chair rail provided a great place to transition between paint colors. Not only did they uplift the visual dynamics of my space, but they also sparked conversations among guests, showcasing my style and attention to detail.
Maintenance Tips for Decorative Wall Mouldings
To ensure your wall mouldings remain in great shape, consider the following maintenance tips:
Regular Dusting
Dust can accumulate on the mouldings, dulling their shine. Regular dusting with a soft cloth can keep them looking fresh.
Touch Up Paint or Finish
If you notice wear over time, don’t hesitate to touch up the paint or finish to maintain a pristine look.
FAQs about Decorative Wall Mouldings
1. What is the best material for decorative wall mouldings?
The best material depends on your budget and the room’s specific needs. Wood is classic but can be pricey, while MDF is more cost-effective and still offers good looks.
2. Can I install decorative wall mouldings myself?
Yes, if you have basic DIY skills and tools, you can install mouldings yourself. Just ensure you take accurate measurements and follow installation steps carefully.
3. How do I choose the right style of moulding?
Consider your home’s overall design theme. Traditional homes look great with ornate mouldings, while modern homes may benefit from simpler styles.
4. How can I make a small room feel bigger with mouldings?
Using thinner mouldings and painting them the same color as the walls can create a seamless look, making the room feel larger.
5. Are decorative wall mouldings worth the investment?
Absolutely! They can add significant aesthetic and functional value to your home, often increasing its resale value.
Conclusion
Incorporating decorative wall mouldings is a fantastic way to enhance the beauty of your home. Whether you opt for crown moulding, baseboards, or chair rails, these elements can add depth and character to any room. I hope the insights and tips shared in this guide inspire you to embark on your own moulding project. Happy decorating!