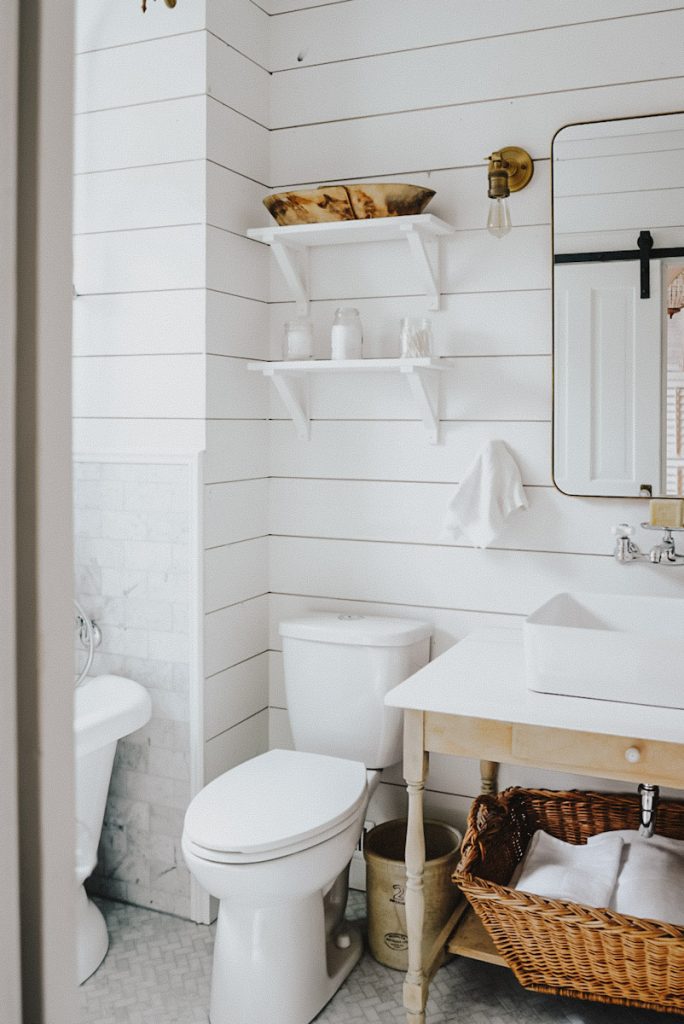
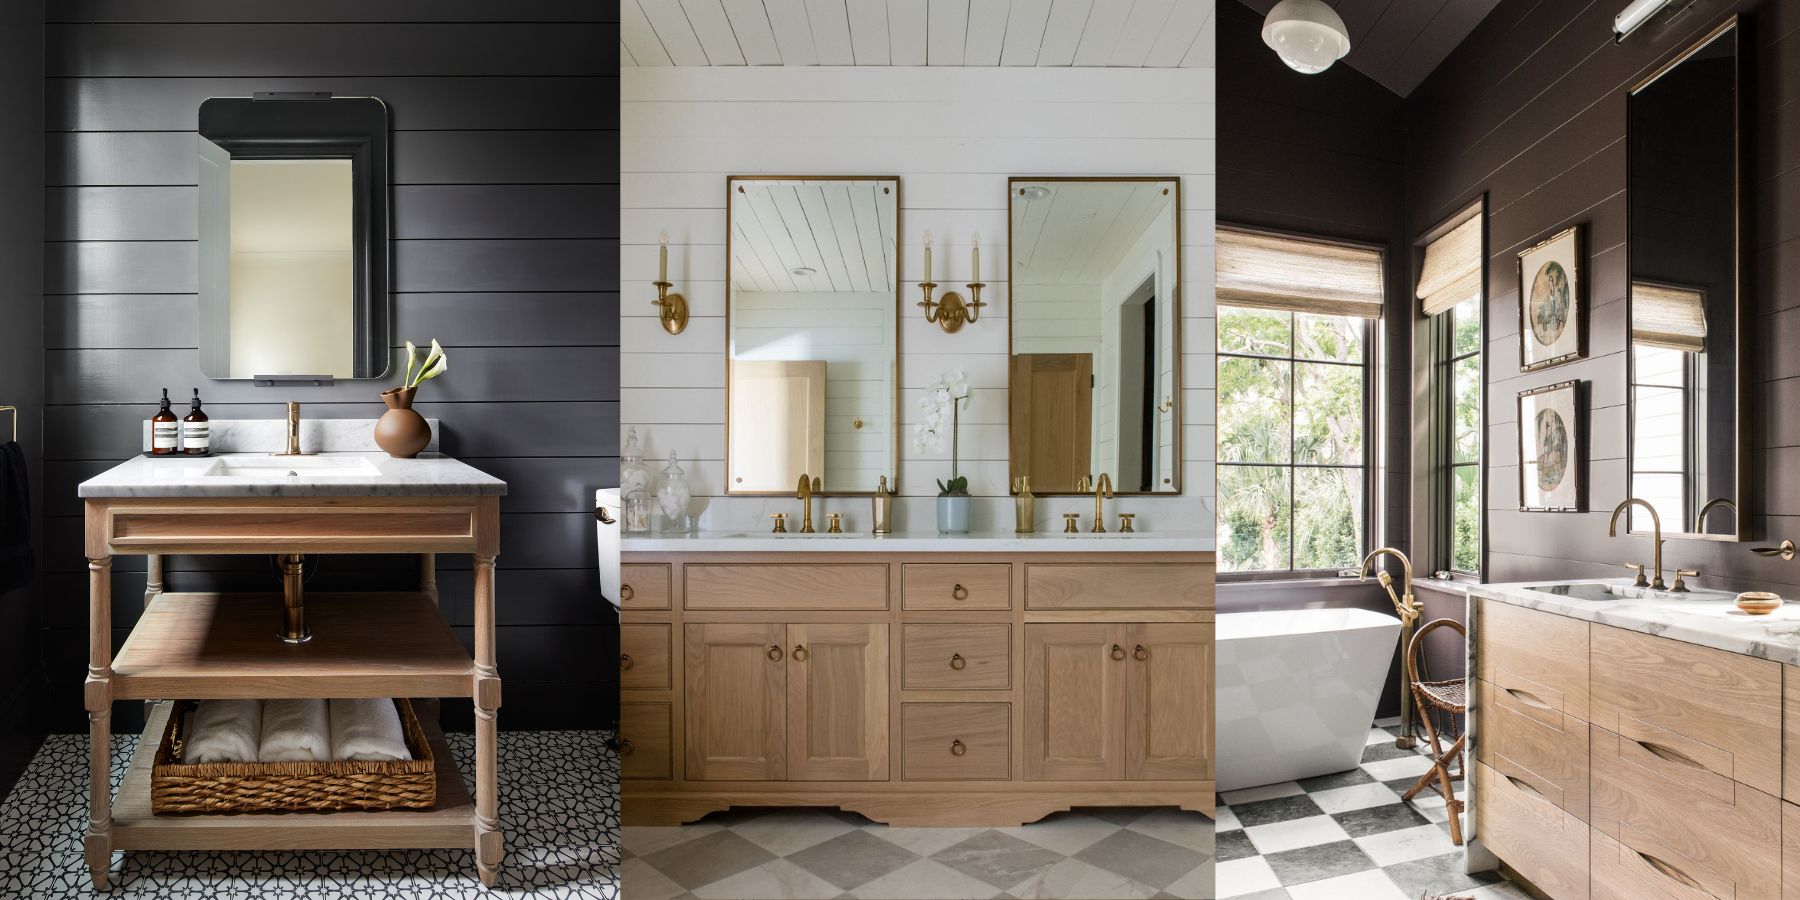
Introduction to Shiplap in Bathroom Decor
Shiplap has become a popular choice in home decor, primarily for its rustic charm and versatility. When it comes to the bathroom, shiplap can be a transformative element, providing warmth and character to an often overlooked space. As someone who has implemented shiplap in my own bathroom, I can attest to its ability to elevate the ambiance significantly.
What is Shiplap?
Shiplap is a type of wooden board that features a rabbet joint, allowing it to fit together snugly with adjacent boards. Traditionally used in barns and sheds, its simple overlapping style lends itself well to both rustic and modern design. Here’s a closer look at its characteristics:
Characteristics of Shiplap
- Material: Typically made from pine, cedar, or composite materials.
- Style: Offers a clean, linear look that can be painted or stained.
- Durability: High-quality shiplap is resistant to warping and moisture when treated properly.
Why Choose Shiplap for Your Bathroom?
Choosing shiplap for your bathroom can create a cozy retreat that feels both stylish and inviting. Here are some compelling reasons to consider shiplap in your bathroom decor:
Benefits of Shiplap in Bathrooms
- Aesthetic Appeal: Creates a warm, inviting atmosphere.
- Versatility: Works with various design styles—from farmhouse to modern chic.
- Easy to Install: Suitable for DIY enthusiasts, making it a cost-effective option.
- Moisture Resistance: When properly sealed, shiplap can withstand the humid bathroom environment.
Design Ideas for Shiplap Bathroom Decor
Here are some creative ideas to inspire your shiplap bathroom makeover:
1. Full Wall of Shiplap
Consider covering an entire wall with shiplap for a dramatic focal point. You can paint it a light color to keep the space feeling open.
2. Accent Wall
If covering an entire wall feels too bold, an accent wall can provide the perfect balance. Use shiplap behind a freestanding bathtub for a spa-like feel.
3. Shiplap Ceilings
Don’t forget the ceiling! A shiplap ceiling adds dimension and can make your bathroom feel taller and more expansive.
4. Mix Materials
Pair shiplap with tiles for a trendy look. For example, you might use subway tiles around the shower area and shiplap on the walls.
5. Use Different Colors
Experiment with different colors and finishes. For example, white shiplap offers a classic coastal vibe, while dark wood adds sophistication.
Comparison of Shiplap Materials
When selecting shiplap for your bathroom, you’ll typically come across three primary materials: wood, PVC, and MDF (Medium-Density Fiberboard). Below is a comparison table to help you make an informed choice:
| Material | Pros | Cons |
|---|---|---|
| Wood | Natural beauty, sturdy, can be painted or stained. | Susceptible to moisture without proper treatment. |
| PVC | Waterproof, easy to clean, lightweight. | Less authentic look, can be prone to fading over time. |
| MDF | Cost-effective, smooth finish for painting. | Not as durable as wood, vulnerable to moisture damage. |
Pros and Cons of Shiplap in Bathrooms
Pros
- Adds texture and visual interest.
- Can increase property value due to its trendy appeal.
- Offers flexibility in design and color choices.

Cons
- Incorrect installation can lead to water damage.
- Wood shiplap requires regular maintenance and sealing.
- Initial cost can be higher than simple paint or wallpaper.
How to Install Shiplap in Your Bathroom
Ready to embark on your shiplap project? Here’s a step-by-step guide to making your installation a success:
Step 1: Gather Your Materials
You will need shiplap boards, nails, a level, a miter saw, and a nail gun or hammer. Don’t forget protective gear!
Step 2: Prepare the Surface
Ensure the wall is clean and dry. If applying over existing drywall, check for any damage and repair as needed.
Step 3: Measure and Cut
Measure the height of your walls and cut the shiplap boards accordingly. Remember to account for expansion gaps!
Step 4: Install the First Board
Start with the bottom board, ensuring it is level. Nail it into place while making sure it’s securely attached.
Step 5: Continue Installing
Work your way up the wall, interlocking each board as per the shiplap style. Use a spacer to maintain even gaps.
Step 6: Finish Off the Edges
Once all boards are up, caulk the seams and edges. This will help seal any gaps and provide a finished look.
Step 7: Seal or Paint
Depending on your design, you can paint or stain the shiplap. Make sure to use moisture-resistant products in a bathroom setting.

Maintaining Your Shiplap Bathroom Decor
To keep your shiplap looking fresh and clean, follow these maintenance tips:
1. Regular Cleaning
Use a damp cloth to wipe down the shiplap regularly. Avoid harsh chemicals that could damage the wood or finish.
2. Watch for Moisture
Keep an eye out for any signs of moisture accumulation and address any leaks immediately to prevent damage.
3. Repaint or Reseal as Needed
Check your paint or sealant every couple of years, and reapply as needed to maintain a barrier against moisture.
FAQs about Shiplap Bathroom Decor
1. Can I use shiplap in a small bathroom?
Absolutely! Shiplap can create an illusion of space, especially when painted in lighter colors. It also adds character, making small bathrooms feel cozy.
2. Is shiplap suitable for wet areas like a shower?
While some shiplap materials are moisture resistant, it’s best to limit their use in wet areas. Consider waterproof options or tiles for the shower area.
3. How do I choose the right color for shiplap in my bathroom?
Choose colors that complement your overall bathroom decor. Lighter colors can make a space feel larger, while darker tones add drama and richness.
4. How do I prevent warping in wood shiplap?
Ensure proper installation and sealing of the wood. Regular maintenance and addressing moisture issues promptly will help prevent warping.
