Decorating a hutch is more than just arranging items; it’s about creating a statement piece that reflects your style and enhances your home decor. Whether you have a rustic farmhouse hutch, a sleek modern one, or a vintage treasure, this guide will walk you through the best practices, tips, and personal anecdotes that will help you transform your hutch into a stunning focal point. Let’s dive in!
Understanding the Purpose of a Hutch
Before we get into the specifics of decorating, it’s essential to understand what a hutch is and its purpose in your home. A hutch typically consists of a cabinet with two sections: a bottom for storage and an upper part with shelves, often made from glass. It is usually used in dining rooms, kitchens, or living rooms for displaying dishes, books, or decorative items.
Why Decorate a Hutch?
Decorating your hutch serves several purposes:
- Personal Expression: It showcases your taste and personality.
- Functional Storage: It offers a practical way to store items while keeping them accessible.
- Visual Interest: A beautifully decorated hutch can act as a focal point in a room.
Choosing a Style for Your Hutch
Start by identifying the style that resonates with you and complements your home. Here are a few popular styles:
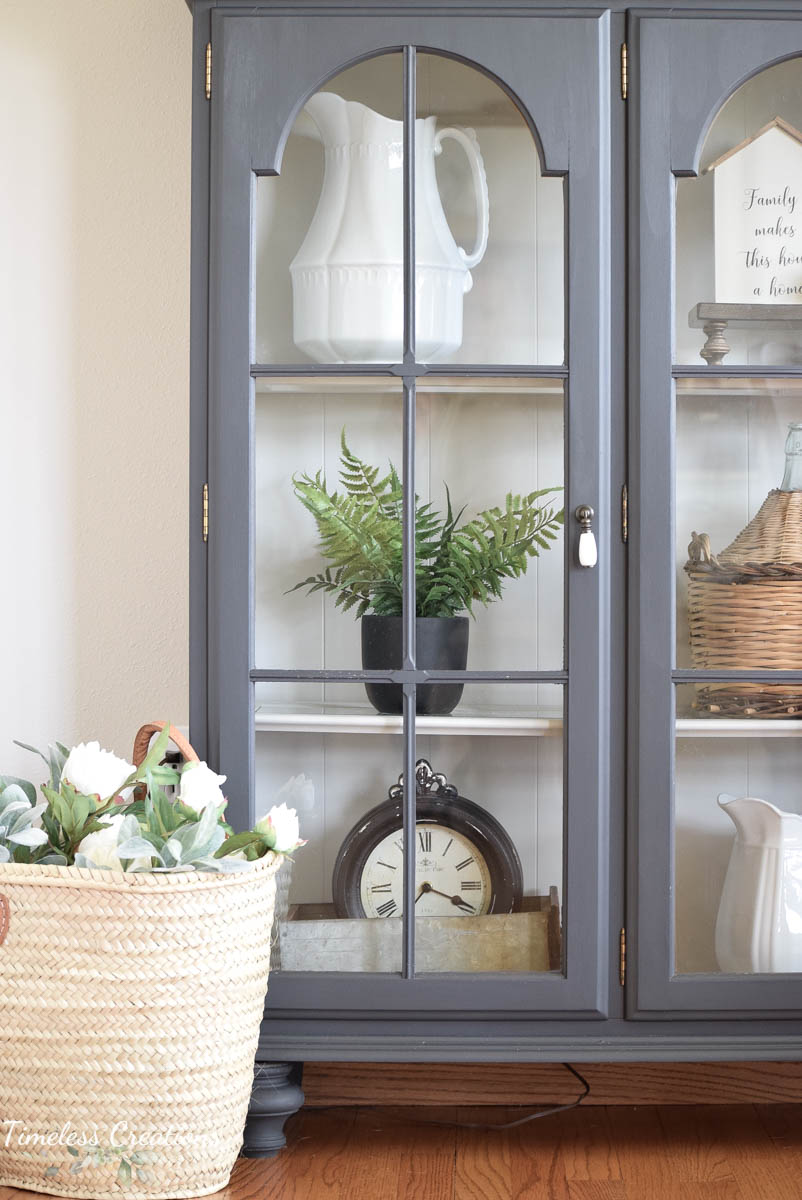
1. Rustic Farmhouse
- Color Palette: Whites, creams, and browns.
- Materials: Wood, metal, and glass.
- Decor Items: Woven baskets, vintage kitchenware, and potted plants.
2. Modern Minimalist
- Color Palette: Neutrals with pops of color.
- Materials: Sleek finishes like lacquer or metal.
- Decor Items: Geometric shapes, abstract art, and minimalistic vases.

3. Vintage Chic
- Color Palette: Pastels and muted colors.
- Materials: Antique wood and delicate ceramics.
- Decor Items: Old books, vintage dishes, and unique collectibles.
Table: Comparison of Hutches by Style
| Style | Color Palette | Materials | Key Decor Items |
|---|---|---|---|
| Rustic Farmhouse | Whites, creams, browns | Wood, metal, glass | Woven baskets, vintage kitchenware |
| Modern Minimalist | Neutrals with pops of color | Sleek finishes | Geometric shapes, modern art |
| Vintage Chic | Pastels and muted colors | Antique wood and ceramics | Old books, vintage dishes |

Preparing Your Hutch for Decoration
Once you’ve chosen a style, it’s time to prepare your hutch for decoration:
1. Clean and Declutter
Start by removing everything from the hutch. Dust and clean each surface thoroughly, including shelves and glass doors. This cleanup will give you a blank canvas to work with.
2. Assess Your Space
Consider where your hutch will be placed. Is it in a dining room, kitchen, or living area? The surrounding decor will influence your hutch’s design. Consider the height of the hutch and its visibility from different angles.
Decorating Your Hutch: Step-by-Step Guide
Step 1: Choose a Focal Point
Every decorated hutch needs a focal point, such as a large vase, a piece of art, or a unique decorative item. This should be placed at eye level, typically in the center of the top shelf. In my own home, I use a large, handcrafted ceramic vase filled with dried flowers, which instantly draws the eye.

Step 2: Layer Your Items
To create depth and interest, layer your items. Start with larger pieces in the back and work your way to smaller ones in the front. Consider using risers or stands to add height variations. For example, placing a stack of colorful books can elevate smaller decorative pieces like figurines.
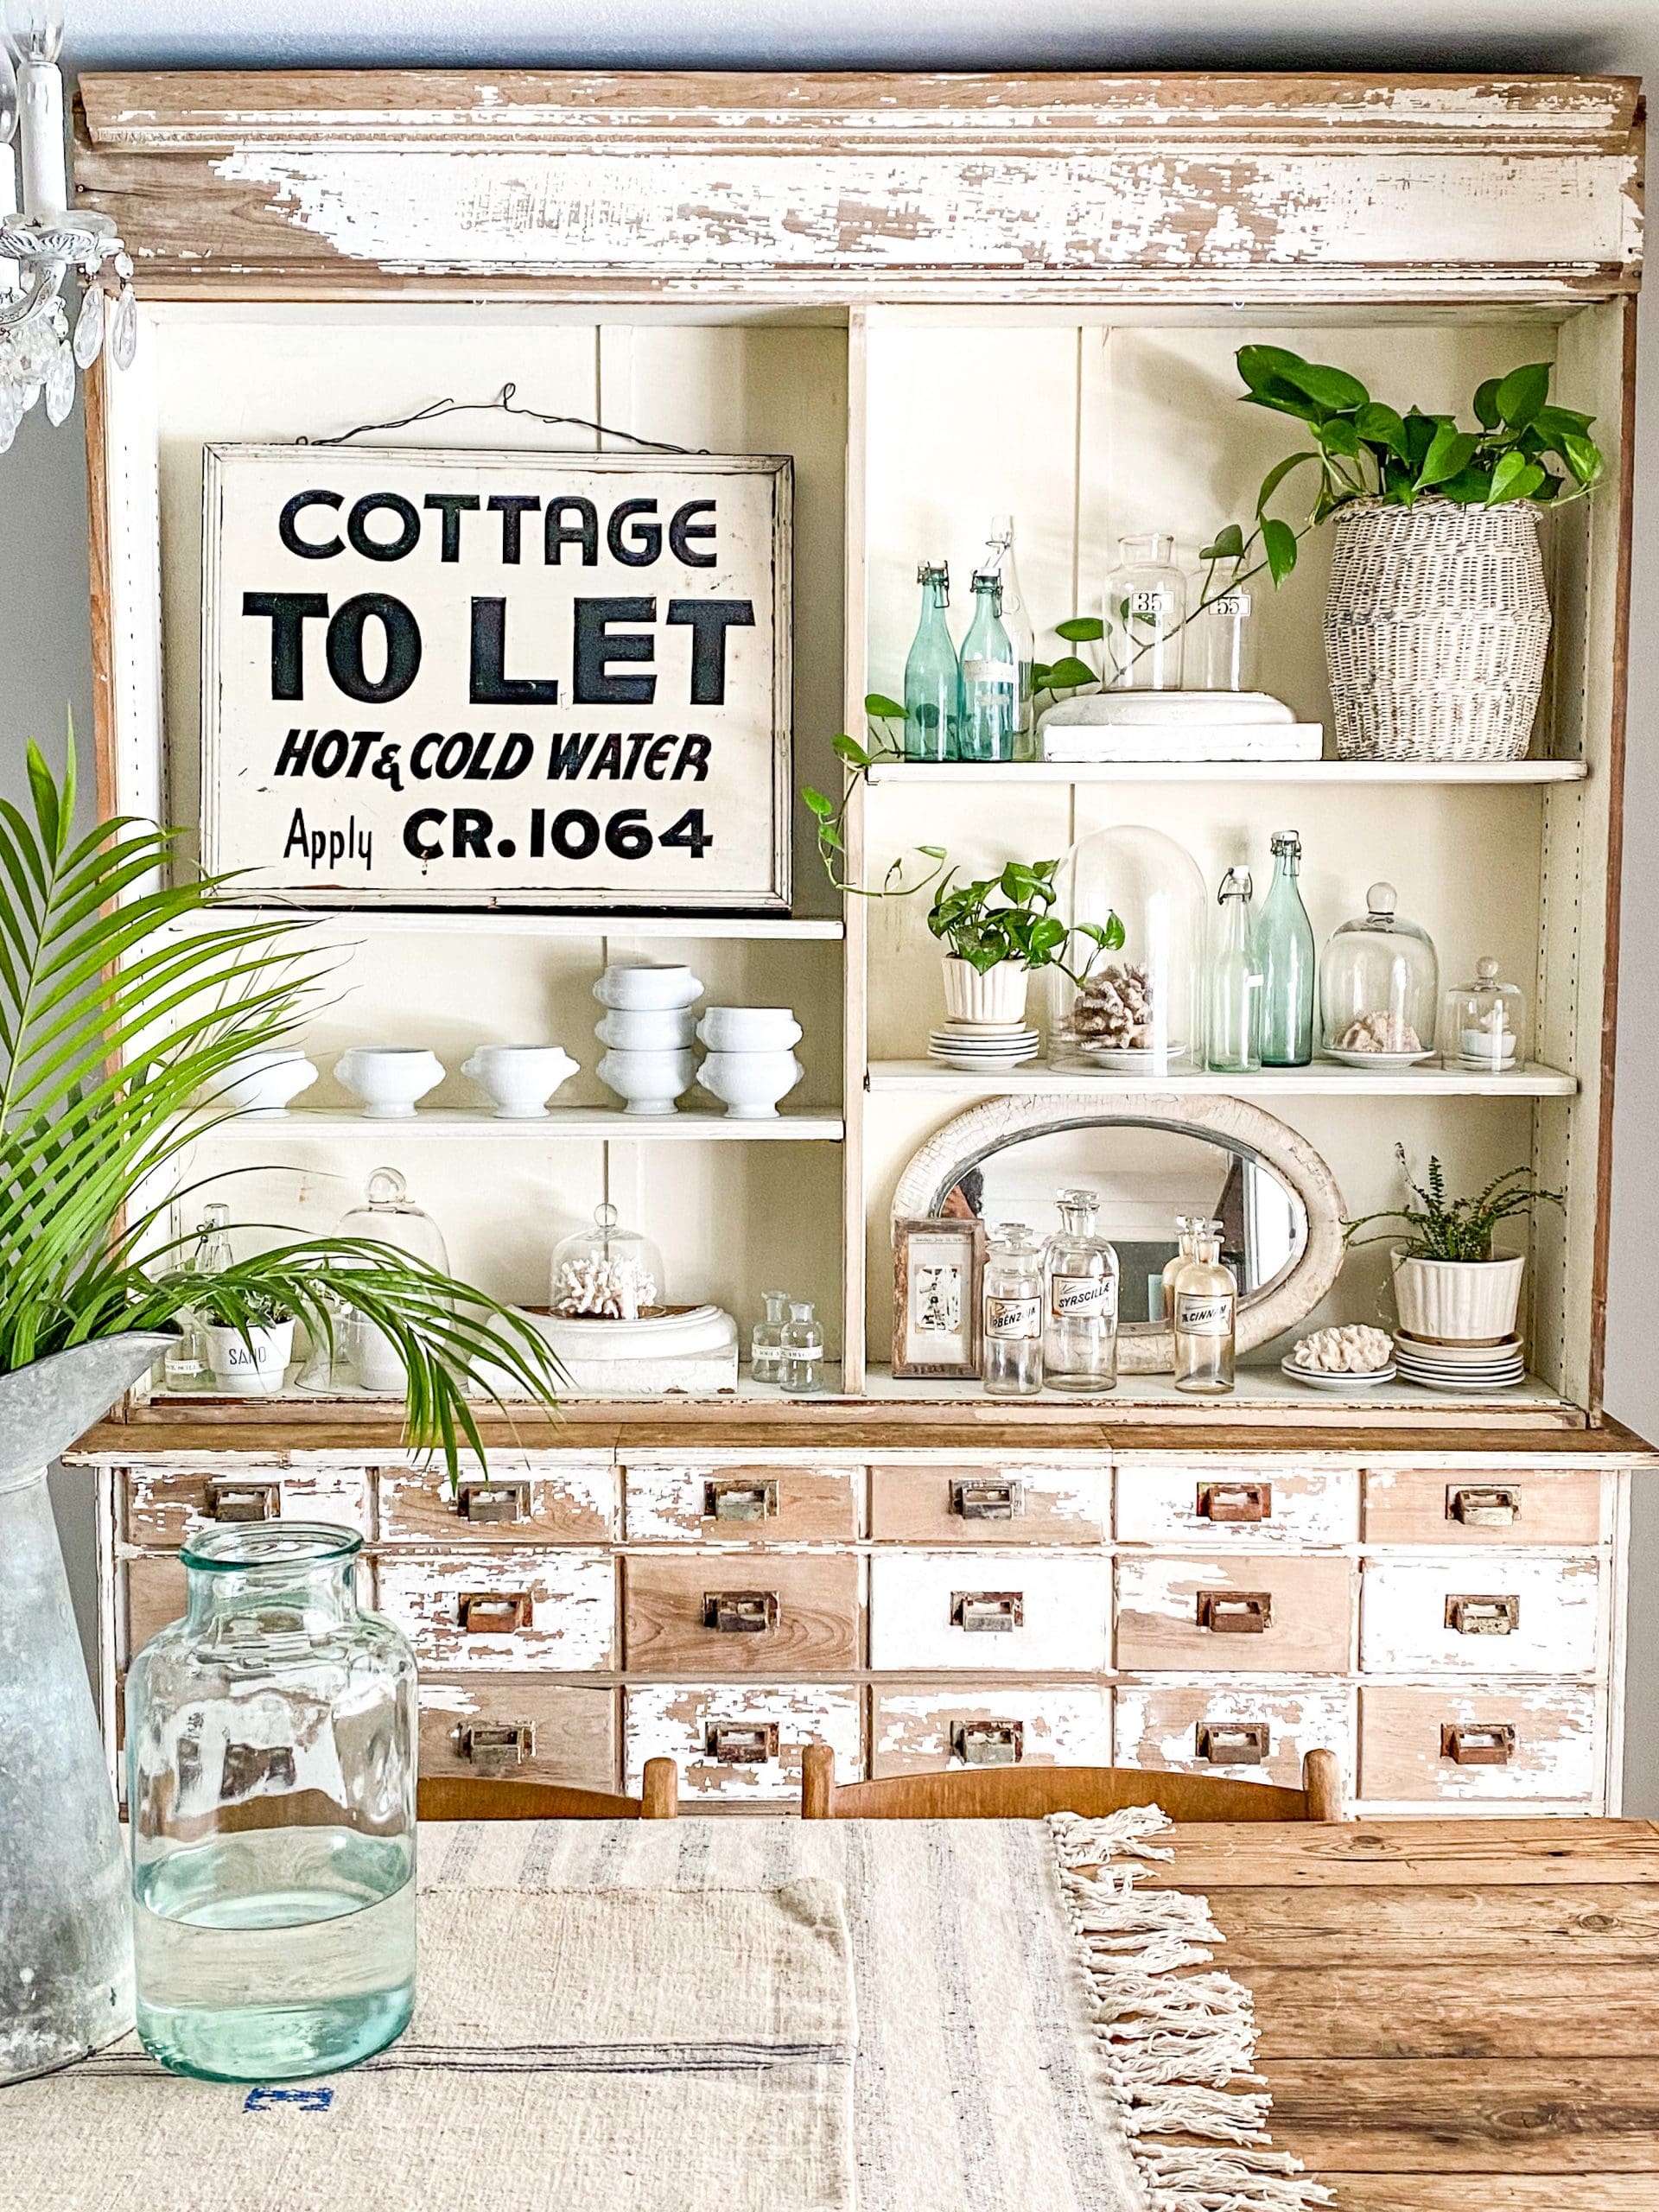
Step 3: Embrace Negative Space
Don’t feel pressured to fill every inch of your hutch. Embracing negative space allows each item to breathe and stand out. This technique is vital in achieving a clean, modern look while preventing clutter. I learned this lesson the hard way after overcrowding my hutch, which felt chaotic and uninviting.
Step 4: Balance Your Decor
When placing items, aim for balance. If one side of the hutch has a large item, try to balance it out with a grouping of smaller items on the opposite side. This creates visual harmony and a more polished look.
Step 5: Incorporate Lighting
Good lighting can enhance the beauty of your hutch. If possible, include a small spotlight or fairy lights to highlight your decor. I often use LED strip lights to illuminate the back of the hutch, which casts a warm glow over my favorite items.
Decorating Ideas for Different Hutches
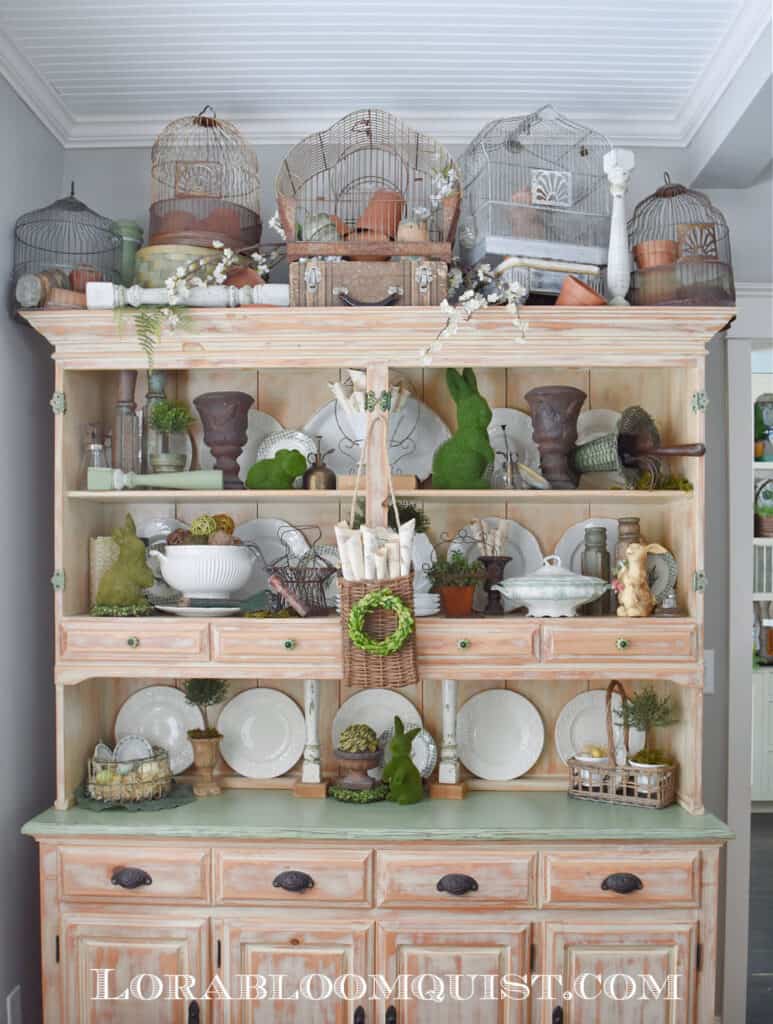
For a Rustic Farmhouse Hutch
Incorporate natural elements like wood and greenery. Utilize vintage plates and mason jars filled with fresh flowers. Here’s a list of items to consider:
- Woven baskets for storage
- Rustic wooden bowls
- Assorted plants
For a Modern Minimalist Hutch
Choose sleek, geometric pieces. Use black and white ceramics, along with one or two vibrant accents. Here’s what to include:
- Minimalistic vases
- Abstract sculptures
- Clear glass containers
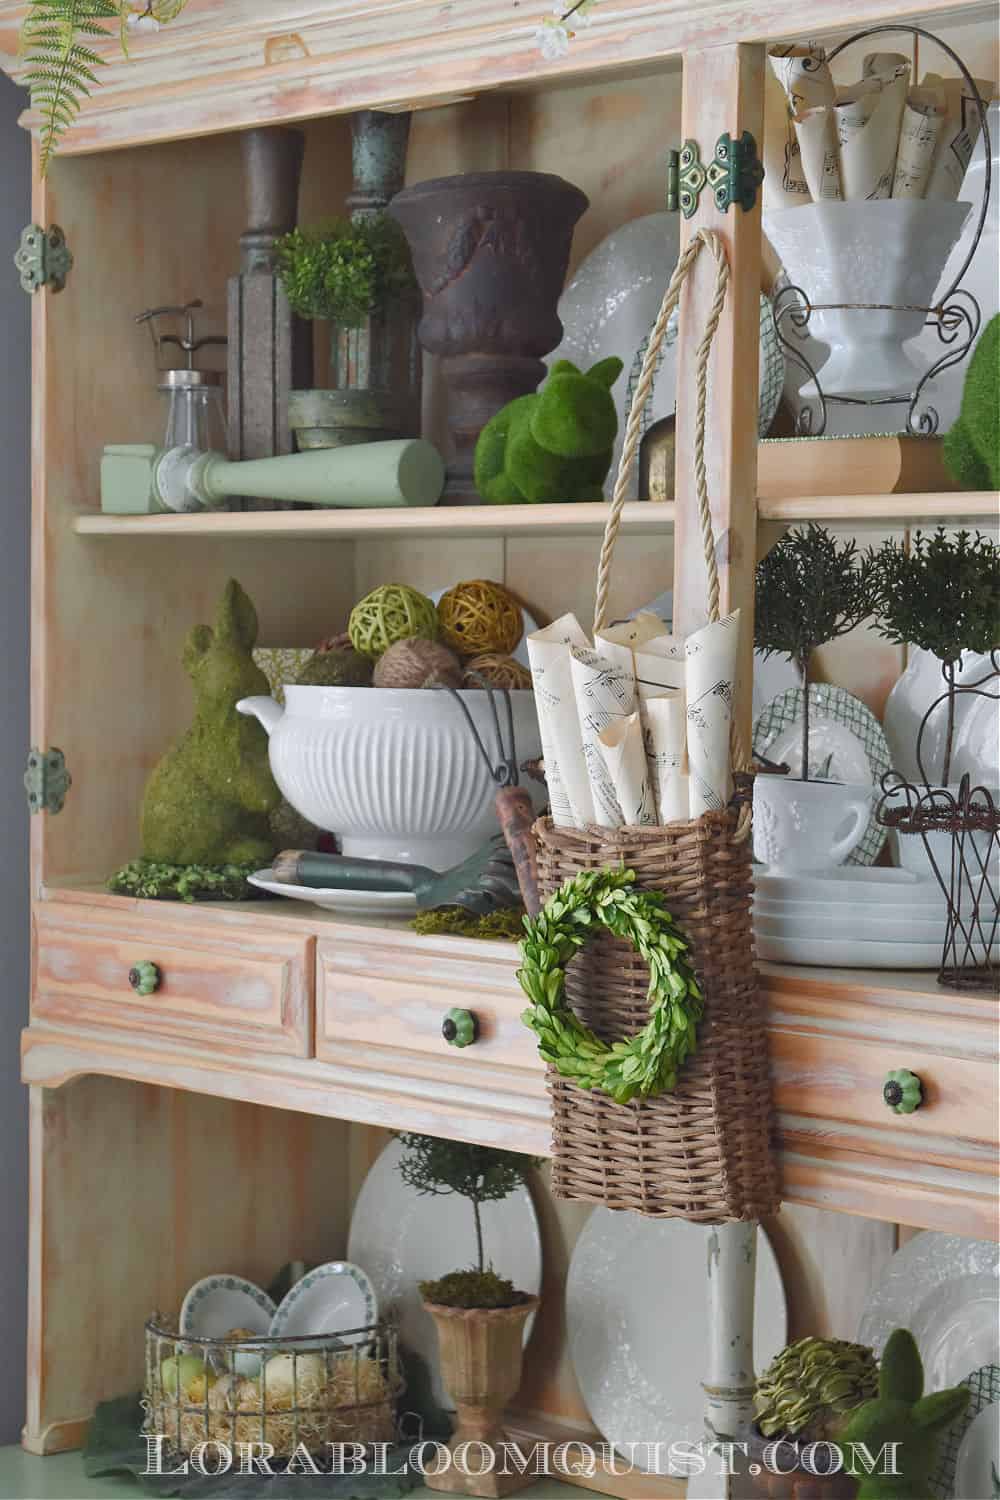
For a Vintage Chic Hutch
Opt for pastel colors and delicate decor. Incorporate vintage teacups, delicate linens, and nostalgic photographs. Suggested items might be:
- Old books with beautiful covers
- Antique teapots
- Framed vintage postcards
Pros and Cons of Decorating a Hutch
Like any design choice, decorating a hutch comes with its advantages and challenges. Here’s a quick overview:
Pros
- Enhances room aesthetics
- Provides extra storage
- Showcases personal style
Cons
- Can become cluttered if over-decorated
- Requires regular dusting and maintenance
- May need to change decor seasonally to keep it fresh
Maintaining Your Decor Over Time
After you’ve successfully decorated your hutch, keeping it looking fresh requires a bit of upkeep. Here are a few tips:
Regular Cleaning
Dust your hutch regularly to keep it looking pristine. Use a gentle cleaner for glass and wood to avoid damage.
Seasonal Refresh
Change decor items seasonally to keep your hutch feeling current and lively. For instance, swap out summer flowers for autumn leaves or winter decorations as the seasons change.
Storage Management
Reassess the items stored within your hutch regularly. If you find items that no longer fit your style or are rarely used, consider donating them.
FAQs about Decorating a Hutch
Q1: What items can I display in a hutch?
A: You can display a variety of items including dishes, glassware, books, plants, and decorative pieces that reflect your style.
Q2: How do I prevent my hutch from looking cluttered?
A: Embrace negative space, balance your decor, and avoid over-filling the shelves with items.
Q3: What is the best way to group items on a hutch?
A: Group items by size, color, or theme. Use a combination of heights and textures to create visual interest.
Q4: How often should I change my hutch decor?
A: It’s a good idea to refresh your decor seasonally or whenever you feel your hutch needs a new look.
Q5: Can I mix styles in my hutch decor?
A: Absolutely! Mixing styles can create a unique and personalized look, as long as you maintain some balance and cohesion.
Conclusion
Decorating a hutch offers an exciting opportunity to infuse your home with color, texture, and personality. With the right approach and a little creativity, you can create a stunning display that not only serves practical purposes but also showcases your unique style. Remember to have fun with it and embrace the process—you might just find yourself inspired to redecorate other areas in your home too!
Whether you’re a seasoned decorator or just starting out, I hope this guide has provided you with valuable insights into transforming your hutch into a beautiful display that reflects who you are. Happy decorating!