Introduction
Chocolate covered Oreos are not just a delicious treat; they are a canvas for creativity! Whether you’re preparing for a birthday party, a wedding, or just a cozy night in, decorating your Oreos can be a fun and engaging activity. With countless ways to customize your chocolate covered Oreos, you can impress your friends and family with minimal effort. In this comprehensive guide, we will explore decorating techniques, tips, and ideas that will elevate your chocolate-covered treats to a masterpiece!
Why Choose Chocolate Covered Oreos?
Chocolate covered Oreos combine two beloved treats into one! Here’s why they’re a popular choice for decorations:
- Versatility: Suitable for any occasion, from holidays to birthdays.
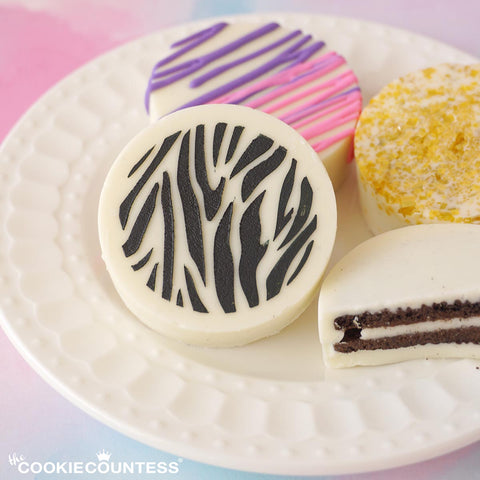
- Customizable: You can change flavors, colors, and styles to suit your theme.
- Easy to Make: Requires minimal ingredients and effort.
- Great for Gifting: Homemade treats make heartfelt gifts.
Essential Supplies for Decorating Chocolate Covered Oreos
Ingredients You’ll Need
- Oreos (regular, double-stuffed, or gluten-free)
- Chocolate (milk, dark, white, or colored) for coating
- Sprinkles, nuts, or crushed cookies for toppings
- Decorative edible glitter and food coloring
Tools Required
- Microwave-safe bowls or double boiler
- Spatula or fork for dipping
- Baking sheet lined with parchment paper
- Decorating bags or squeeze bottles for drizzling
- Refrigerator for setting the chocolate
Step-by-Step Guide to Making Chocolate Covered Oreos
1. Prepare Your Workspace
Clear a space in your kitchen, ensuring all your tools and ingredients are within arm’s reach. This will make the process smoother and more enjoyable.
2. Melt the Chocolate
Using either a microwave or double boiler, melt your chocolate until it’s smooth. If using a microwave, heat in 30-second intervals, stirring in between to prevent burning.
3. Dip the Oreos
Using a fork or a dipping tool, submerge each Oreo into the melted chocolate. Gently shake off any excess chocolate before placing them on the baking sheet.
4. Add Decorations
This is where the fun begins! While the chocolate is still wet, sprinkle toppings of your choice over the Oreos. For drizzled designs, allow the chocolate to set slightly before adding colored chocolate drizzles.

5. Let Them Set
Allow the decorated Oreos to cool in the refrigerator for about 15-20 minutes or until the chocolate has hardened completely.
Creative Decorating Ideas
Theme-Based Decorations
Holiday Designs
Deck the halls with festive chocolate covered Oreos for every holiday! Here are some ideas:
| Holiday | Decoration Ideas |
|---|---|
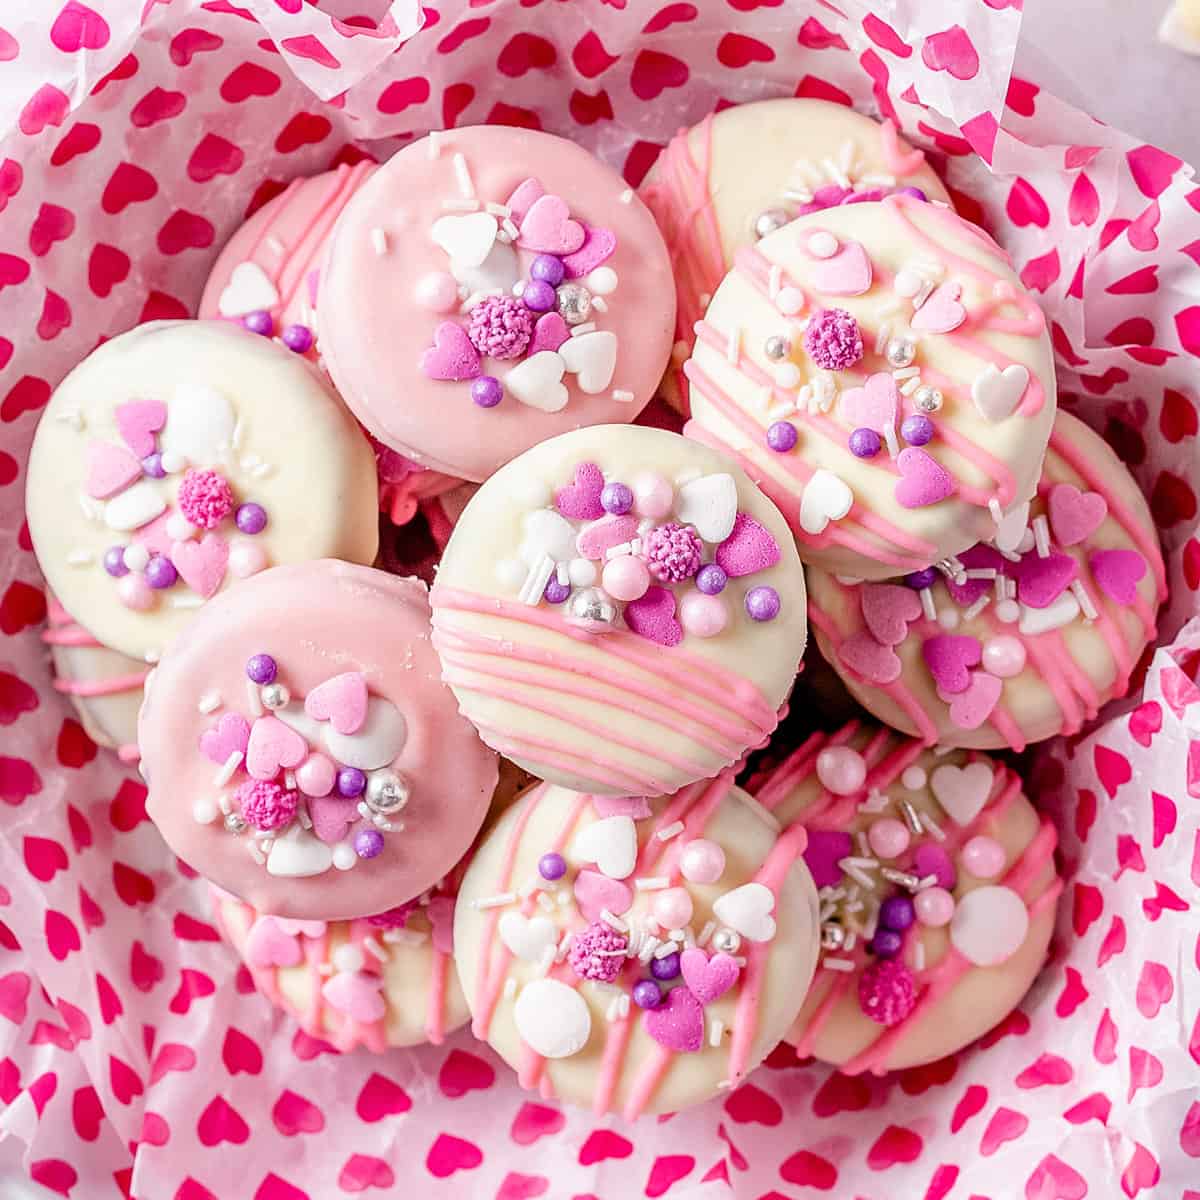
| Valentine’s Day | Red and pink sprinkles, heart shapes, and chocolate drizzles |
| Halloween | Orange and black sprinkles, ghost designs, and candy eyes |
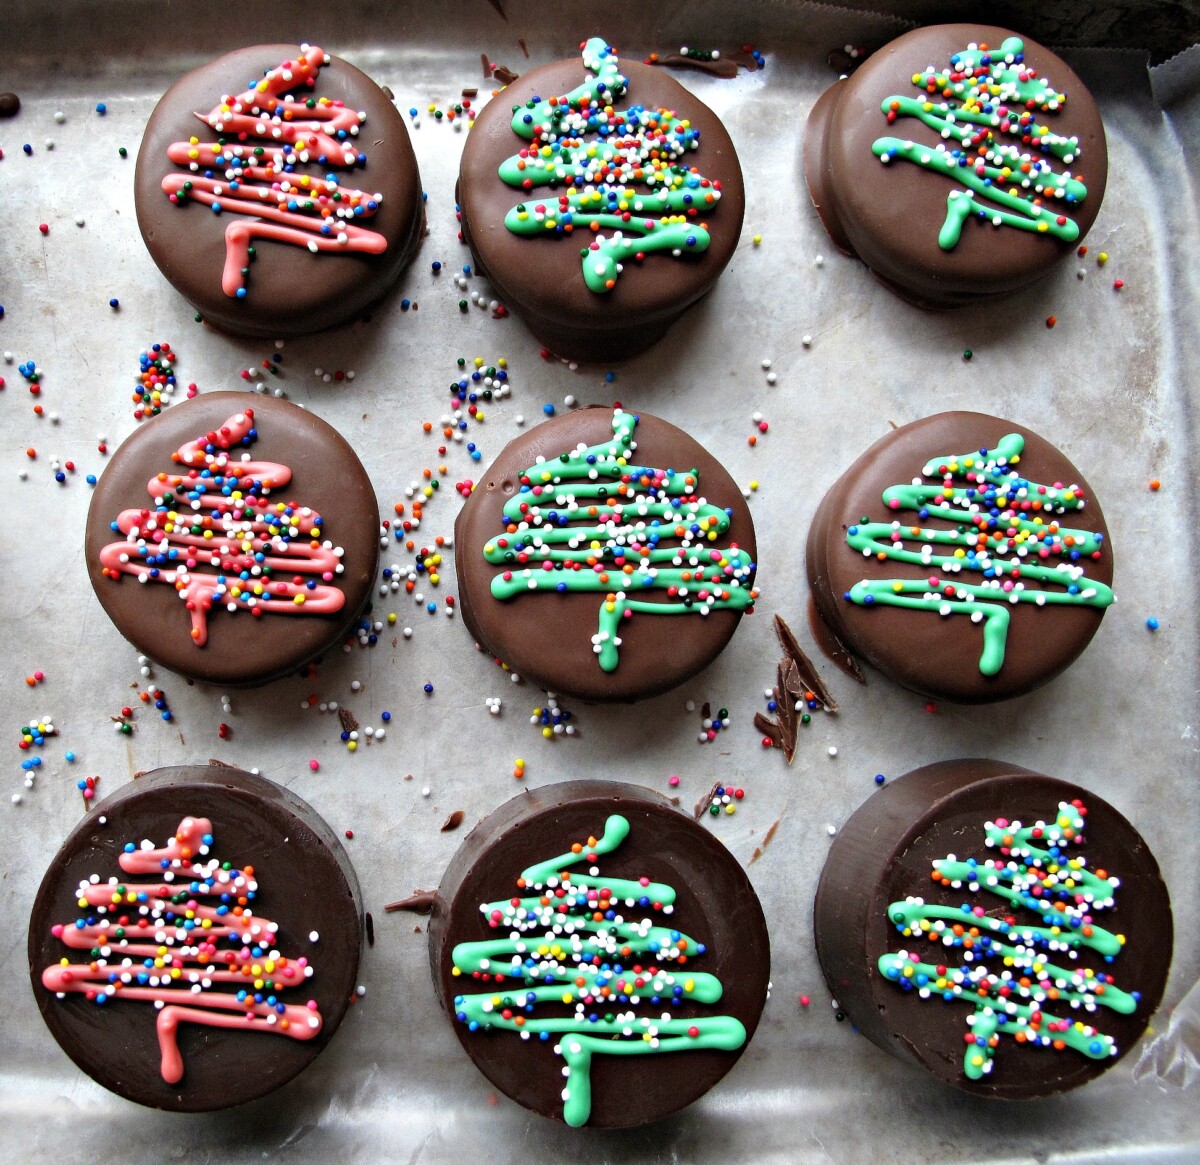
| Christmas | Green and red sprinkles, snowflakes, and peppermint bits |
| Birthdays | Colorful confetti sprinkles, birthday messages, and candles |
Personalized Oreos
For a unique touch, consider personalizing your Oreos. You can use edible markers to write names or messages directly on the chocolate. This approach is perfect for party favors or special celebrations.
Pros and Cons of Chocolate Covered Oreos
Pros
- Easily customizable for any occasion
- Fun activity to engage family and friends
- Delicious combination of flavors and textures
- Perfect for gift-giving with a personal touch

Cons
- Can be messy depending on the use of chocolate
- Requires a bit of time for decoration and setting
- Chocolate can be temperamental if overheated
Adding a Touch of Elegance: Advanced Decoration Techniques
Marble Designs
To create beautiful marble effects, use two different colors of chocolate. Drizzle one color over the other, then use a toothpick to swirl them together before setting.

Creating Textures
Incorporate various textures using toppings like crushed cookies, coconut flakes, or nuts. These not only add flavor but also an appealing crunch!
Frequently Asked Questions (FAQs)
Can I use any type of chocolate for dipping Oreos?
Absolutely! You can use milk chocolate, dark chocolate, white chocolate, or even colored chocolate melts. Each adds a unique flavor and aesthetic to your Oreos.
How do I store decorated Oreos?
Store decorated Oreos in an airtight container in a cool, dry place. They can last for up to two weeks if stored properly.
Can I freeze chocolate covered Oreos?
Yes, you can freeze them! Just ensure they are in an airtight container. When ready to eat, let them thaw in the fridge to maintain texture.
What’s the best way to transport decorated Oreos?
Use a flat container to keep them stable and prevent smudging. Adding parchment paper between layers can also help protect the decorations.
Conclusion
Chocolate covered Oreos are versatile, delightful, and an absolute crowd-pleaser! Their customizable nature means you can create a unique design for any occasion, making them perfect for any gathering. I hope this guide inspires you to unleash your creativity and make some mouth-watering treats. Happy decorating!