Welcome to the sweet world of cake decorating! If you’re looking to add a unique touch to your cakes and impress your friends and family, you’ve come to the right place. In this comprehensive guide, we will explore just how creative you can get with KitKat bars in your cake designs. From tutorials to tips and personal anecdotes, you’re bound to find inspiration to elevate your baking game.
Why Choose KitKat for Cake Decoration?
KitKat bars are not just a delicious treat; they serve as fantastic cake decorations! Their unique structure and mouthwatering flavor make them a popular choice. Here’s why you should consider KitKat for your next cake:
- Visual Appeal: The iconic shape of KitKat bars adds a striking element to any cake.
- Versatile Flavor: The chocolate and wafer combination complements many cake flavors.
- Easy to Use: KitKats can be arranged in various styles, requiring minimal effort for a maximum impact.
- Everyone Loves Them: KitKats appeal to both kids and adults, making them the perfect choice for any occasion.
Getting Started: Tools and Ingredients
Essential Tools
Before diving into the decoration, gather a few essential tools:
- Cake board
- Offset spatula
- Sharp knife or cake leveler
- Decorator’s knife
- Candy melts or frosting for gluing
- Decorative piping bag (optional)
Ingredients You’ll Need
For a basic cake, you’ll need:
- 2 cups all-purpose flour
- 1 ½ cups granulated sugar
- ½ cup unsweetened cocoa powder (for chocolate cake)
- 1 cup butter, softened
- 1 cup milk
- 3 large eggs
- 1 tablespoon baking powder
- 1 teaspoon vanilla extract
- KitKat bars (various sizes)
- Optional: Additional decorations like sprinkles or fresh fruits
Step-by-Step Guide to Decorating Cake with KitKat
Baking the Cake
Start with your favorite cake recipe. I often choose a classic chocolate cake because it pairs beautifully with KitKat. Prep your baking pans by greasing them and lining the bottoms with parchment paper to prevent sticking. Here’s a quick breakdown:
- Preheat the oven to 350°F (175°C).
- In a bowl, mix the dry ingredients together (flour, sugar, cocoa powder, baking powder).
- In another bowl, cream the butter and sugar until fluffy. Add eggs one at a time, followed by milk and vanilla.
- Gradually mix the dry ingredients into the wet ingredients until fully combined.
- Pour the batter into prepared pans and bake for 30-35 minutes. Check with a toothpick; it should come out clean.
- Let the cakes cool completely before frosting.
Assembling the Cake
Once your cakes have cooled, it’s time to assemble them. I often slice the tops of my cakes to make them level. Here’s how:
- Place the first layer of cake on a cake board.
- Spread a layer of frosting on top.
- Add the second layer and repeat with frosting.
- For a textured finish, you can use a spatula to create swirls in the frosting.

Decorating with KitKat
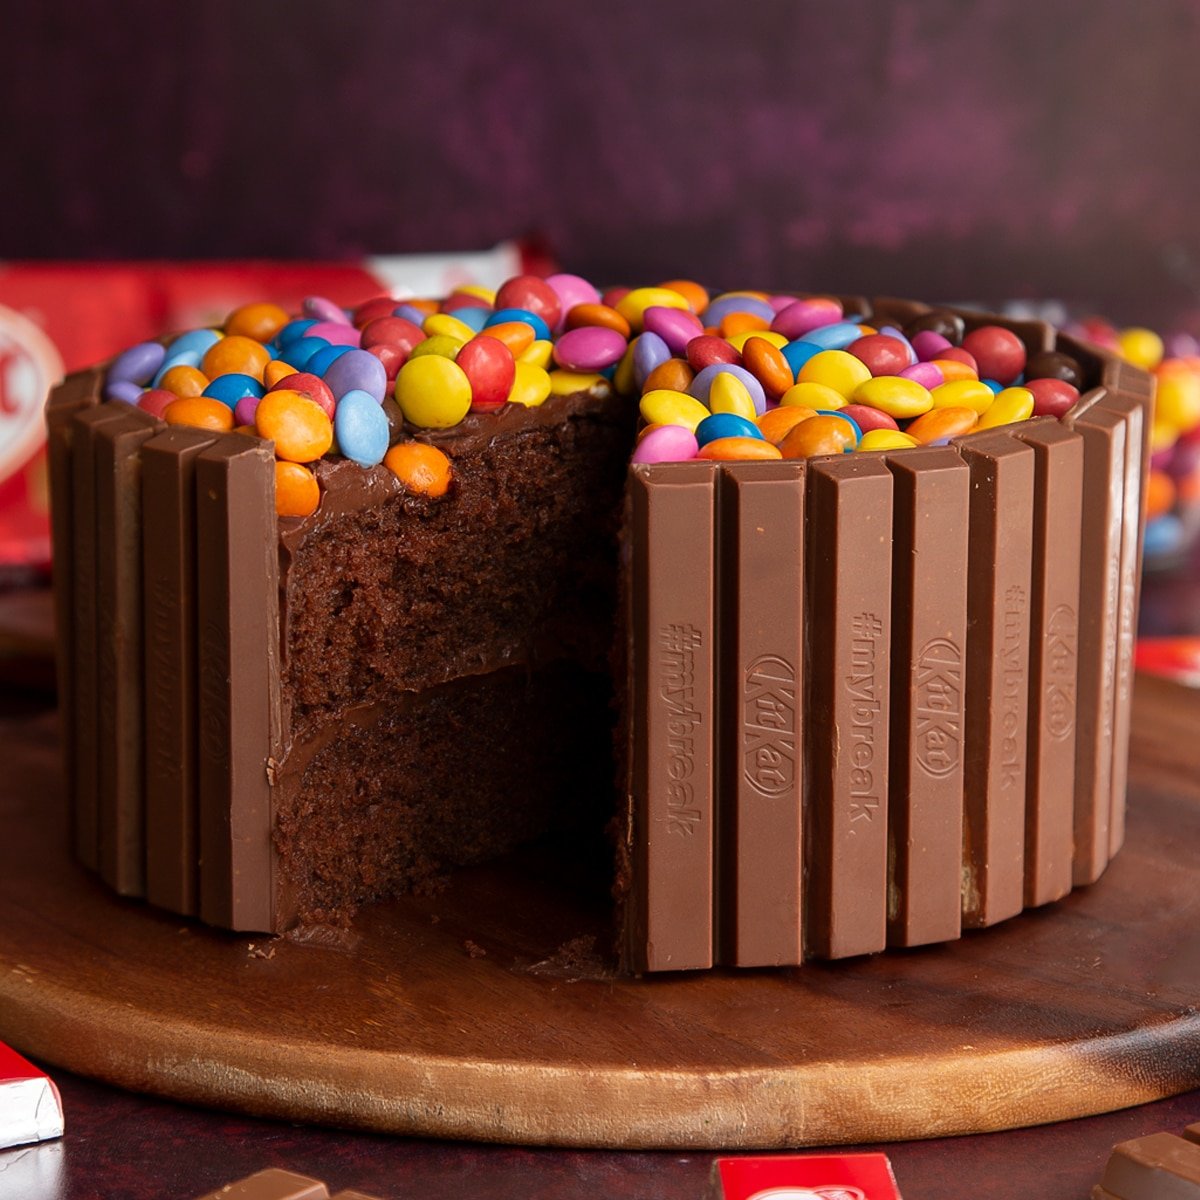
Now comes the fun part—decorating with KitKat! Here’s how to do it:
- Take your KitKat bars and break them into individual pieces. You can opt for full bars around the edge or halves.
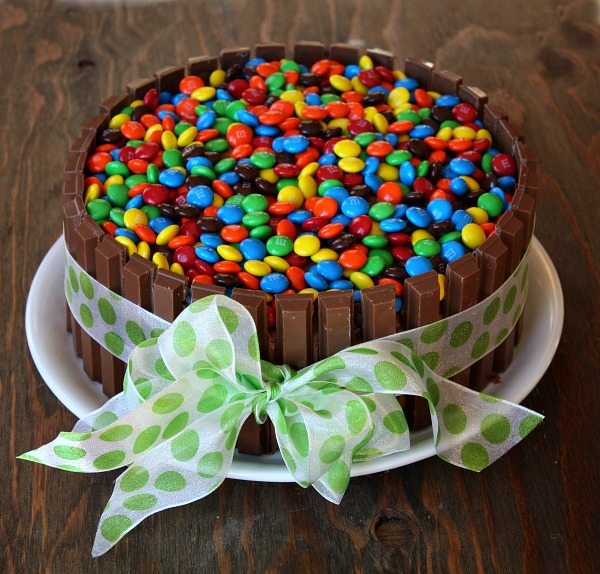
- Use a thicker frosting or melted candy melts to adhere the KitKats vertically around the sides of the cake.
- Fill the top of the cake with additional KitKats or other decorations.
- For a creative touch, you can use other candies or fresh fruits in between the KitKats.
Creative KitKat Cake Ideas
Chocolate Overload KitKat Cake
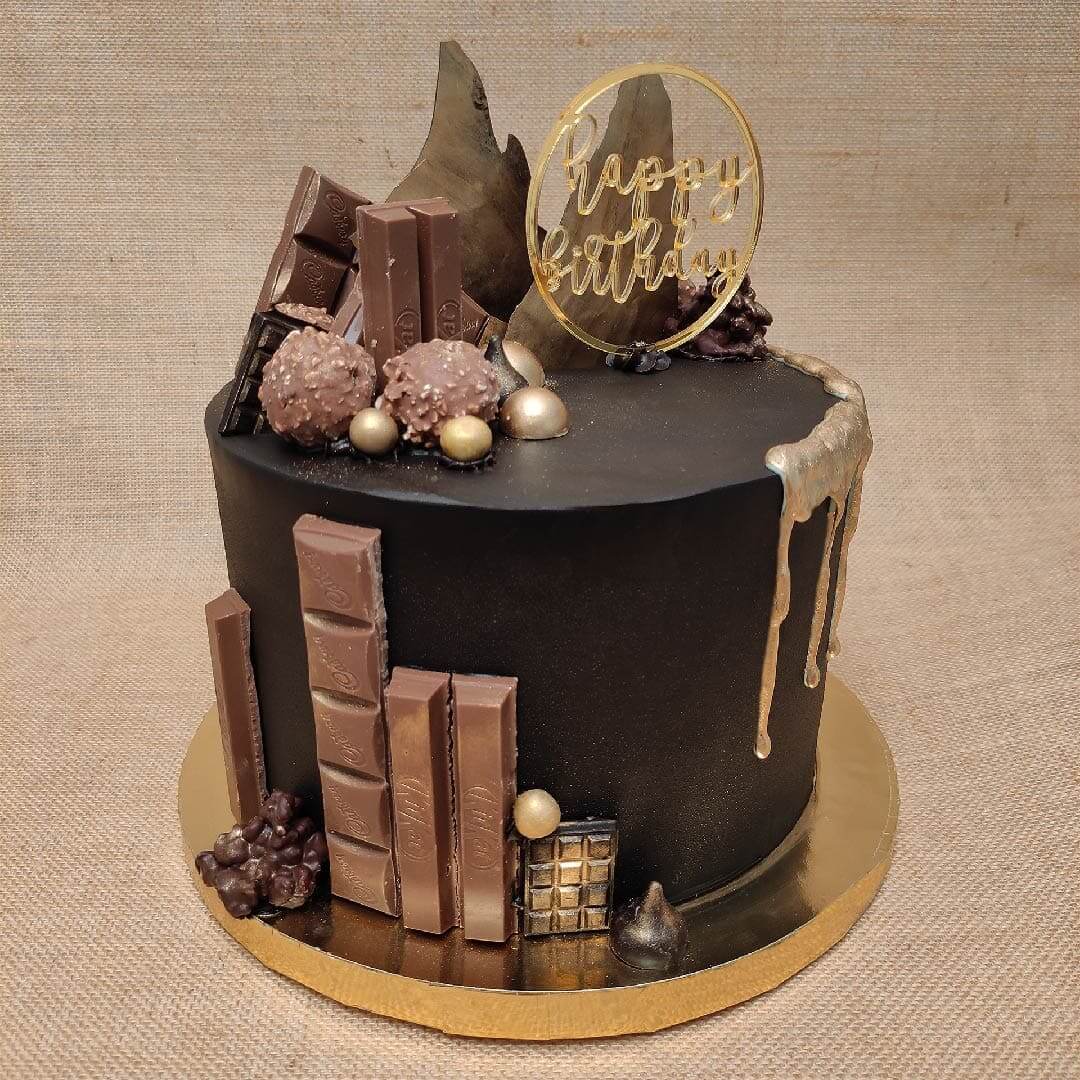
This is for the true chocolate lovers! Make a rich chocolate cake layered with chocolate frosting and surrounded by KitKats. Top with chocolate ganache for extra sweetness!

Rainbow Unicorn KitKat Cake
For a vibrant, fun cake, dye your frosting in various colors. Decorate with KitKat bars and scatter rainbow sprinkles on top for a magical effect!
Seasonal KitKat Cake
For special occasions, consider using seasonal flavors of KitKat, like pumpkin pie for fall or mint for Christmas. Adjust your cake flavor accordingly for a perfect fit.

Comparing KitKat Varieties for Cake Decoration
| Type of KitKat | Flavor | Best Used For | Pros | Cons |
|---|---|---|---|---|
| Classic | Milk Chocolate | All occasions | Universally loved | May not stand out |
| White Chocolate | White Chocolate | Elegant cakes | Unique flavor | Not everyone’s favorite |
| Flavors (e.g., Matcha, Strawberry) | Varies | Creative themes | Exciting variations | Limited availability |
Pros and Cons of Using KitKat in Cake Decoration
Pros
- Easy to incorporate into designs
- Available in various flavors
- Delicious and visually appealing
- Combine well with different frosting types

Cons
- Can be costly if used in large amounts
- May not appeal to specific dietary restrictions
- Potential for melting in warm conditions
Tips for Perfect KitKat Cake Decoration
Maintain Temperature
Always ensure your cake is cooled adequately before you start decorating. This prevents your KitKat from melting.

Use Quality Ingredients
Invest in good-quality chocolate and frosting. It can make a significant difference in taste and presentation.
Practice Patience
Take your time while decorating. Sometimes the best results come from experimenting and being patient with the process.

FAQs About Decorating Cakes with KitKat
Can I use any flavor of KitKat for decorating my cake?
Absolutely! While the classic milk chocolate KitKat is popular, experimenting with flavors like white chocolate or seasonal varieties can add a unique twist to your cake.
How do I prevent KitKat from melting on the cake?
Ensure your cake is cooled before adding the KitKat. Additionally, keep the cake in a cool place until serving, especially in warmer weather.
What other candies can I combine with KitKat for decoration?
Skittles, M&Ms, or gummy candies work well alongside KitKat. Mixing textures and flavors can create an exciting cake!
Can I make a gluten-free cake and still use KitKat?
It depends on the KitKat itself, as many contain gluten. However, gluten-free KitKats are available in some regions, or you can consider alternatives like chocolate-covered wafers.
Conclusion
With KitKat bars, the possibilities for cake decoration are endless. From simple designs to intricate creations, you can personalize your cake while making it delicious. I encourage you to experiment, share your creations, and most importantly, enjoy the process. Happy baking!