Welcome to the world of egg decorating competitions! Having participated in several of these creative contests myself, I can confidently say there’s nothing quite like the thrill of transforming a simple egg into a dazzling piece of art. In this article, I’ll share invaluable tips, techniques, and personal anecdotes that will help you create breathtaking eggs for your next competition. Let’s crack into it!
Understanding the Basics of Egg Decorating Competitions
Egg decorating is not just a fun hobby; it’s a competitive art form! Competitions can be local, regional, or national, and each has its own set of rules and judging criteria.
Types of Egg Decorating Competitions
- Traditional designs (e.g., Ukrainian Pysanky)
- Modern artistic interpretations
- Themed contests (e.g., holidays, seasons)
- 3D designs and mixed media
Judging Criteria
Most competitions focus on several factors when judging entries:
- Creativity and originality
- Techniques used (painting, dyeing, carving)
- Attention to detail
- Overall presentation
Materials You’ll Need for Decorating Eggs
Essential Supplies
Before you start decorating, gather the following materials:
| Material | Description |
|---|---|
| Eggs | Choose between real eggs or craft eggs based on your preference. |
| Dyes | Natural or synthetic dyes for coloring your eggs. |
| Brushes | Fine-tipped brushes for painting intricate designs. |
| Adhesives | For attaching embellishments like glitter or sequins. |
| Protective Finish | Sealants to protect your decorated eggs. |
Optional Supplies
These items can enhance your egg decorating experience:
- Stickers and stencils
- Transfer paper and markers
- Ribbons and other embellishments
Techniques for Decorating Eggs
Now that you have your materials, let’s delve into various techniques for decorating eggs. Each technique offers a unique style and can be used alone or in combination with others.
1. Dyeing Techniques
Dyeing is one of the most popular ways to decorate eggs. Here are a few methods:
- Natural Dyeing: Use ingredients like beet juice, onion skins, or turmeric to create beautiful, earth-friendly colors.
- Commercial Dyes: Easy-to-use kits that provide vibrant colors and are readily available.
- Ombre Effect: Dip the egg in dye for a few seconds, then increase the immersion time for a gradient effect.
2. Painting Techniques
Painting allows for complete creative freedom. Here are some tips:
- Use acrylic or watercolor paints for vibrant results.
- Consider using a sponge for a textured look.
- Experiment with layering colors for depth.
3. Carving and Etching
This technique involves carving designs into the egg’s surface:
- Use a small, sharp tool for precision.
- Practice on a dummy egg first to perfect your technique.
- Etched eggs can be stunning when backlit!

4. Mixed Media Techniques
Combine different materials for unique designs:
- Use fabric, paper, beads, or glitter to create a 3D effect.
- Layer different techniques, like painting over a dye.
Choosing a Design Theme
Choosing a theme can make your egg stand out:
Discuss Potential Themes
- Nature: Flowers, leaves, or animals.
- Seasons: Winter wonderlands, summer scenes.
- Fantasy: Mythical creatures or storybook characters.

Creating a Design Plan
Sketching out your ideas can help visualize your design:
- Brainstorm with friends or family for inspiration.
- Draw your design on paper before applying it to the egg.
- Consider how colors will work together.
Executing Your Design
Now it’s time to put your plan into action!
Step-by-Step Guide to Decorating
- Prepare your workspace with all materials at hand.
- Start with the base color or dye your egg.
- Apply the main design, whether painting or carving.
- Add embellishments like beads or glitter, if desired.
- Finish with a protective sealant to preserve your work.

Tips for Success
- Take your time and be patient—rushing can lead to mistakes.
- Clean brushes and tools regularly to avoid color contamination.
- Practice different techniques on scrap eggs to gain confidence.
Preparing for the Competition
Once your egg is decorated, it’s time to prepare for the big day!
Presentation Matters
How you present your egg can be just as important as the design itself:
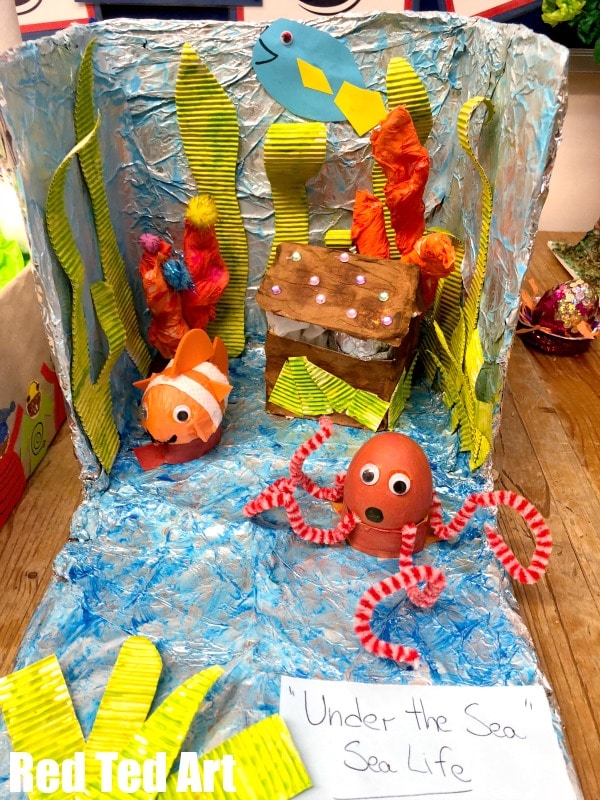
- Consider a themed display base or stand for your egg.
- Include a small card explaining your design inspiration.
- Practice your presentation skills—judges appreciate enthusiasm.

Know the Rules
Every competition has different rules. Be sure to:
- Check submission deadlines.
- Understand the judging criteria.
- Follow all specific rules regarding size and materials.
Pros and Cons of Participating in Egg Decorating Competitions
| Pros | Cons |
|---|---|
| Creative expression and fun | Time-consuming preparation |
| Chance to win prizes | Pressure of competition |
| Opportunity to meet fellow artists | Potential for disappointment |

Common Mistakes to Avoid
Having participated in several competitions, I’ve learned some valuable lessons about what to avoid:
1. Not Practicing Techniques
Practice is key to mastering techniques. Don’t wait until the last minute!
2. Ignoring the Theme
Competitions often have themes—ignoring them can lead to a lower score.
3. Skimping on Presentation
Presentation can set your egg apart from others. Invest time in making it appealing!
FAQs About Egg Decorating Competitions
Q1: What kind of eggs should I use for decorating?
A1: You can use real eggs or craft eggs. Real eggs require careful handling, while craft eggs offer more durability.

Q2: How can I make my egg designs more professional looking?
A2: Invest in quality materials and take your time. Practice various techniques and pay attention to details.
Q3: Are there specific themes for egg decorating competitions?
A3: Yes, many competitions feature specific themes, such as holidays or nature. Check the competition guidelines for details.

Q4: What should I do if I make a mistake while decorating?
A4: Don’t panic! Many mistakes can be fixed. You can paint over a mistake or incorporate it into your design.
Q5: How do I protect my decorated eggs after decorating?
A5: Use a clear sealant to protect your designs from fading or chipping.