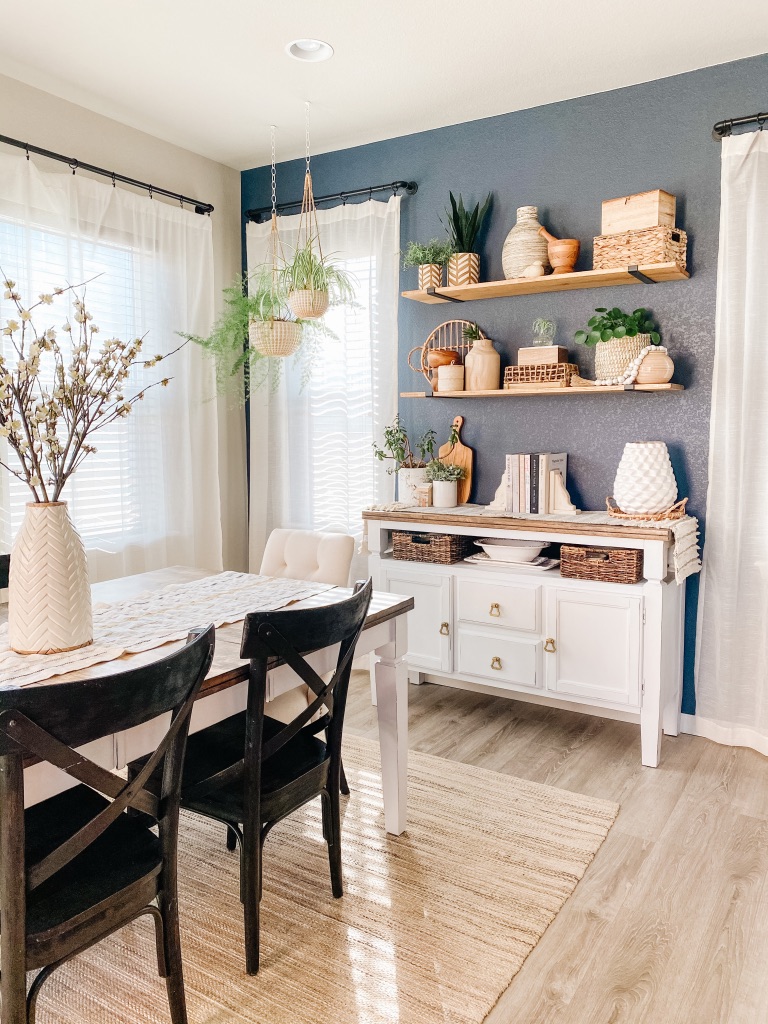
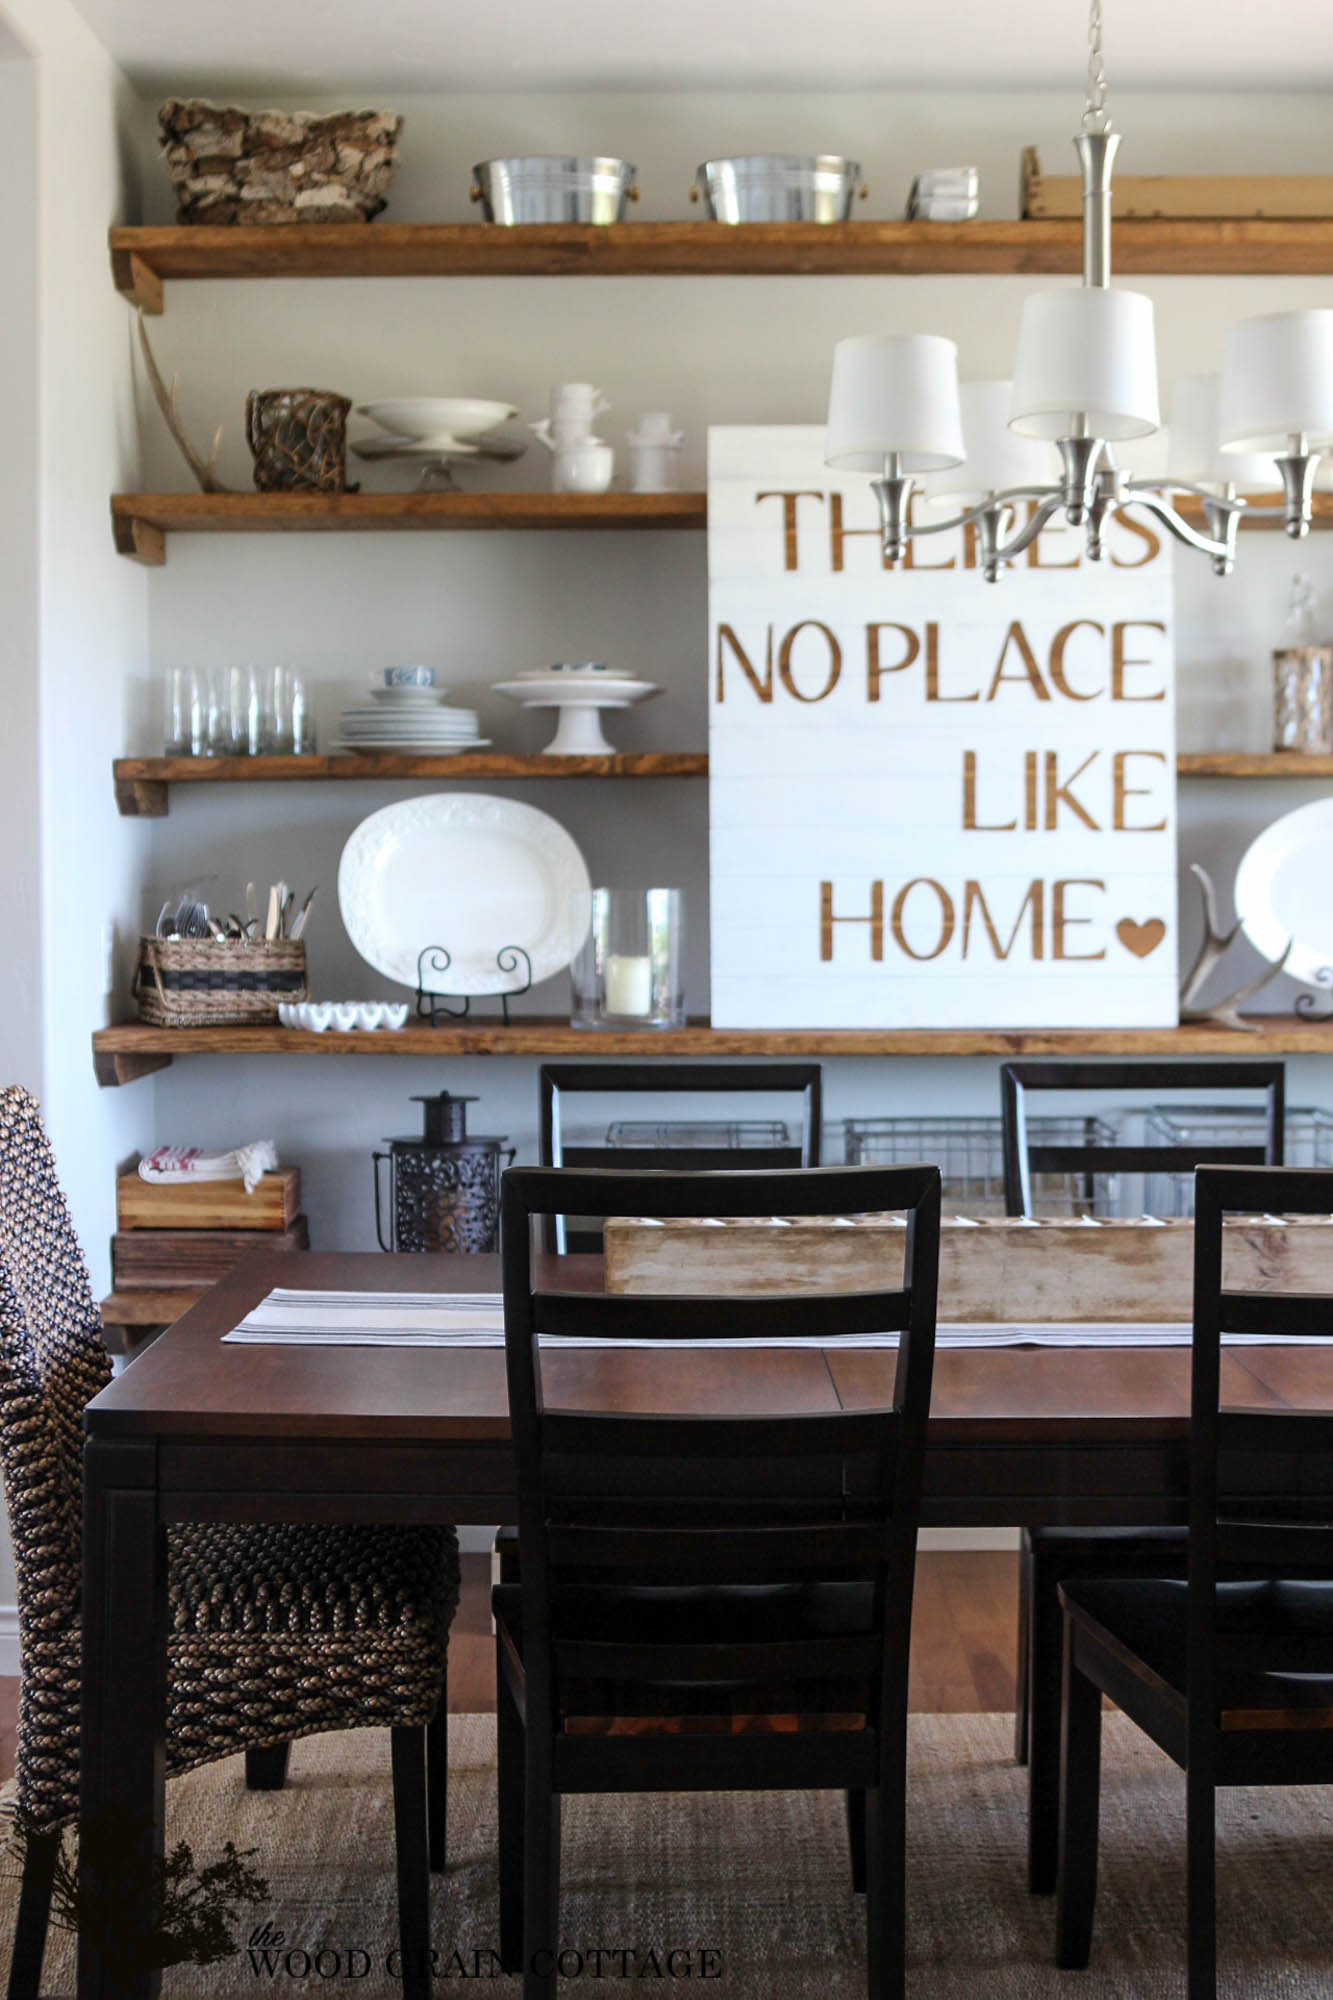
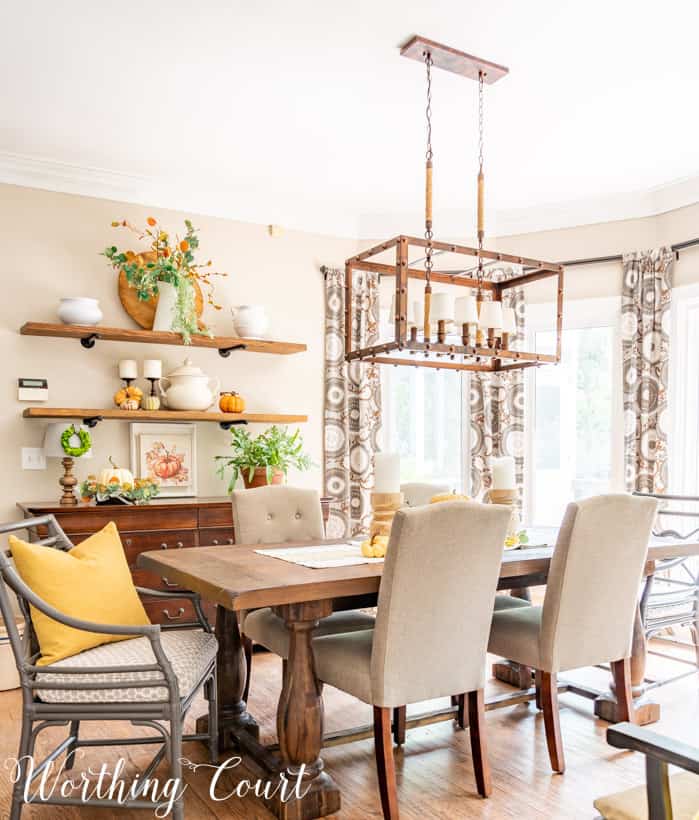
Are you tired of blank walls and cluttered shelves in your dining room? Want to turn your shelving into a stunning display that tells a story and showcases your personality? As someone who has transformed their own dining space through thoughtful shelf decor, I’m here to share my expertise and personal experience to help you create a beautiful, functional, and personalized dining room.
Why Decorating Your Dining Room Shelves Matters
Your dining room is more than just a place to eat; it’s a space for gatherings, celebrations, and memories. Properly decorated shelves not only enhance your dining room aesthetic but also bring warmth and character. Well-styled shelves can:
- Showcase your personality and interests
- Improve the overall design and feel of your space
- Provide practical storage solutions
- Create a focal point in the room
Types of Shelves Perfect for Your Dining Room

Before diving into decorating tips, it’s important to understand the different types of shelves you can use in your dining room. Here’s a quick comparison:
| Type of Shelf | Pros | Cons |
|---|---|---|
| Wall-Mounted Shelves | Space-saving, customizable, versatile | May require drilling, limited to wall space |
| Freestanding Shelves | Easy to move, can be placed anywhere | May take up floor space, less integrated |
| Corner Shelves | Maximizes unused space, unique design | Limited visibility, may not fit all decor |
| Open Shelving Units | Showcases items beautifully, versatile | Requires regular cleaning, can appear cluttered |

Steps to Decorate Your Dining Room Shelves
1. Decide on a Theme or Style

Before you start putting items on your shelves, it’s crucial to have a clear theme. This could be modern, rustic, vintage, or any style that aligns with your overall dining room decor. From my personal experience, choosing a theme creates a cohesive look that avoids chaos.
2. Choose a Color Palette

Colors can greatly affect the mood and feel of your space. Aim for a palette that complements your dining room’s existing colors. Consider using neutral tones for a clean look or bold colors to make a statement. Here are some color combinations that work well:
- White and blue for a coastal feel
- Earthy tones for a rustic vibe
- Monochrome for a modern touch

3. Select Your Decorative Items
When choosing items for your shelves, think about a mix of practical and decorative pieces. Here’s a variety of items you could include:

- Cookbooks and recipe boxes
- Beautiful dinnerware or serveware
- Artistic sculptures or vases
- Framed photos or artwork
- Succulent plants or herbs
4. Arrange Items Thoughtfully

Arranging your items is where the fun begins! Use the rule of threes to create balance. Place items in groups of three or five for visual interest. Vary the height of objects to add dimension—stack books, use risers for plants, or hang art at varying levels. A tip I’ve found helpful is to use a combination of vertical and horizontal arrangements, which keeps the eye moving.
5. Add Personal Touches
Your shelves should reflect your personality. Include items from your travels, family heirlooms, or pieces that signify special moments in your life. When I added a small globe and souvenirs from my trips, it not only sparked conversation but also added a unique touch to my dining room.
Pros and Cons of Common Shelf Decor Items
Decorative Items: Weighing Your Options
| Item | Pros | Cons |
|---|---|---|
| Books | Adds character, can be colorful | Can look cluttered if overused |
| Plants | Adds life, improves air quality | Requires maintenance, may need specific lighting |
| Art Pieces | Great for personal expression | Can be expensive, may clash with other decor |
| Vases | Versatile, can be used for flowers or as standalone pieces | Can look empty without flowers |
DIY Shelf Decor Ideas for a Personal Touch
If you’re looking to add a unique flair to your shelves, consider some DIY projects. Here are some ideas to get you started:
1. Painted Bookends
Transform an ordinary pair of bookends with a splash of color or a creative design that fits your theme.
2. Customized Vases
Use simple glass vases and personalize them with paint or by wrapping them in twine for a rustic touch.
3. Creative Artwork
Try your hand at some abstract painting or photography and frame your work to display on your shelves.
4. Rustic Wood Shelves
If you’re feeling handy, consider building your own shelves from reclaimed wood for a rustic look.
Maintaining Your Shelf Decor
Once you’ve decorated your shelves, it’s essential to keep them looking their best:
Regular Cleaning
Dust your shelves and items regularly to maintain their appearance. Use a gentle cleaner for delicate décor.
Refreshing Your Decor
Don’t be afraid to change things up! Seasonal decor swaps can keep your shelves looking fresh and exciting. I love switching out plants or adding new books every few months.
FAQs About Decorating Dining Room Shelves
1. What are some great items to display on dining room shelves?
Consider a mix of decorative and functional items such as dinnerware, plants, books, and personal memorabilia.
2. How often should I change my shelf decor?
It’s a good idea to refresh your decor at least every few months or with each season for a fresh look.
3. What’s the best way to style open shelves?
Use the rule of threes, vary heights, and incorporate both decorative and practical items while maintaining balance.
4. Can I mix different styles of decor on my shelves?
Yes! Mixing styles can create an eclectic look, but ensure there’s an overarching theme for coherence.
5. Should I match the decor on all my shelves?
It’s not necessary. Different shelves can tell different stories, but aim for a consistent color palette or theme across them.
Conclusion: Create Your Dream Dining Room Shelves
Decorating your dining room shelves is an incredible opportunity to express your personality and creativity. By following these steps and tips, you can transform your shelves into a beautiful and functional part of your dining space. Remember that there are no strict rules—let your creativity flow and enjoy the process of making your dining room a true reflection of you!
Thank you for joining me on this journey. Happy decorating!