Decorating star cookies can be a delightful and rewarding experience, both for novice bakers and seasoned pastry chefs. I remember the first time I decorated star cookies for a festive occasion; it was a mess, but it was also so much fun! This guide will walk you through everything you need to know about decorating star cookies, from selecting the right ingredients to advanced decorating techniques. So, let’s dive in!
Why Choose Star Cookies for Decorating?
Star cookies are not just visually appealing; they are also incredibly versatile. Suitable for holidays, birthdays, or any celebration, they can be customized with icing, sprinkles, and other decorative elements. Their shape makes them perfect for all kinds of themes, whether it’s a winter wonderland or a summer beach party.
Benefits of Decorating Star Cookies
- Encourages Creativity: Star cookies provide a blank canvas for your decorating imagination.
- Great for Any Occasion: They can represent Christmas, New Year, or even a birthday celebration.
- Fun Activity: Decorating cookies can be a fantastic group activity for families or friends.
- Customizable: Easily adaptable to various themes and tastes.
Getting Started: Essential Ingredients for Star Cookies
The foundation of your star cookies begins with the right ingredients. Here’s what you’ll need:
Basic Cookie Ingredients
| Ingredient | Purpose |
|---|---|
| All-Purpose Flour | The base of your cookie dough. |
| Unsalted Butter | Provides flavor and richness. |
| Granulated Sugar | For sweetness and structure. |
| Eggs | Binding agent, adds moisture. |
| Baking Powder | Leavening agent for a light texture. |
| Vanilla Extract | Adds flavor depth. |

Preparing the Star Cookies
Now that you have your ingredients, it’s time to make the dough. Here’s a step-by-step guide:
Step-by-Step Instructions
- In a large mixing bowl, cream the butter and sugar until light and fluffy.
- Add the eggs one at a time, followed by the vanilla extract.
- In another bowl, whisk together the flour and baking powder.
- Gradually combine the dry ingredients into the wet mixture until a dough forms.
- Chill the dough for at least 30 minutes.
- Roll out the dough on a floured surface and cut out star shapes using a cookie cutter.
- Bake at 350°F (175°C) for 8-10 minutes, or until the edges are lightly golden.
- Let the cookies cool completely before decorating.
Decorating Your Star Cookies: The Fun Begins!
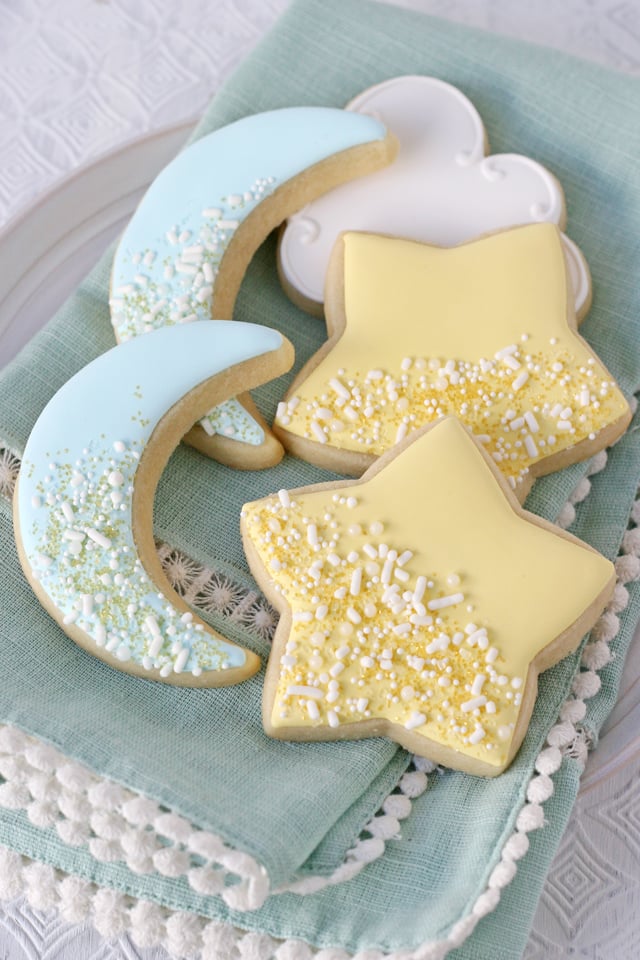
Decorating cookies is where you can truly let your personality shine. Here are some popular methods and techniques to choose from:
Common Decorating Techniques
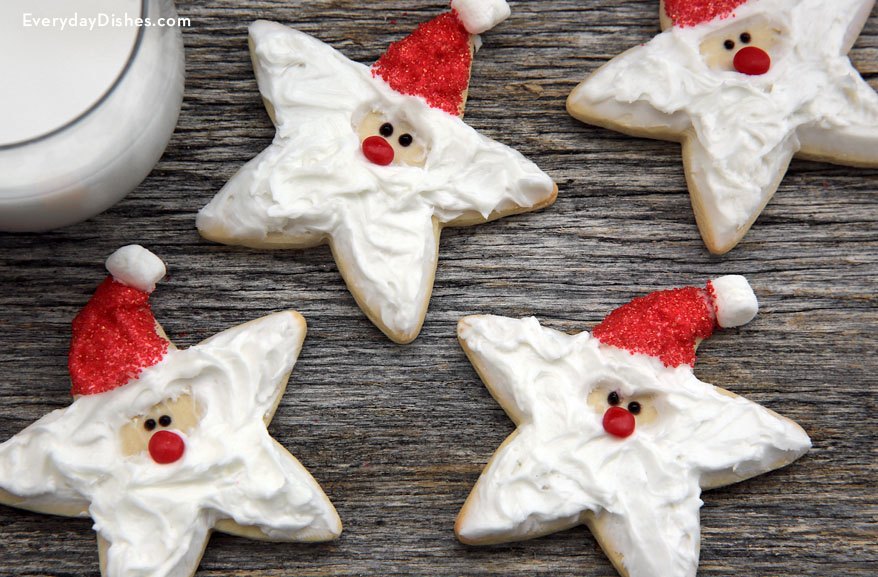
- Royal Icing: This icing hardens to a hard finish, perfect for intricate designs.
- Buttercream Icing: Creamy and soft, ideal for spreading and piping decorations.
- Fondant: A smooth icing that can be rolled out and used for a sleek finish.
- Sprinkles and Edible Glitter: Add fun elements for extra visual appeal.
Royal Icing Recipe
This versatile icing can be used for both flooding and piping. Here’s a simple recipe:
Ingredients
- 3 egg whites
- 4 cups powdered sugar
- 1 teaspoon lemon juice (optional)

Instructions
- In a mixing bowl, beat the egg whites until frothy.
- Gradually add the powdered sugar until fully combined.
- Add lemon juice if desired, then beat until stiff peaks form.
- Divide into bowls and tint with food coloring as desired.
Tips for Decorating Star Cookies
Here are some tried-and-true tips to make your cookies look fantastic:
1. Use a Piping Bag
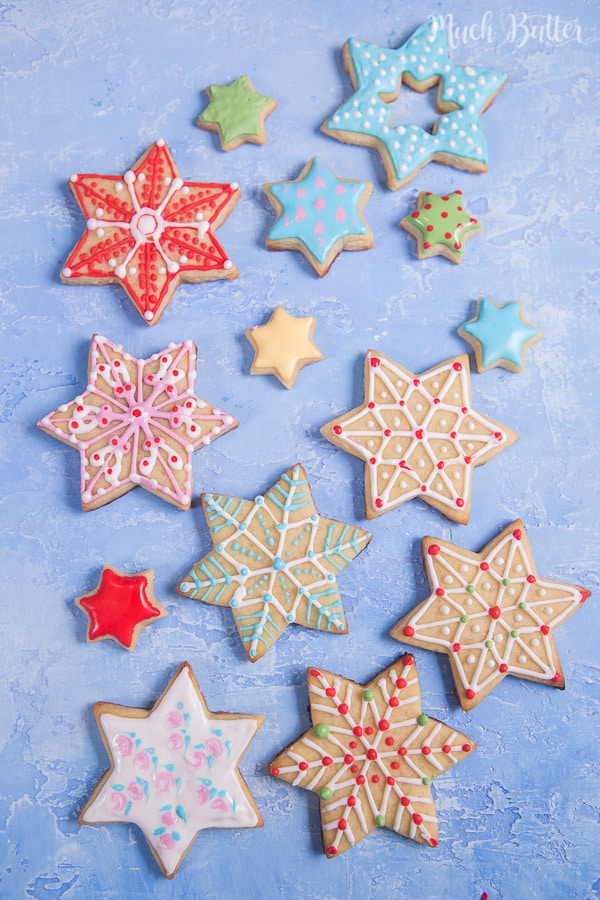
Piping bags give you a lot of control over your icing application, making it easier to create intricate designs.
2. Practice Your Techniques
Before decorating the actual cookies, practice your piping on parchment paper to get comfortable with the consistency of the icing.
3. Layer Colors
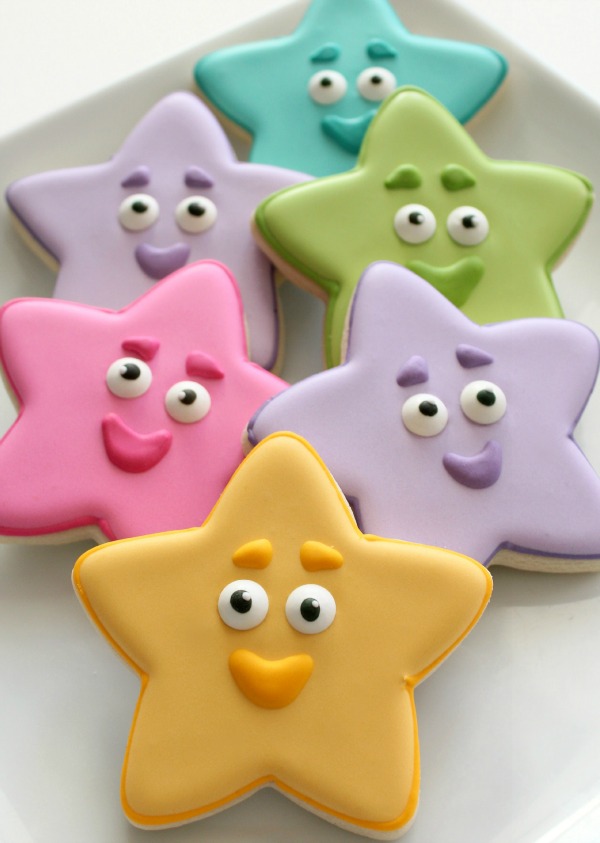
To achieve depth, layer different colors of icing. Allow the first layer to dry before adding another.
4. Be Patient
Let your cookies cure after decorating to achieve the best finish. This might take several hours to overnight.
Common Mistakes to Avoid
Here are a few common pitfalls to steer clear of:
- Not chilling the dough: This can lead to misshapen cookies.
- Using too much flour: This can make cookies dry and crumbly.
- Rushing the drying process: This can cause smudged decorations.
Creative Ideas for Star Cookie Decorations
Let’s explore some fun and whimsical ideas to enhance your star cookies:
1. Galaxy Star Cookies
Using dark blue and purple icing with shimmering edible glitter can give your cookies a cosmic look.
2. Holiday-Themed Star Cookies
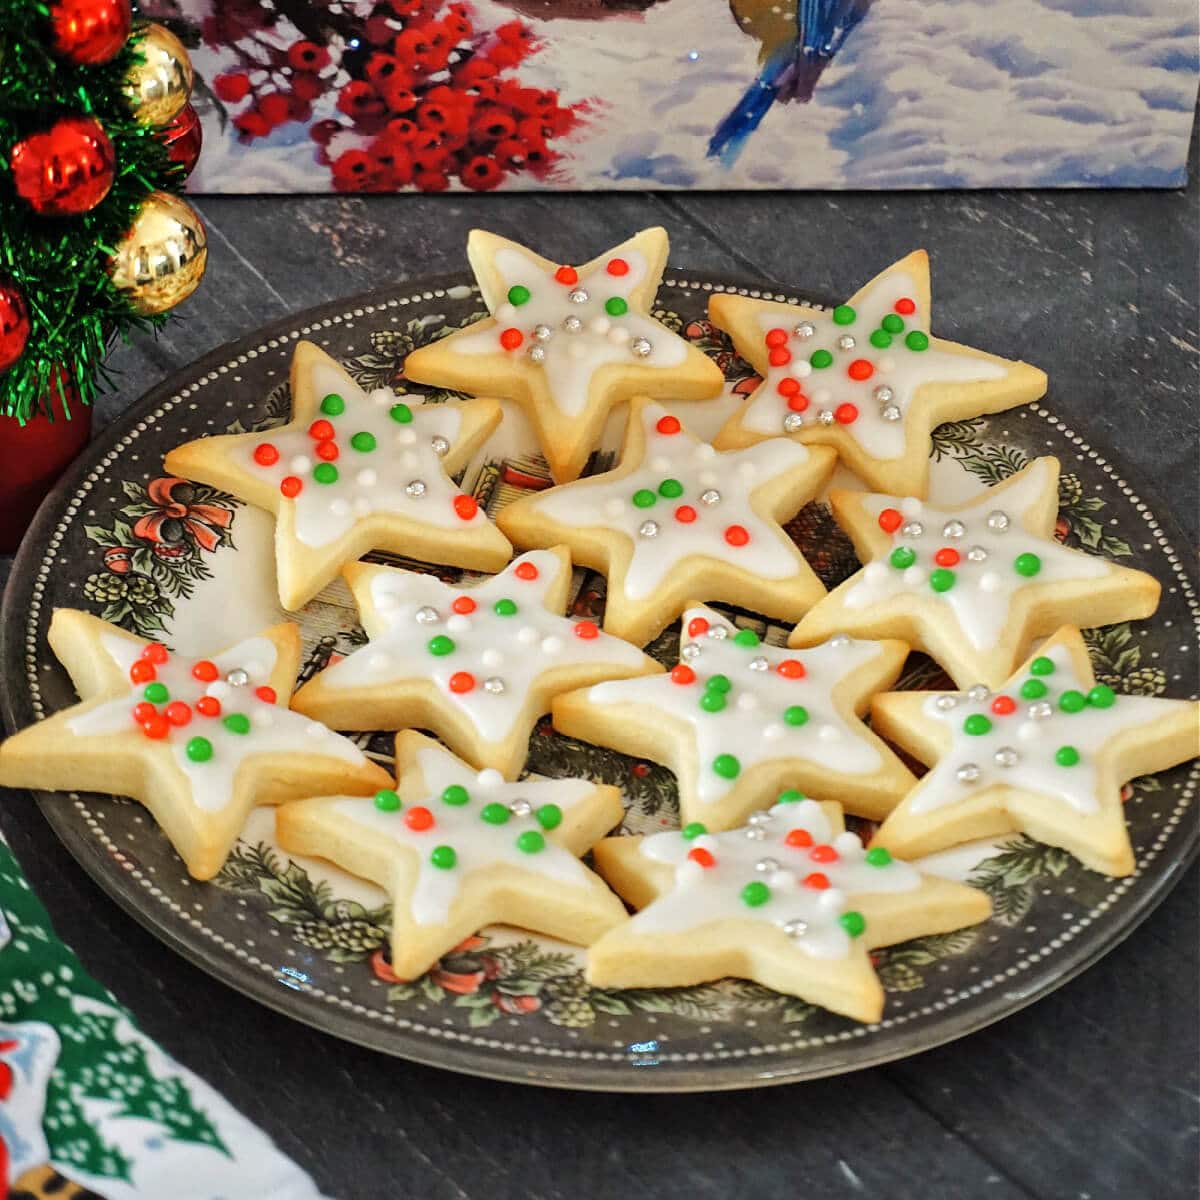
For Christmas, use white icing with silver dragees to create a snowy effect.
3. Emoji Star Cookies
Decorate with fun emoji faces for a playful touch, perfect for kids’ parties!
FAQ: Decorating Star Cookies
Q1: What type of frosting is best for decorating star cookies?
A1: Royal icing is preferred for detailed designs, while buttercream icing is great for a softer finish.
Q2: Can I freeze decorated star cookies?
A2: Yes, you can freeze decorated cookies, but ensure they are fully dry before stacking them in an airtight container.
Q3: How long do decorated star cookies last?
A3: Decorated star cookies typically last about 1-2 weeks when stored properly in a cool, dry place.
Conclusion
Decorating star cookies is not only a wonderful way to express your creativity but also a fabulous activity to engage with friends and family. With the right ingredients, techniques, and a dash of imagination, your star cookies can shine brilliantly at any celebration. Don’t forget to enjoy the process and, most importantly, have fun!
Final Thoughts and Encouragement
As you venture into decorating your star cookies, remember my first experience—it was messy, but it was also filled with laughter and joy. I encourage you to try different styles and techniques, and don’t be afraid to experiment. Your kitchen can become a magical cookie-decorating studio full of creativity and sweet aromas!