Welcome to the world of decorative wall corner trim! As a home improvement enthusiast, I’ve had my share of experiences with different styles and materials. In this guide, I’ll share everything I’ve learned and discovered about decorative corner trims, from their functions to their installation. Let’s dive right in!
What is Decorative Wall Corner Trim?
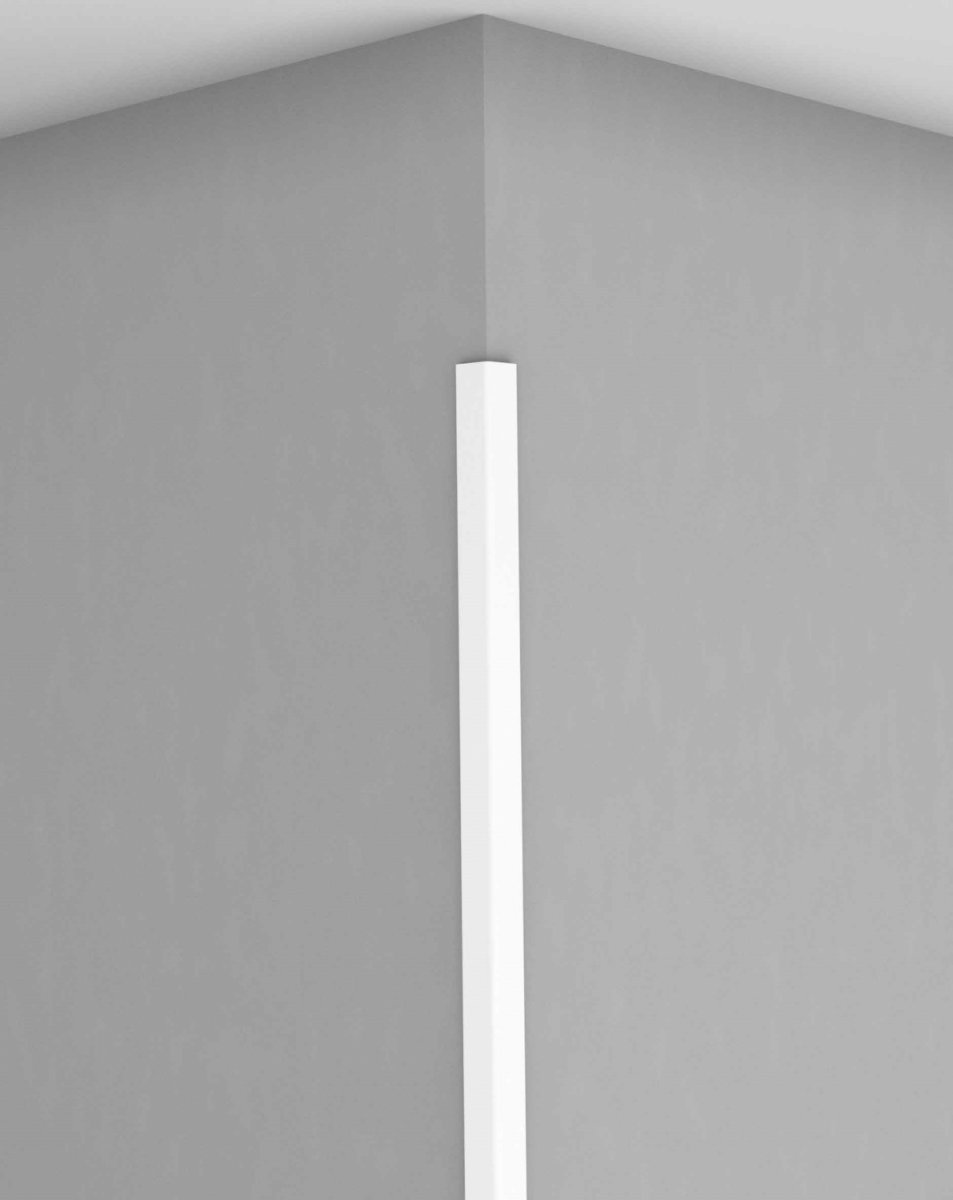
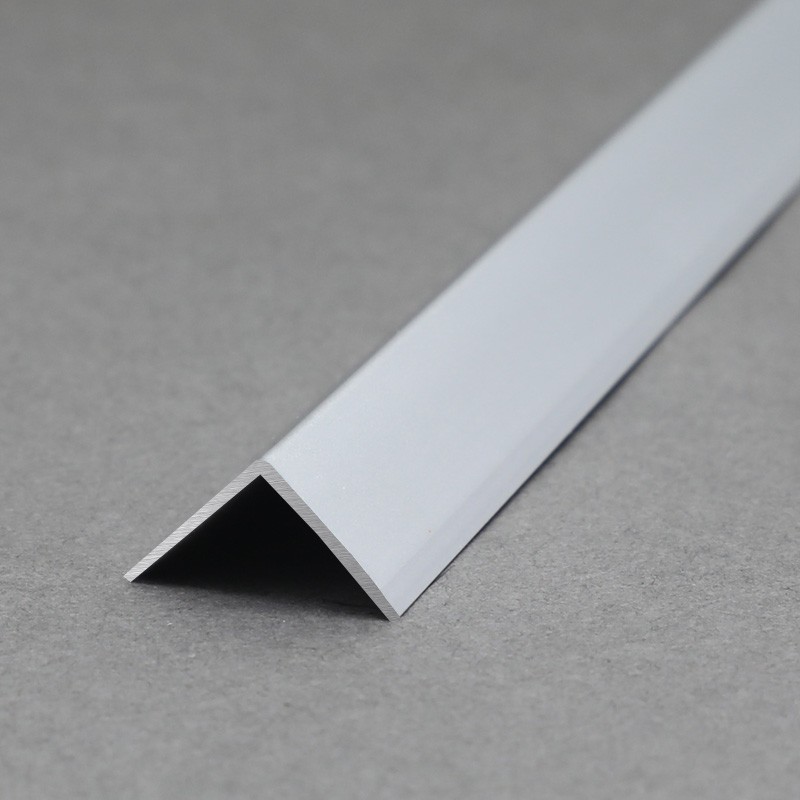
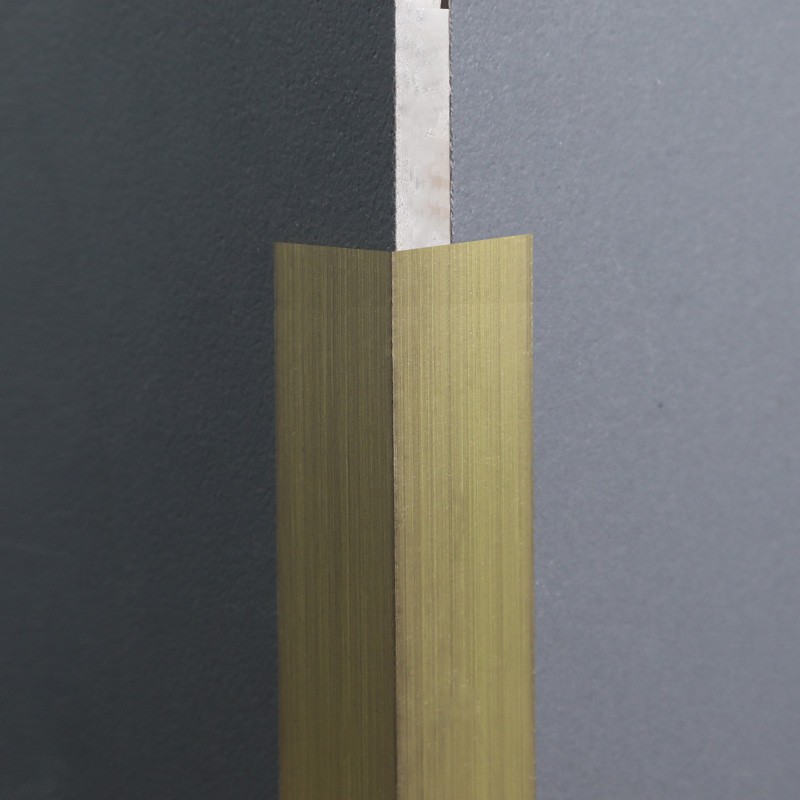
Decorative wall corner trim, often referred to as corner moulding or corner trim, is a finishing element used at the junction of two walls or at wall edges to provide a polished, aesthetically pleasing transition. Available in various styles, materials, and finishes, these trims not only enhance the visual appeal of a room but also serve functional purposes.
Types of Decorative Wall Corner Trim
Choosing the right type of corner trim can be a daunting task given the variety available. Here’s a breakdown of some popular types:
1. Crown Moulding
Crown moulding is a classic choice, installed at the intersection of the wall and ceiling. It adds elegance and height to a room.
2. Baseboards
Baseboards run along the bottom of walls, providing a finished look while protecting the wall from furniture and foot traffic.
3. Chair Rails
Chair rails are typically installed at about 1/3 of the way up the wall. They were originally designed to protect walls from furniture but now serve a decorative purpose.

4. Corner Blocks
These are pre-made corner pieces that simplify the installation process and add a unique touch to your trim work.
5. Corner Guards
These are primarily protective in function, ideal for high-traffic areas where walls may sustain damage.

Benefits of Decorative Wall Corner Trim
Investing in decorative wall corner trim can provide several notable benefits:
1. Aesthetic Appeal
Trims can transform a plain wall into a statement piece, adding character to any room.

2. Increased Home Value
Well-chosen and properly installed trim can boost your home’s resale value.
3. Protection
Trims provide a buffer against scuffs, scratches, and damage, helping to maintain the integrity of your walls.

4. Conceal Imperfections
They can effectively hide uneven joints and imperfections in wall finishes.
5. Ease of Maintenance
Crown moulding and other trims are easier to clean and maintain than painted walls.

Materials Used in Decorative Wall Corner Trim
Decorative trims come in a variety of materials, each with its pros and cons:
| Material | Pros | Cons |
|---|---|---|
| Wood | Classic look, can be stained or painted | Can warp, requires maintenance |
| MDF (Medium-Density Fiberboard) | Inexpensive, smooth surface for painting | Not as durable, can swell with moisture |
| Polyurethane | Lightweight, moisture-resistant | Less authentic feel than wood |
| PVC (Polyvinyl Chloride) | Water-resistant, perfect for bathrooms | Lower aesthetic appeal |
Choosing the Right Decorative Corner Trim
When selecting corner trim, it’s essential to consider various factors:

1. Style of Your Home
Choose a trim style that complements your home’s architecture. Traditional homes might benefit from elaborate crown moulding, while modern spaces might look better with sleek, minimalist trims.
2. Room Functionality
Consider where the trim will be installed. High-traffic areas might require more durable materials.

3. Color and Finish
Think about the colors and finishes of your walls and furniture to create a harmonious look.
4. Budget
Determine how much you want to invest. There are options available for every budget.
DIY Installation vs. Professional Installation
One of the big questions many homeowners ask is whether to tackle the trim installation themselves or hire a professional. Here, I’ll weigh both options:
DIY Installation
Pros
- Cost savings on labor.
- Personal satisfaction from completing a project.
- Flexibility in working at your own pace.
Cons
- Potential mistakes that could lead to extra costs.
- Requires tools and skills you may not possess.
- Time-consuming, especially for beginners.
Professional Installation
Pros
- Experience and expertise in installation.
- High-quality finish and precision.
- Warranty on work performed.
Cons
- Higher overall costs.
- Less control over the project timeline.
- Potential difficulty in finding a good contractor.
Installation Guide for Decorative Wall Corner Trim
If you decide to go the DIY route, here’s a step-by-step guide on how to install decorative corner trim:
- Measure and Mark: Measure the length of the wall where the trim will be applied, marking the spot where cuts will be made.
- Select the Right Tools: You’ll need a miter saw, measuring tape, level, adhesive, and finishing nails for installation.
- Cut the Trim: Use your miter saw to create 45-degree angles for corner joins. Measure twice, cut once!
- Fit the Trim: Start at one corner and fit the trim against the wall. Use a level to ensure it’s straight.
- Secure the Trim: Nail it into place using finishing nails, and apply adhesive to ensure a tight fit.
- Fill Gaps: Use caulk or wood filler to fill any visible gaps or nail holes.
- Paint or Stain: Finish the trim with paint or stain to match your room’s decor.
Cost Considerations
The cost of decorative wall corner trim can vary significantly based on material, size, and installation method. Here’s a rough estimate:
| Material | Cost per Linear Foot |
|---|---|
| Wood | $3 – $15 |
| MDF | $1 – $5 |
| Polyurethane | $2 – $10 |
| PVC | $1 – $4 |
Frequently Asked Questions (FAQs)
1. What is the best material for decorative wall corner trim?
The best material depends on your budget and the room’s function. Wood offers a classic look, while PVC and polyurethane are more moisture-resistant.
2. Can I paint my decorative wall corner trim?
Yes! Most trims can be painted, allowing you to customize them to match your interior design.
3. Is corner trim necessary in my home?
While not strictly necessary, corner trim adds a finished look, protects your walls, and can increase property value.
4. How do I maintain my decorative wall corner trim?
Regular dusting and occasional cleaning with a damp cloth will keep your trim in good condition. Avoid harsh chemicals that could damage the finish.