There’s something magical about decorated sugar cookies. Whether they’re adorned with vibrant colors or intricate designs, they can bring joy to any occasion. But what do you do when you’ve baked a batch of these delightful treats, and you find yourself overwhelmed with cookies? Freezing is the answer! In this comprehensive guide, I’ll share my personal experiences and professional tips on how to freeze decorated sugar cookies effectively, ensuring they remain just as delicious and beautiful when thawed.
Why Freezing Decorated Sugar Cookies is a Good Idea
As a baking enthusiast, I’ve often faced the dilemma of overproduction—baking more cookies than I can consume or gift. Freezing decorated sugar cookies is an excellent way to extend their shelf life, making them a practical choice for busy bakers or for those preparing for events. Here are some of the benefits:
- Preservation of Freshness: Freezing locks in flavors and textures, allowing you to enjoy cookies weeks after they’re made.
- Convenience: Having a stash of cookies ready to go means you can pull them out for unexpected guests or last-minute parties.
- Customization: Make cookies ahead of time for specific events, saving you valuable preparation time.
Understanding the Freezing Process
What Happens When You Freeze Cookies?
When cookies are frozen, the low temperatures slow down the chemical reactions that lead to spoilage. However, the texture and taste may change if not done correctly. It’s essential to take specific steps to ensure your cookies remain intact.
Best Practices for Freezing Decorated Sugar Cookies
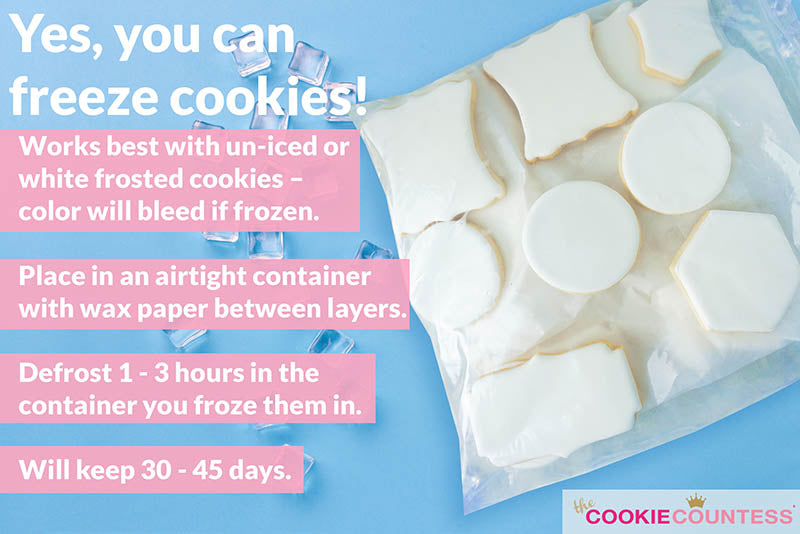
- Let Them Cool Completely: Ensure cookies are cooled to room temperature before freezing. This step prevents condensation, which can lead to sogginess.
- Choose the Right Freezer Bags: Use airtight, high-quality freezer bags or containers to prevent freezer burn.
- Separate with Wax Paper: For cookies with icing, place a piece of wax paper between them to prevent sticking.
Step-by-Step Guide to Freezing Decorated Sugar Cookies

Step 1: Prepare Your Cookies
After baking and decorating, let your sugar cookies cool on racks. This is crucial! If you freeze them before they’re completely cooled, moisture can develop inside the packaging, ruining the texture.
Step 2: Flash Freeze Your Cookies
Place your cooled cookies on a baking sheet in a single layer and put them in the freezer for about 1-2 hours. This technique, known as flash freezing, helps keep them intact while they freeze.
Step 3: Pack Them Up!
Once the cookies are solid, transfer them to freezer bags or containers. Ensure you remove as much air as possible to prevent freezer burn. Here’s a quick comparison of storage options:
| Storage Method | Pros | Cons |
|---|---|---|
| Freezer Bags | Lightweight, space-saving, good for squishing out air. | Can be punctured, not as protective as hard containers. |
| Plastic Containers | Protects cookies from breaking, stackable. | Takes up more space, more difficult to seal tightly. |
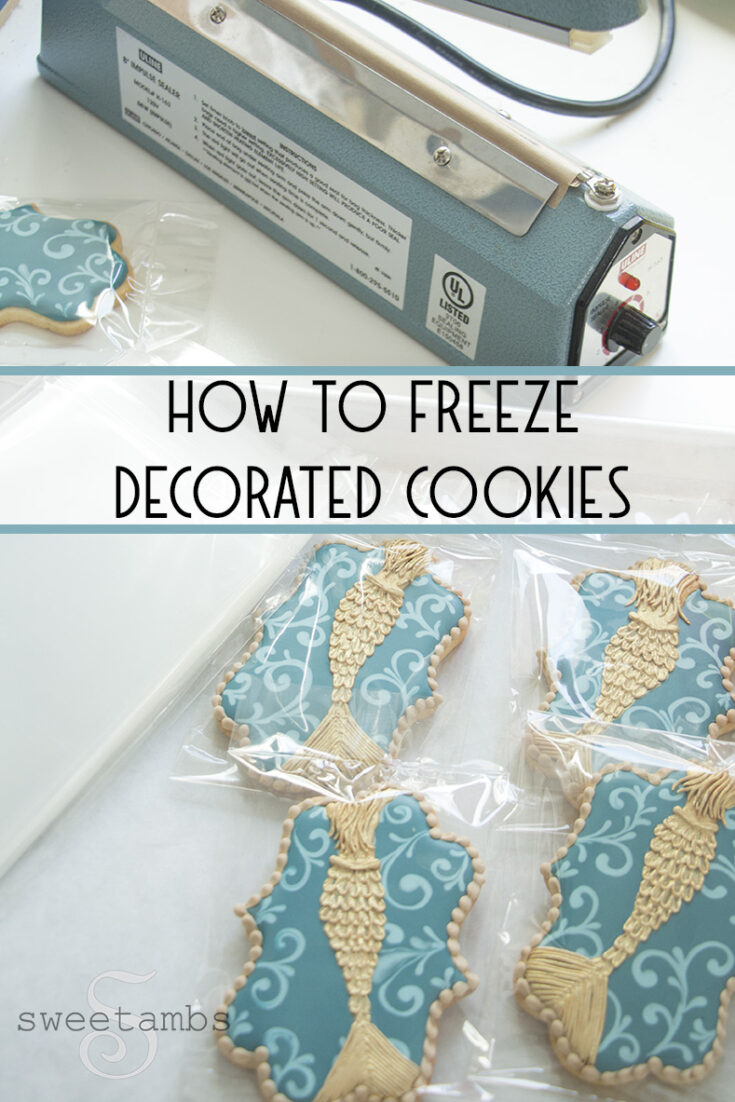
| Vacuum-Sealed Bags | Best for preserving quality, no air exposure. | Requires a vacuum sealer, costlier option. |
Step 4: Label and Date
Don’t forget to label your packages with the date and type of cookies. This will help you keep track of their freshness and prevent any confusion down the line.
Thawing Frozen Decorated Sugar Cookies
The Best Way to Thaw Cookies
Thawing is just as important as freezing! Here’s how to do it right:

- Refrigerator Method: Place frozen cookies in the refrigerator for several hours or overnight. This gradual thawing helps maintain texture.
- Room Temperature Method: For a quicker option, leave the cookies at room temperature for about 30 minutes to an hour. Avoid thawing in direct sunlight!
Can You Refreeze Decorated Sugar Cookies?
While it’s not recommended to refreeze decorated cookies (especially those with icing), if you need to, ensure they are completely thawed before doing so. However, I advise against this approach to maintain the quality.

Common Mistakes to Avoid When Freezing Sugar Cookies
- Not Cooling Properly: Skipping the cooling step can lead to condensation and sogginess.
- Overstuffing Bags: Cramming too many cookies into a bag can result in breakage. Be generous with space!
- Ignoring Temperature Fluctuations: Opening the freezer frequently can cause temperature changes, affecting the quality of your cookies.
FAQs About Freezing Decorated Sugar Cookies
Can you freeze decorated sugar cookies with royal icing?
Yes! In fact, freezing decorated sugar cookies with royal icing preserves the beautiful designs. Just ensure they are completely dry before freezing.
How long can decorated sugar cookies be frozen?
When properly frozen, decorated sugar cookies can last up to 3 months while retaining their flavor and texture.
What types of cookies freeze best?
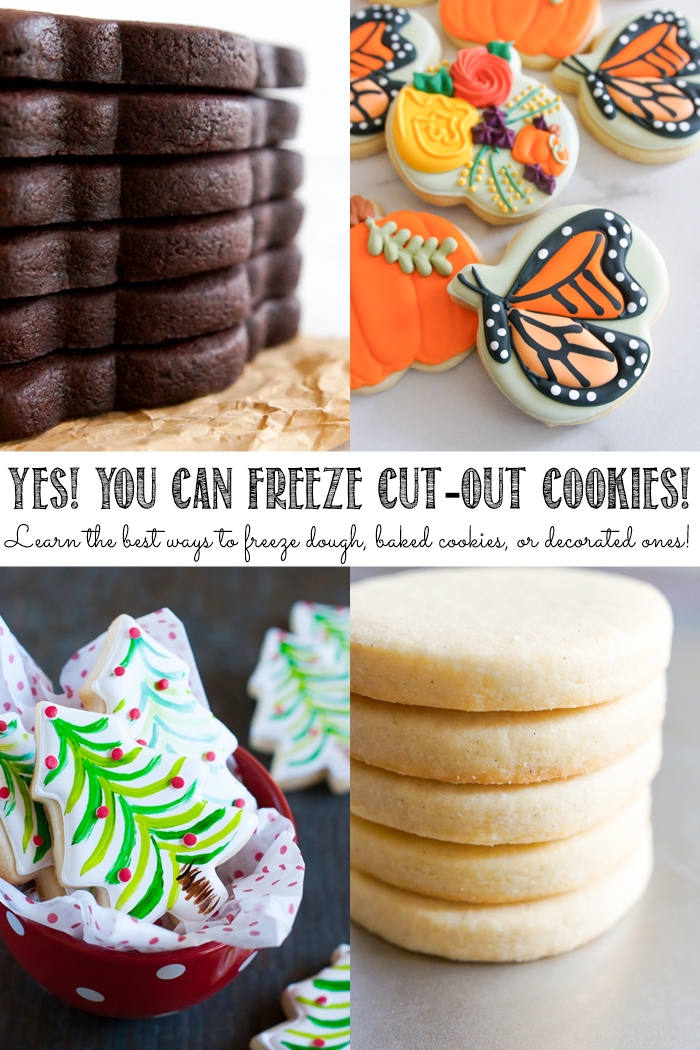
In general, cookies with sturdy textures, such as sugar cookies, gingerbread, and butter cookies, freeze best. Delicate cookies may not hold up as well.
Can I freeze cookie dough instead of baked cookies?
Absolutely! You can freeze cookie dough to bake fresh cookies at a later time. Simply scoop the dough into balls, freeze them, and store them in freezer bags.
What is the best way to package frozen cookies?
Use airtight containers or freezer bags, separated by wax paper if they’re decorated. Avoid using regular cling wrap as it doesn’t seal properly against the cold.
Conclusion
Freezing decorated sugar cookies isn’t just a method; it’s a lifesaver for busy bakers like myself. With the right techniques, you can enjoy those beautifully crafted cookies long after they’ve been baked. Whether it’s for a special event or just a treat for yourself, knowing that you have delicious cookies ready to go is worth it. Happy baking and freezing!