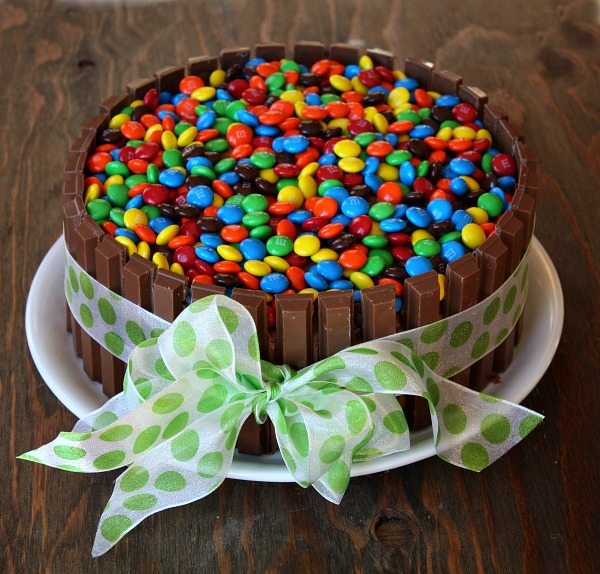
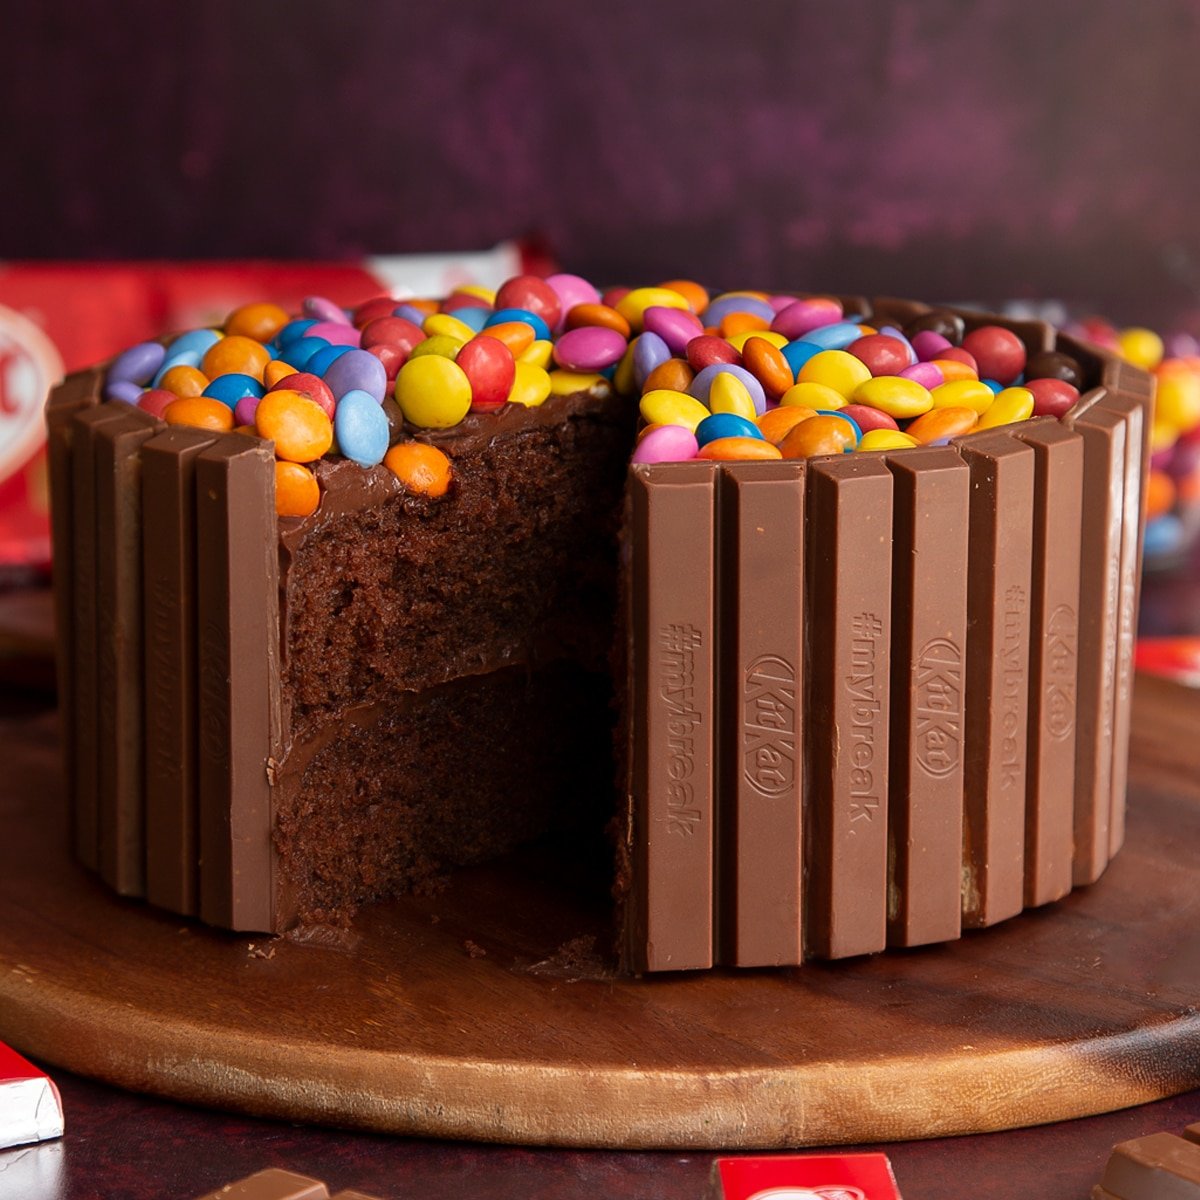
Welcome to the delicious world of Kit Kat cake decoration! Whether you’re celebrating a birthday, an anniversary, or simply indulging in a sweet treat, decorating a cake with Kit Kat bars can add a unique flair. I’m thrilled to share my journey and insights into creating stunning Kit Kat cakes that not only look incredible but also taste divine.
What is a Kit Kat Cake?
A Kit Kat cake is a fun, visually appealing cake that features Kit Kat chocolate bars as its primary decorative element. This cake is often layered with frosting, other candies, and sometimes even fruits, making it a favorite among kids and adults alike. Its charming presentation and delicious flavor describe why it has become a party staple!
Why Choose a Kit Kat Cake?
The appeal of Kit Kat cakes lies not only in their aesthetic but also in their taste. Here are several reasons to choose a Kit Kat cake for your celebration:
- Visual Appeal: The structured appearance of Kit Kat bars encircling the cake makes it visually stunning.
- Customizable: You can personalize your cake’s flavor and decoration based on your preferences.
- Easy Assembly: Kit Kat cakes are relatively simple to construct, perfect for both novice and seasoned bakers.
- Child-Friendly: Kids love cake, and they love chocolate – this cake brings both together!
Essential Ingredients for a Kit Kat Cake
Creating a Kit Kat cake requires specific ingredients that will ensure your cake is both delicious and well-decorated. Here’s a list of what you need:
- For the Cake:
- 2 cups flour
- 1 ½ cups sugar
- ¾ cup unsweetened cocoa powder
- 1 ½ tsp baking powder
- 1 ½ tsp baking soda
- 1 tsp salt
- 2 large eggs
- 1 cup milk
- ½ cup vegetable oil
- 2 tsp vanilla extract
- 1 cup boiling water
- For the Frosting:
- 1 cup unsalted butter, softened
- 4 cups powdered sugar
- ½ cup cocoa powder
- 2-4 tbsp milk
- 1 tsp vanilla extract
- For Decoration:
- 1-2 boxes of Kit Kat bars
- Chocolate or candy melts (optional)
- Sprinkles (optional)
Step-by-Step Kit Kat Cake Decoration Process
Now that you have your ingredients ready, let’s walk through the decoration process step by step.
Step 1: Bake Your Cake
Preheat your oven to 350°F (175°C). Prepare two 9-inch round cake pans by greasing them and lining with parchment paper. In a large bowl, combine the flour, sugar, cocoa, baking powder, baking soda, and salt. Mix well, then add eggs, milk, oil, and vanilla. Finally, stir in boiling water, then divide the batter into the prepared pans.
Step 2: Prepare the Frosting
In another bowl, beat the butter until creamy. Gradually add powdered sugar and cocoa, alternating with the milk and vanilla, until the frosting is smooth and fluffy. Adjust with more milk if needed.
Step 3: Assemble the Cake
Once the cakes are cooled, place one layer on a serving plate. Spread a generous amount of frosting on top, then place the other cake layer on top.
Step 4: Frost the Cake
Use the remaining frosting to cover the top and sides of the cake. Ensure it’s even and smooth, as this will be the base for your Kit Kat bars.
Step 5: Decorate with Kit Kat Bars
Stand the Kit Kat bars upright around the edge of the cake. You can secure them with a bit of extra frosting or chocolate. If desired, tie a ribbon around the cake for a finishing touch!
Step 6: Add Extra Decorations
Top your cake with chocolate melts, candies, or sprinkles. You can even add fresh fruit for a unique twist.
Step 7: Serve and Enjoy!
Slice your cake and watch everyone enjoy it while you take pride in your stunning creation!
Creative Ideas for Kit Kat Cake Decoration
Feeling adventurous? Here are some creative ideas to take your Kit Kat cake to the next level:
1. Themed Cakes
Create a theme by incorporating colored frosting and matching candies. For example, use pastel colors for a spring-themed cake.
2. Layered Kit Kat Cake
Add an extra layer of cake and more frosting between each layer for a more indulgent treat.
3. Flavored Kit Kat Bars
Experiment with different flavored Kit Kat bars (green tea, strawberry, etc.) for a unique twist.
4. Seasonal Decorations
Change your decorations based on the season, like using pumpkin-shaped candies for Halloween or flowers for spring.
Comparison of Different Kit Kat Cake Ideas
| Decoration Style | Difficulty Level | Visual Appeal | Flavor Enhancement |
|---|---|---|---|
| Classic Kit Kat Cake | Easy | ⭐⭐⭐⭐⭐ | Medium |
| Chocolate Overload | Medium | ⭐⭐⭐⭐⭐ | High |
| Fruit Topped Kit Kat Cake | Medium | ⭐⭐⭐⭐ | High |
| Layered Delight | Hard | ⭐⭐⭐⭐⭐ | Very High |

Pros and Cons of Kit Kat Cake Decoration
Pros
- Visually stunning and appealing to all ages.
- Easy to make with minimal baking skills.
- Highly customizable for various occasions.
- Kit Kat bars provide a familiar and loved flavor profile.
Cons
- Can be overly sweet for some palates.
- Requires a good amount of frosting and chocolate, which can be high in calories.
- Some may find the Kit Kat structure unstable if not secured properly.
FAQs About Kit Kat Cake Decoration
1. Can I use different types of chocolate bars in place of Kit Kat?
Absolutely! While Kit Kat bars are traditional, you can use any chocolate bars you love. Just ensure they are sturdy enough for decoration.

2. How can I make a Kit Kat cake gluten-free?
Use gluten-free flour in your cake recipe and ensure your Kit Kat bars are gluten-free (check the packaging, as some may contain gluten).
3. How long can I store a Kit Kat cake?
This cake can be stored at room temperature for about 2-3 days. For longer storage, keep it in the refrigerator for up to a week.

4. Do I need to refrigerate a Kit Kat cake?
If your cake has perishable items, like whipped cream or fresh fruit, refrigerate it. Otherwise, it’s fine at room temperature for a couple of days.
5. What’s the best way to slice a Kit Kat cake?
Use a warm, sharp knife to slice through the chocolate without breaking it. Wipe the knife between cuts for clean slices.
