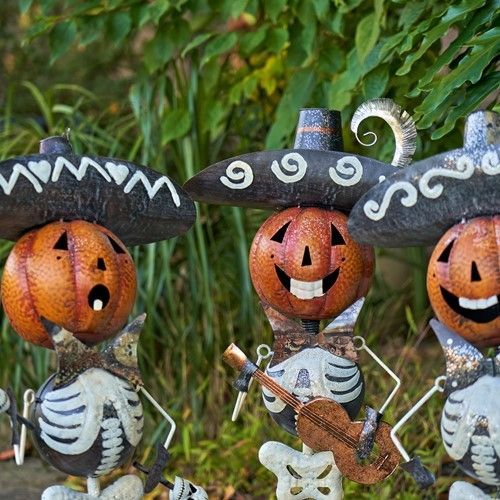
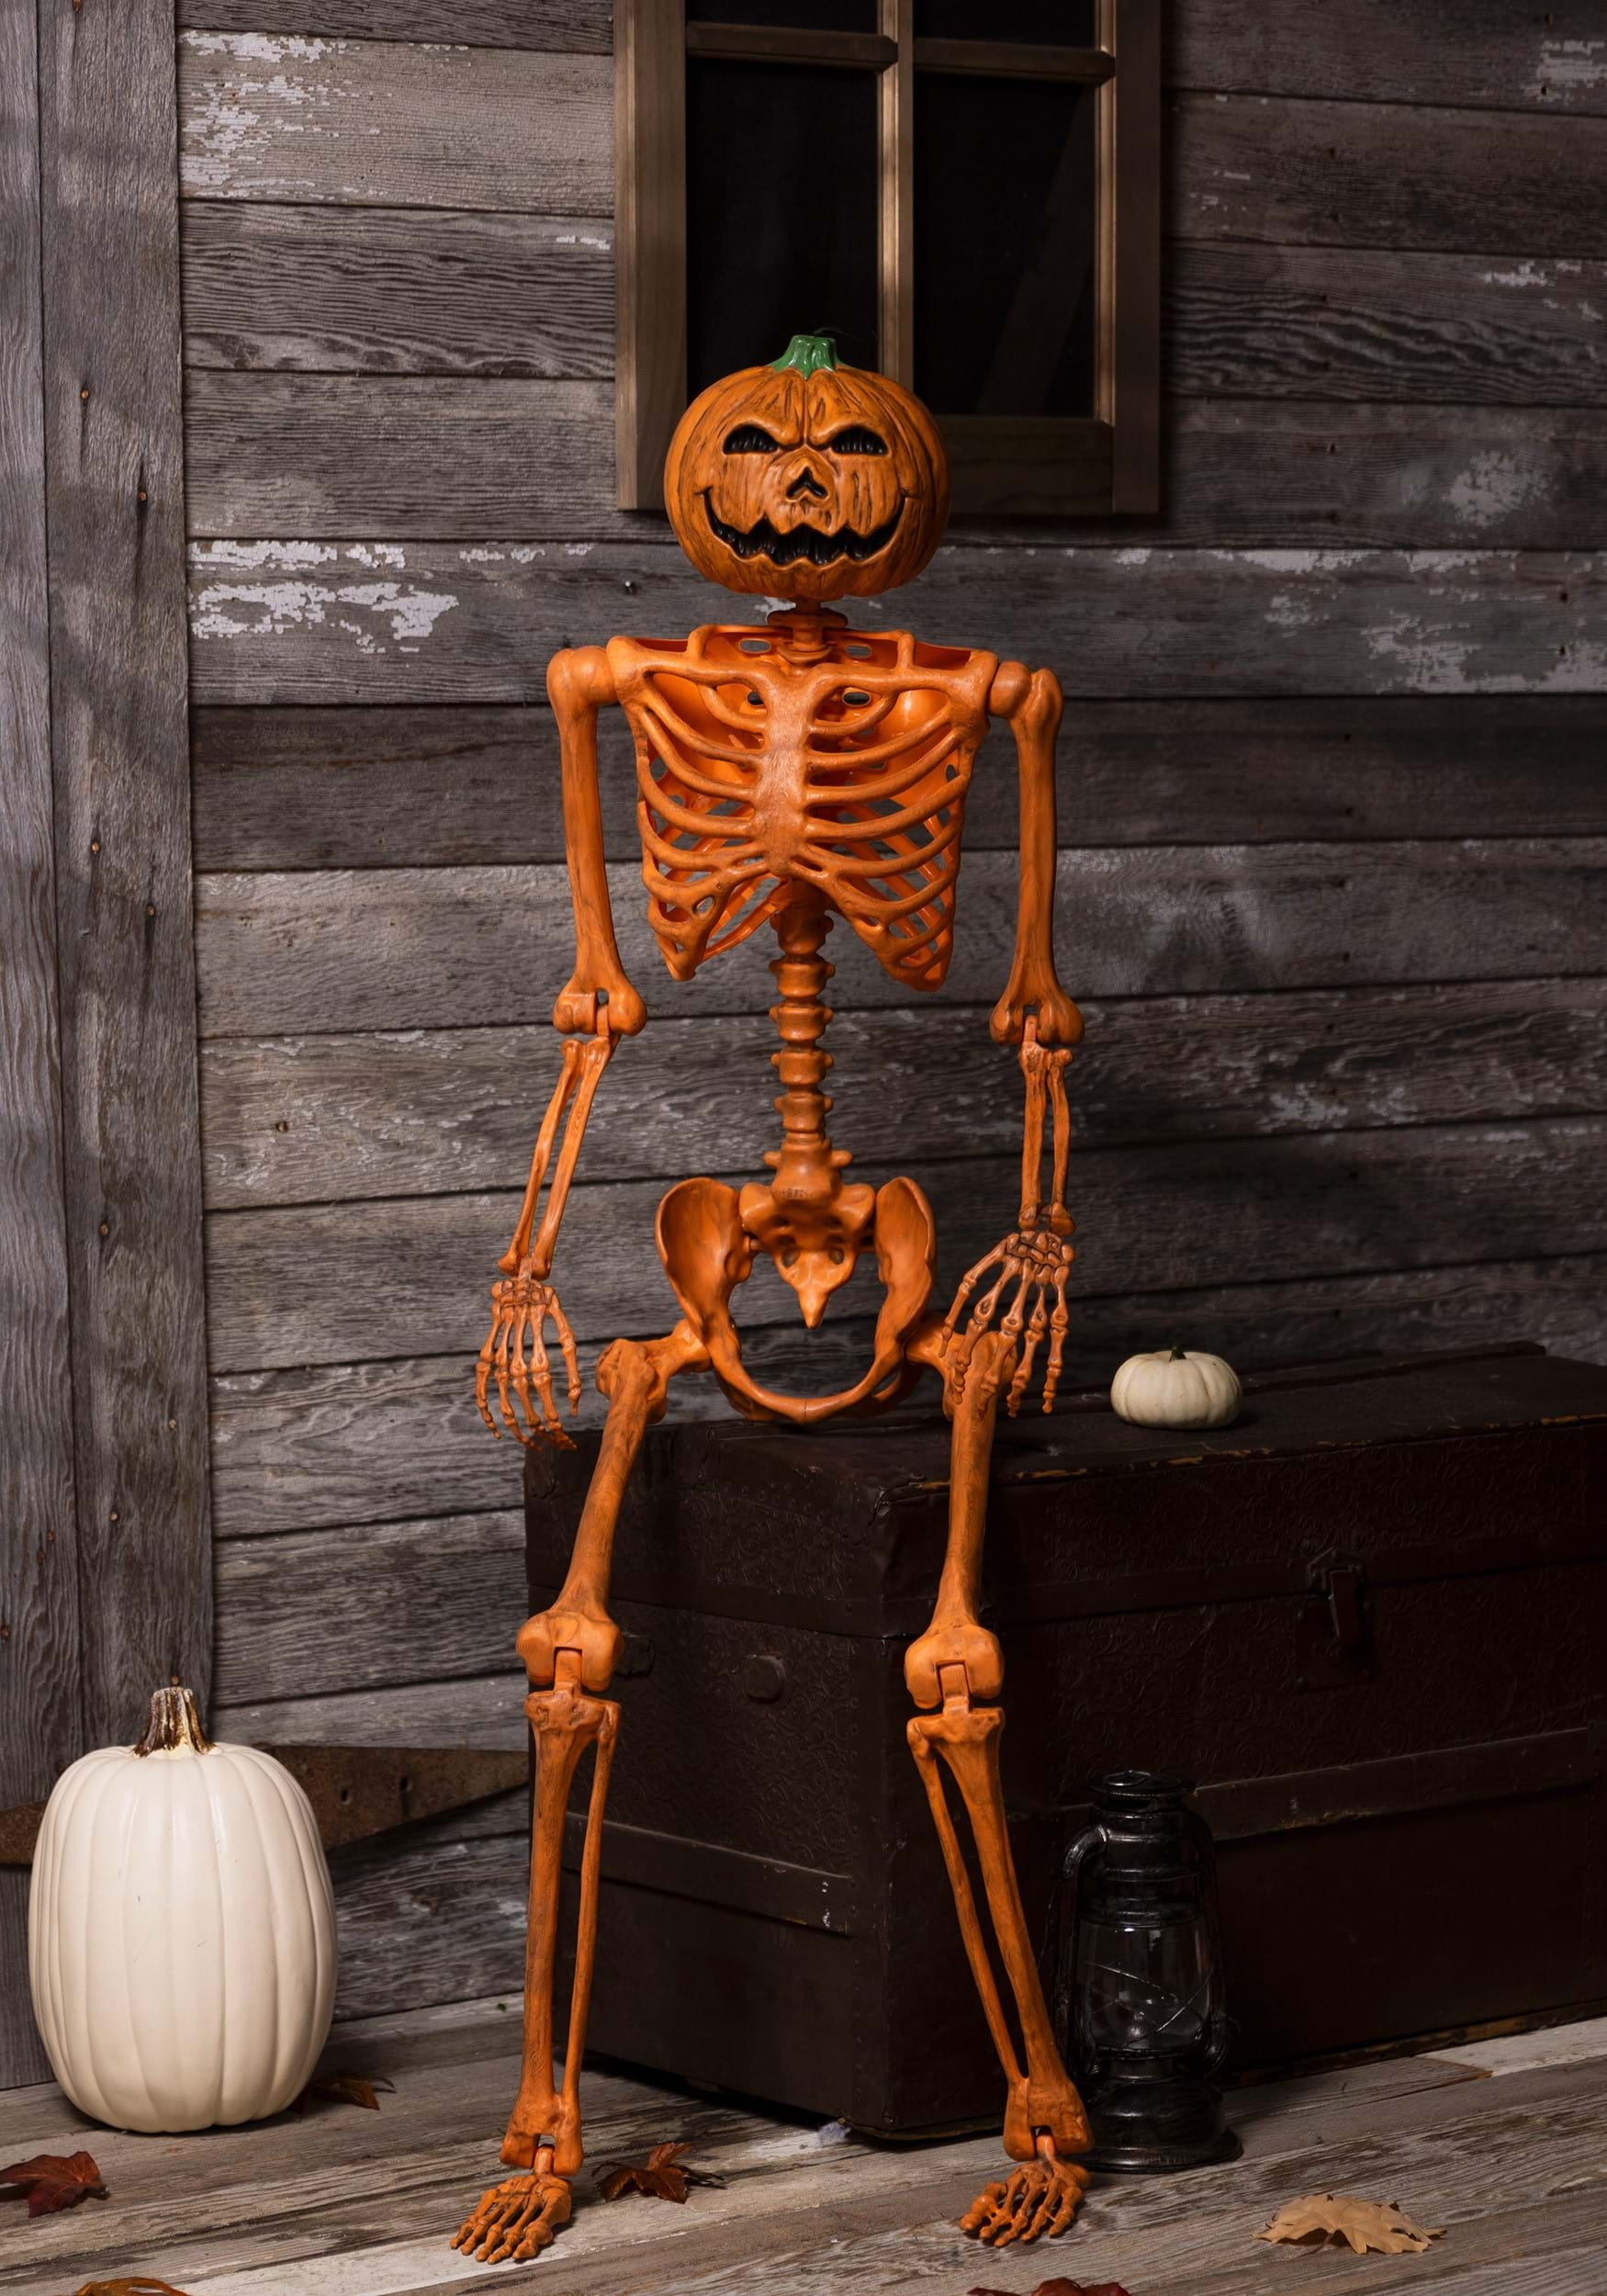
Halloween is that time of the year when creativity knows no bounds, and what better way to celebrate than with pumpkin head decorations? From classic carved jack-o’-lanterns to intricate displays, pumpkin heads allow you to express your festive spirit. Drawing from personal experiences and countless Halloween celebrations, this detailed guide will help you navigate the world of pumpkin head decorations effectively.
Why Choose Pumpkin Head Decorations for Halloween?
Before we dive into the specifics, let’s explore why pumpkin head decorations are a top choice for many during Halloween.
- Tradition: Carving pumpkins is a time-honored Halloween tradition that dates back centuries.
- Versatility: Pumpkin heads can be styled in various ways, from spooky to silly, catering to different tastes.
- Community Engagement: Pumpkin carving often brings families and friends together, creating memorable experiences.
Types of Pumpkin Head Decorations

There are several styles of pumpkin head decorations that you can consider for your Halloween festivities. Let’s take a closer look:
1. Classic Carved Jack-o’-lanterns

The quintessential Halloween pumpkin, these are carved to showcase grinning faces, spooky eyes, and even intricate designs. Classic designs are great for beginners.
Pros and Cons of Classic Jack-o’-lanterns
| Pros | Cons |
|---|---|
| Easy to carve | Decay quickly without preservatives |
| Customizable designs | Standard look may not stand out |

2. Painted Pumpkins
If carving isn’t your strong suit or you want a longer-lasting solution, consider painting your pumpkins. This method allows for vibrant designs without the mess of carving.
Pros and Cons of Painted Pumpkins
| Pros | Cons |
|---|---|
| Durable and long-lasting | Less traditional look |
| No risk of spoiling | Requires painting skills |
3. Pumpkin Head with Accessories

Adding hats, glasses, or faux spiders can give your pumpkin head a unique twist. This creative approach can take your decorations to the next level.
Pros and Cons of Accessorized Pumpkin Heads
| Pros | Cons |
|---|---|
| Highly customizable | Can be time-consuming to accessorize |
| Great for themed decorations | May require additional purchases |

Tools and Materials Needed for Pumpkin Decoration
To get started with your pumpkin head decorations, you will need some essential tools and materials. Here’s a comprehensive list:

- Carving knife or pumpkin carving kit
- Spoon for gutting the pumpkin
- Marker or pen for sketching designs
- Paint (for painted pumpkins)
- Accessories like hats, ribbons, or lights
Step-by-Step Guide to Carving a Pumpkin Head
Carving a pumpkin head is a fun and rewarding activity. Here’s a step-by-step guide to help you through the process:
Step 1: Select the Right Pumpkin
Choose a pumpkin that is firm and has a smooth surface. The size and shape will depend on your intended design.
Step 2: Gather Your Tools
Ensure you have all your carving tools ready. Safety should be your priority. If you’re having kids involved, consider using child-friendly carving kits.
Step 3: Sketch Your Design
Before cutting, sketch your design on the pumpkin. This will serve as a guideline for your carving.
Step 4: Cut the Top Off
Using your knife, cut around the stem to create a lid. This opening will allow you to hollow out the pumpkin.
Step 5: Gut the Pumpkin
Use a spoon to remove the seeds and pulp from inside the pumpkin until it’s clean. This step is crucial for prolonging the life of your decoration.
Step 6: Carve Your Design
Carefully carve along your sketched design using your knife. Take your time to avoid mistakes.
Step 7: Add Accessories
Once carved, decorate your pumpkin with accessories or lights to enhance its features.
Creative Ideas for Pumpkin Head Decorations
Stuck on ideas? Here are some creative ways to decorate your pumpkin heads:
1. Themed Pumpkin Displays
Create a themed display with multiple pumpkins. For example, you could have a witch theme with pumpkins dressed as witches.
2. Pumpkin Family Portrait
Carve different faces representing family members. Each pumpkin can have distinct features that showcase personalities.
3. Pumpkins with Lights
Use LED tealights or fairy lights inside your pumpkins for a magical glow at night. This adds a spooky ambiance to your decorations.
4. Pumpkin Planters
For a more creative take, use a pumpkin as a planter for autumn flowers. This is both decorative and functional!
How to Preserve Your Pumpkin Decorations
Preserving your pumpkin head can ensure it lasts throughout the Halloween season. Here are some tips:
- Use Bleach: A solution of bleach and water can help prevent mold. Wipe the inside and outside of the pumpkin.
- Apply Petroleum Jelly: Rubbing petroleum jelly on the cut areas will keep moisture in and slow down the decay process.
- Store in a Cool Place: Keep your pumpkins in a cool, dry area away from direct sunlight.
Frequently Asked Questions (FAQs)
What are the best pumpkin varieties for carving?
The best pumpkins for carving are usually the standard orange pumpkins, like the “Connecticut Field” variety, which is easy to carve and has a nice shape.
How long do carved pumpkins last?
Carved pumpkins typically last about 3 to 14 days, depending on environmental conditions. Preservation methods can extend this time.
Can I use real candles in my pumpkin?
Using real candles can be a fire hazard. It’s safer to use LED lights or tea lights instead.
What do I do with leftover pumpkin seeds?
Don’t throw away those seeds! Rinse and roast them for a delicious snack. Just season them to your liking.
Conclusion
In conclusion, pumpkin head Halloween decorations are a fantastic way to express your creativity and celebrate the eerie season. With multiple styles, techniques, and endless possibilities, you can make your Halloween truly unique. Don’t forget to gather your family and friends, get inspired, and let the pumpkin carving begin!