Introduction to Unhas Rosas Decoradas
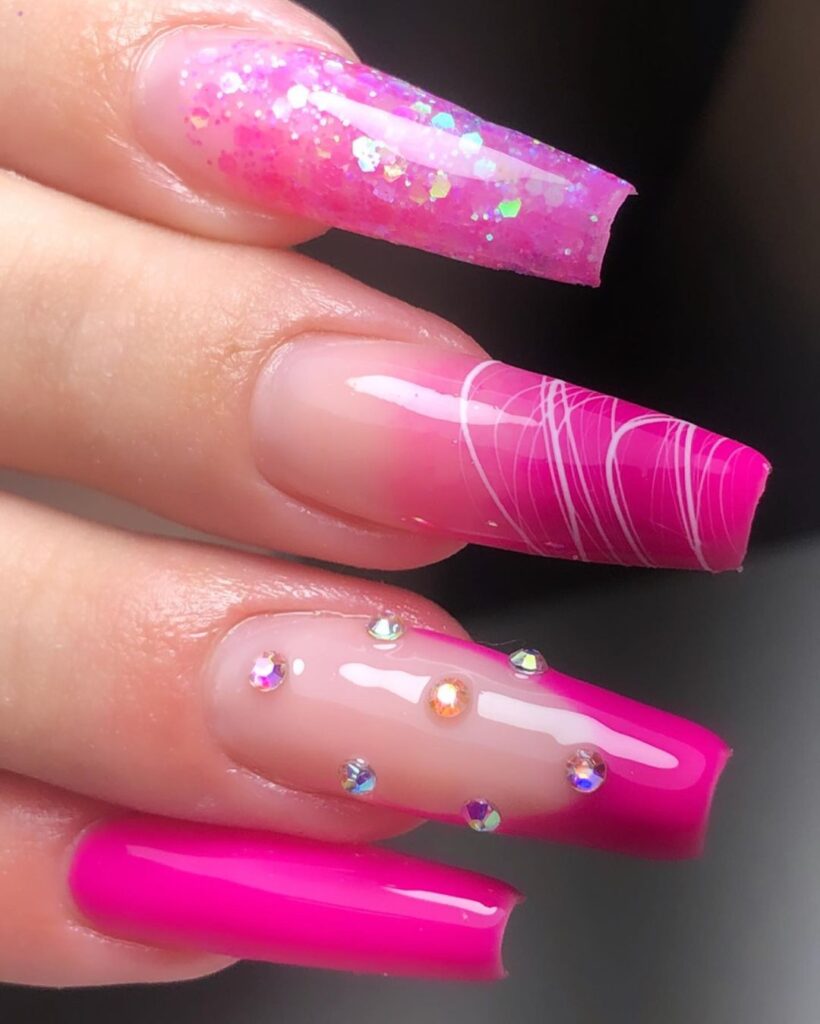
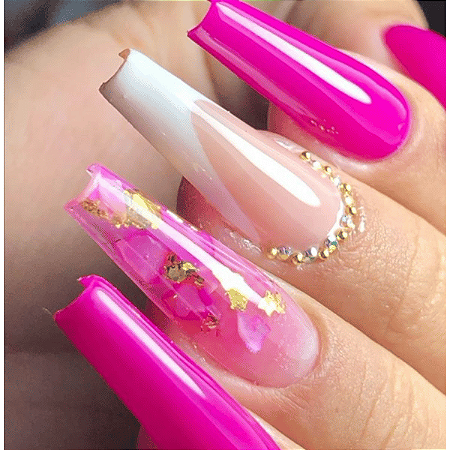
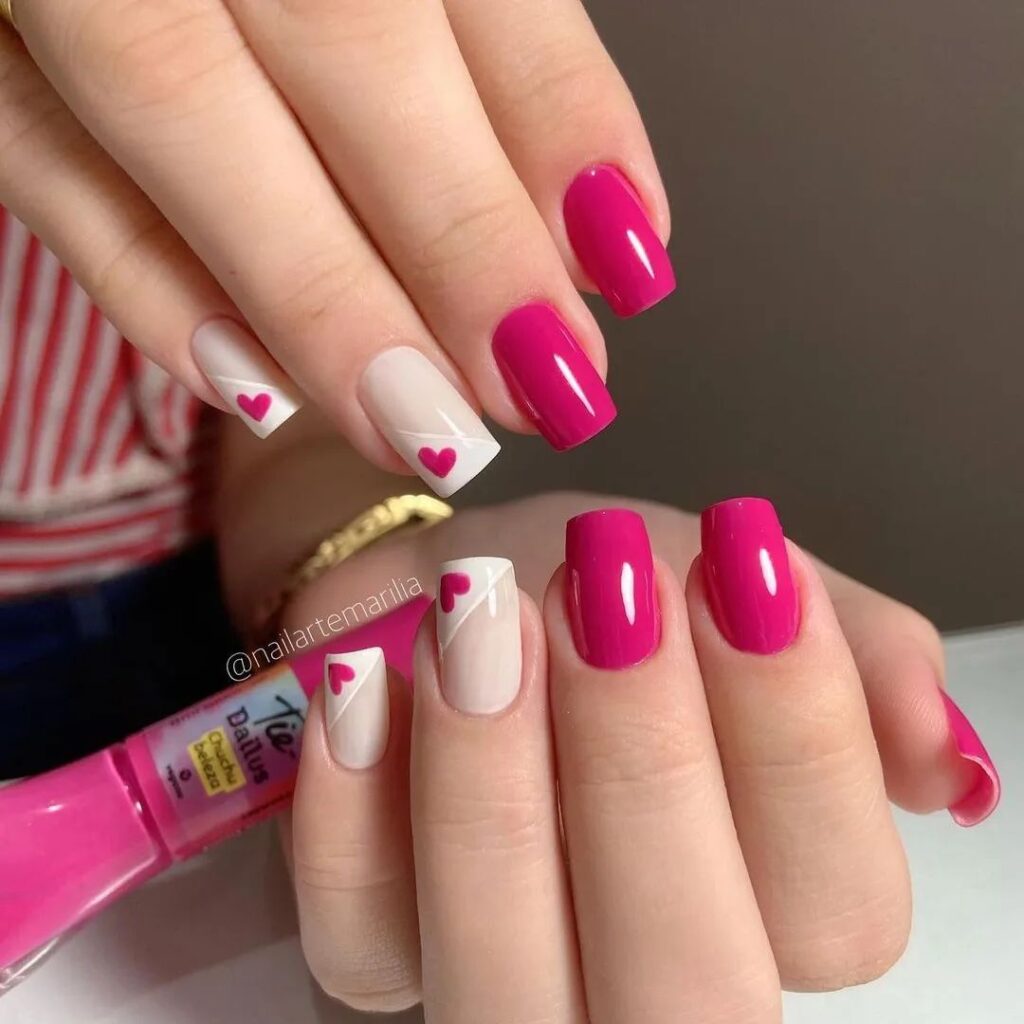
If you love expressing yourself through nail art, then unhas rosas decoradas (decorated pink nails) might just become your new favorite. As a lover of nail designs, I can tell you there’s nothing quite like a beautiful set of pink nails to brighten up your day. In this article, we’ll dive deep into the various styles, techniques, and tips that will help you create stunning nail art, no matter your skill level.
Why Choose Pink for Nail Art?
Pink is often associated with femininity, romance, and charm. It’s a versatile color that can be soft and subtle or bold and striking. Choosing pink for your nails allows you to explore a range of designs that suit various occasions—from casual outings to formal events.
Popular Styles of Unhas Rosas Decoradas
1. Ombre Pink Nails
Ombre nails blend two or more shades seamlessly, creating a gradient effect. The transition from a soft pastel pink to a bold fuchsia can be stunning.
How to Achieve Ombre Pink Nails
- Choose your colors (light and dark pink).
- Apply a base coat and let it dry.
- Use a makeup sponge to apply the darker shade, then the lighter shade, on the tips of your nails.
- Blend the two colors for a seamless look.
- Seal with a top coat.
2. Floral Designs
Floral designs are perfect for adding a touch of nature to your nails. Think roses, daisies, or any flower that inspires you.
Steps to Create Floral Designs
- Start with a pink base.
- Use a fine brush to paint flower petals in white or a contrasting color.
- Add details like green leaves or dots for accents.
- Finish with a top coat to make your design pop.
3. Geometric Patterns
For a modern twist, geometric patterns can add a chic flair to your nails. Combine pink with gold or silver for an eye-catching effect.

Creating Geometric Patterns
- Apply a base coat and let it dry.
- Using tape, create shapes on your nails.
- Paint over the tape with pink and remove the tape.
- Enhance with a contrasting color on the edges of the shapes.
Essential Tools for Nail Art
Investing in the right tools can make all the difference in your nail art journey. Here’s a list of essentials:
- Nail polish in various shades of pink.
- Nail art brushes for detailed work.
- Makeup sponge for ombre effects.
- Striping tape for geometric designs.
- Dotting tools for intricate patterns.
- Top coat to seal your designs.

Tips for Long-lasting Nail Art
To ensure your unhas rosas decoradas last longer, follow these tips:
- Start with a clean and dry nail surface.
- Use a quality base coat to protect your nails.
- Apply thin layers of polish for even drying.
- Finish with a top coat and reapply every few days to maintain shine.
Pros and Cons of Unhas Rosas Decoradas
| Pros | Cons |
|---|---|
| Endless creativity and expression. | Time-consuming to create intricate designs. |
| Can match any occasion or outfit. | Requires practice to perfect techniques. |
| Inexpensive pastime with minimal tools needed. | Potential for chips and wear over time. |

Maintenance and Care for Decorated Nails
To keep your decorated pink nails looking fresh, consider these maintenance tips:
- Moisturize your cuticles regularly.
- Avoid using your nails as tools to prevent chipping.
- Wear gloves when doing household chores.
- Be cautious with water exposure to prolong wear.
FAQs about Unhas Rosas Decoradas
1. What are the best shades of pink for nail art?
Some popular shades include pastel pink, hot pink, and nude pink. Your choice depends on personal preference and the desired effect.

2. How can I remove nail art without damaging my nails?
Soak a cotton ball in acetone-based nail polish remover and hold it on your nails for a few moments before gently wiping off the polish.
3. How often should I do nail art?
This largely depends on your lifestyle. If you enjoy changing your styles, you might do it weekly; otherwise, every few weeks is sufficient.

4. Can I use gel polish for decorated pink nails?
Yes, gel polish offers longevity and shine, making it a great choice for decorated nails. Just ensure you cure them properly with a UV lamp.