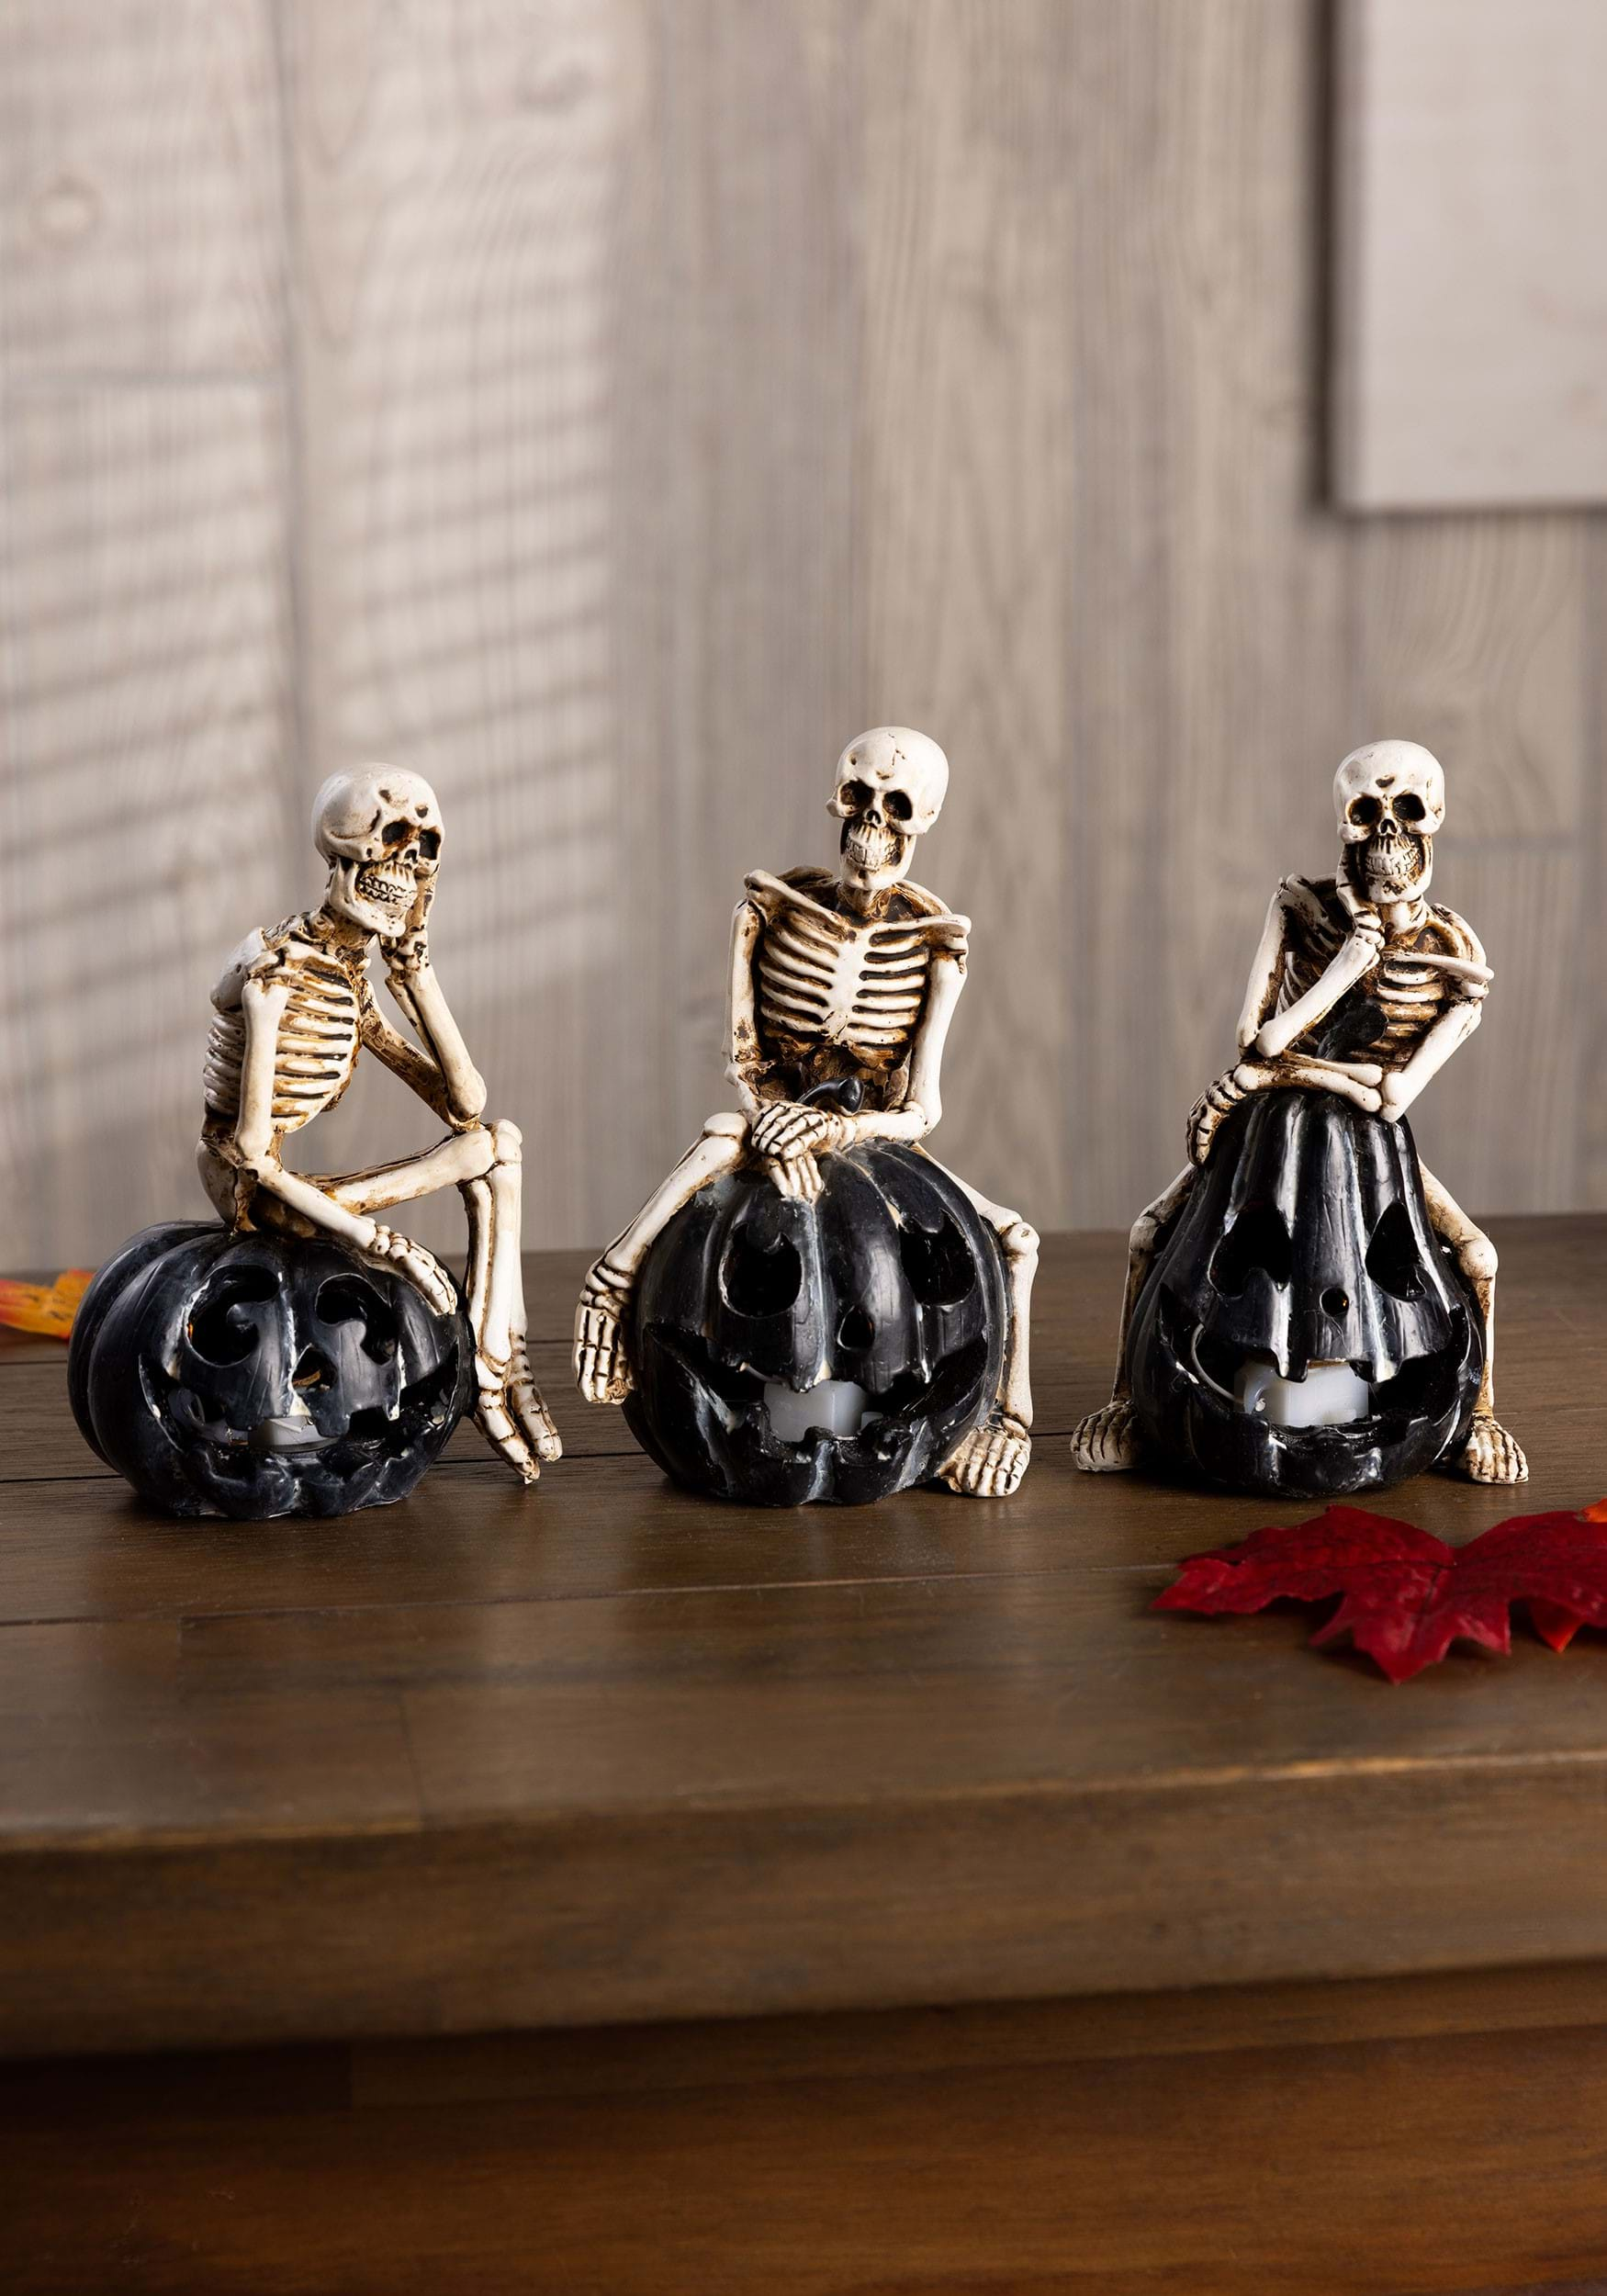
Halloween is a time for spooks, thrills, and the magical transformation of our homes into haunted havens. One of the most exciting ways to achieve this is through resin Halloween decorations. Having dabbled in resin crafts myself, I can assure you that there’s nothing quite like the satisfaction of creating your own unique pieces. This comprehensive guide will delve into the enchanting world of resin Halloween decorations, providing you with everything you need to get started!
What are Resin Halloween Decorations?
Resin Halloween decorations are handcrafted pieces made from epoxy resin, a versatile material that can be molded into various shapes. Whether it’s eerie skulls, ghostly figures, or spooky pumpkins, resin allows crafters to create truly stunning decor that captures the spirit of Halloween.
The Benefits of Using Resin for Halloween Decorations
Before we explore specific projects, let’s discuss why resin is ideal for Halloween decorations:
- Durability: Unlike paper or cardboard, resin decorations can withstand the elements, making them suitable for outdoor use.
- Customization: You can easily add color, glitter, or even embedded items to personalize your creations.
- Unique Aesthetics: The glossy finish of resin gives a professional touch that can elevate your Halloween decor.
- Accessibility: Many resin products are available at craft stores, making it easy for beginners to get started.
Getting Started: Tools and Materials Needed
Before you dive into the world of resin crafting, you’ll need to gather some essential tools and materials:
Essential Tools
- Mixing cups
- Stir sticks
- Protective gear (gloves, mask, goggles)
- Heat gun (for bubbles)
- Molds (silicone molds are preferred)
Materials
- Epoxy resin
- Color pigments
- Glitters
- Objects to embed (like plastic spiders, leaves, etc.)
- Sealer (optional)

Creative Ideas for Resin Halloween Decorations
Now that you have your materials ready, let’s explore some creative resin Halloween decoration ideas!
1. Resin Skulls
Creating resin skulls is not only fun but also a fantastic way to add a creepy touch to your decor. Here’s how you can do it:
Materials Needed
- Skull mold
- Clear resin
- Black and green color pigments

Steps
- Prepare the mold by cleaning it and applying a release agent.
- Mix the resin according to the package instructions.
- Add color pigments to create your desired effect.
- Pour the mixture into the skull mold and let it cure.
- Once cured, demold and display your spooky creation!
2. Ghostly Figures
These translucent ghost figures can add an ethereal charm to your spooky décor.

Materials Needed
- Ghost figure mold
- White resin
- Glow-in-the-dark powder (optional)
Steps
- Prepare the mold and mix the resin.
- Add glow-in-the-dark powder for an added eerie effect.
- Pour the resin mixture into the mold and allow it to cure.
- Display your ghosts around the house for a spooky ambiance during Halloween.

Comparison of Popular Resin Molds
| Type of Mold | Material | Durability | Ease of Use | Price Range |
|---|---|---|---|---|
| Silicone Skull Mold | Silicone | High | Easy | $10 – $30 |
| Ghost Figure Mold | Plastic | Medium | Moderate | $5 – $20 |
| Pumpkin Mold | Silicone | High | Easy | $12 – $25 |
Safety Precautions When Working with Resin
Safety should always be your priority when working with resin. Here are some guidelines to follow:
- Always wear gloves, goggles, and a mask to prevent skin irritation and inhalation of fumes.
- Work in a well-ventilated area to minimize exposure to harmful vapors.
- Store resin and hardeners in a safe place, away from children and pets.
- Follow the manufacturer’s instructions for mixing and curing times.

Pros and Cons of Resin Halloween Decorations
As with any crafting material, there are both advantages and disadvantages to using resin for your Halloween decorations.
Pros
- Durable and weather-resistant.
- Highly customizable in terms of color and design.
- Provides a glossy, professional finish.

Cons
- Can be expensive for high-quality resin.
- Requires careful handling and safety precautions.
- Curing time can be lengthy, sometimes up to 24 hours.
Incorporating Resin Decorations in Your Halloween Setup
Once you have created your resin Halloween decorations, the next step is to incorporate them into your overall Halloween setup. Here are a few tips:
1. Create a Spooky Centerpiece
Use your resin creations as the centerpiece on your dining table or coffee table. A cluster of glowing ghosts or skulls can set the mood for your Halloween festivities.
2. Use as Garden Decor
Place your resin decorations in your garden or porch to welcome trick-or-treaters.

3. Integrate with Lighting
Consider using LED lights behind or within your resin pieces to create an enchanting glow that captivates your guests.
FAQs About Resin Halloween Decorations
Q1: How do I prevent bubbles in my resin creations?
A1: To minimize bubbles, mix your resin slowly and use a heat gun to pop any bubbles that appear on the surface.
Q2: Can I use regular paint with resin?
A2: It’s best to use pigments specifically designed for resin, as regular paints may not blend well or may affect the curing process.
Q3: Is resin safe for outdoor decorations?
A3: Yes, resin decorations are generally safe for outdoor use as they are durable and weather-resistant.
Q4: How long do resin Halloween decorations last?
A4: With proper care, resin decorations can last for many years, making them a worthwhile investment for your Halloween collection.
Conclusion
Creating resin Halloween decorations is not just a fun activity; it’s a way to unleash your creativity and bring your Halloween visions to life. With the right tools, materials, and a sprinkle of imagination, you can craft stunning pieces that will captivate your guests. I encourage you to try your hand at some projects and let the magic of resin transform your Halloween experience. Happy crafting!