Introduction
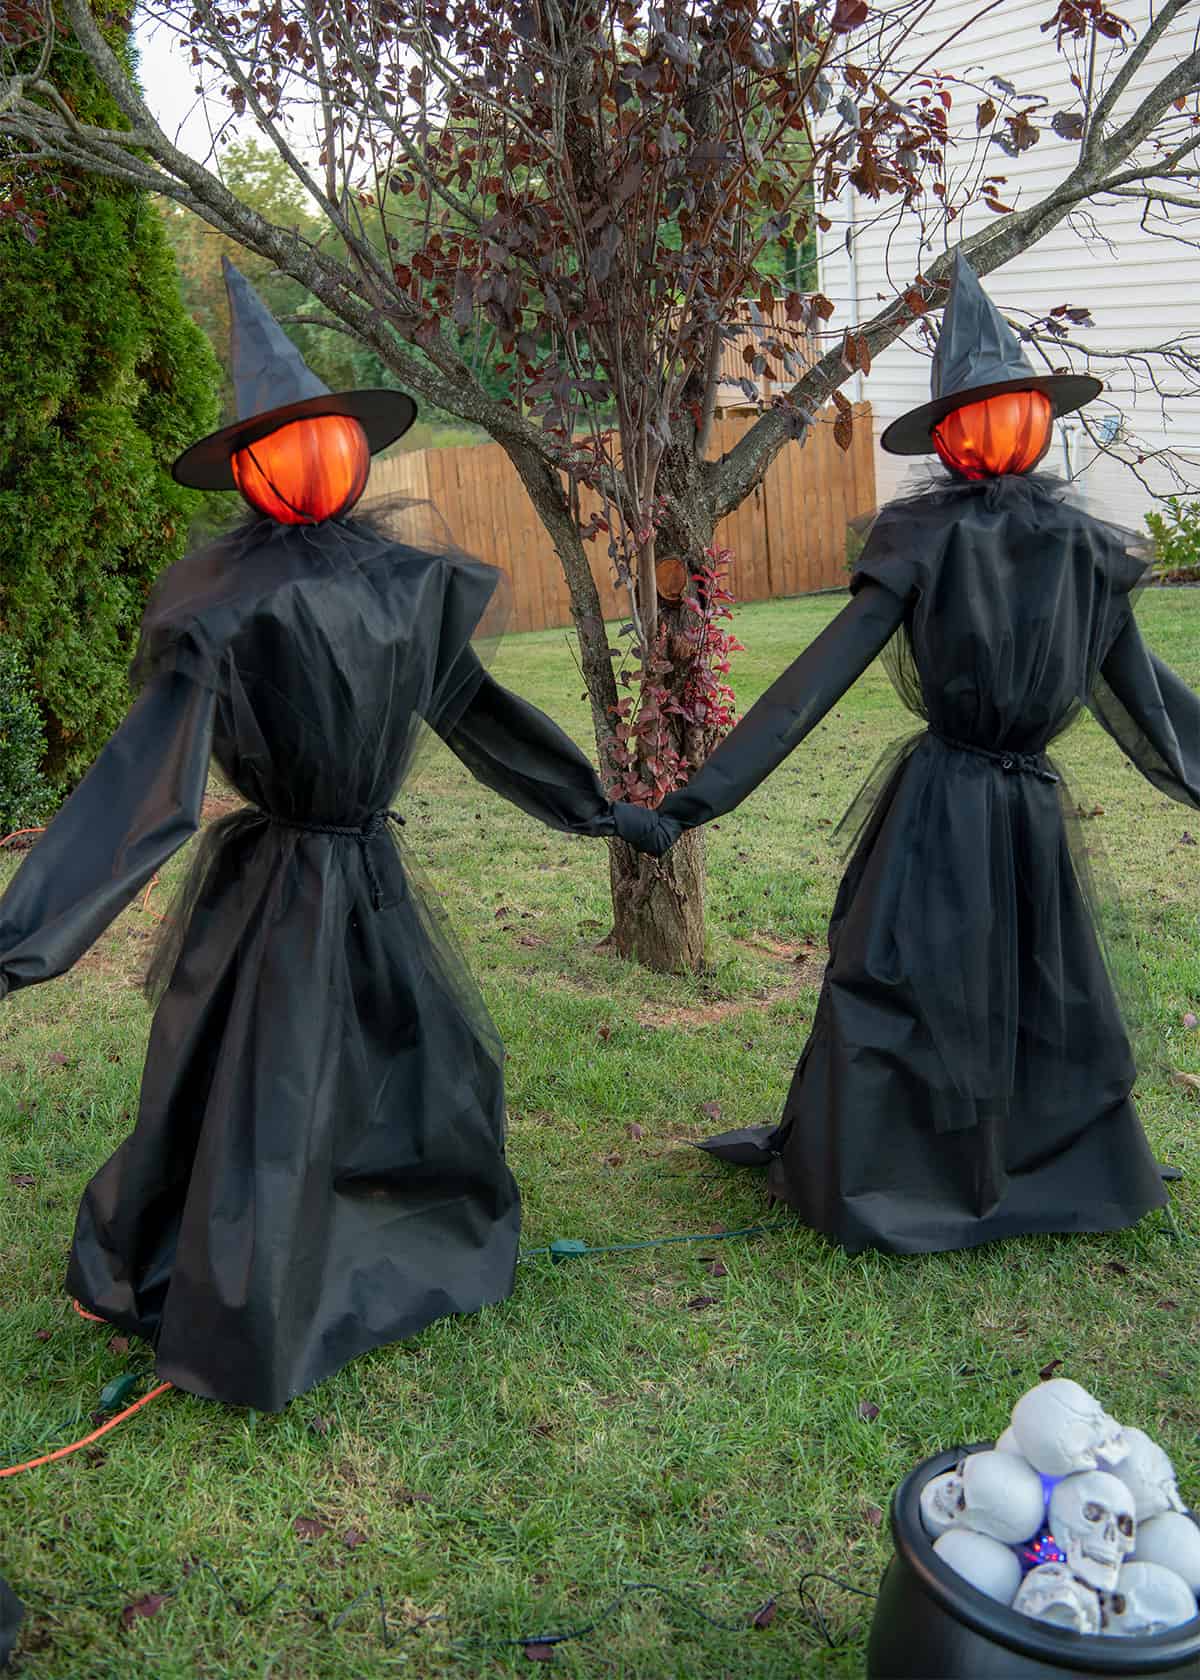
Fall is here, and with it comes the delightful season of Halloween! One of the most enchanting ways to enhance your yard decor is by creating a witches holding hands yard decor piece. This charming display not only brings an eerie yet whimsical vibe to your outdoor space but also allows you to express your creativity through a fun DIY project. In this article, I’ll walk you through the entire process—from materials needed to step-by-step instructions—so you can create your own magical witches display.
Understanding the Appeal of Witches in Yard Decor
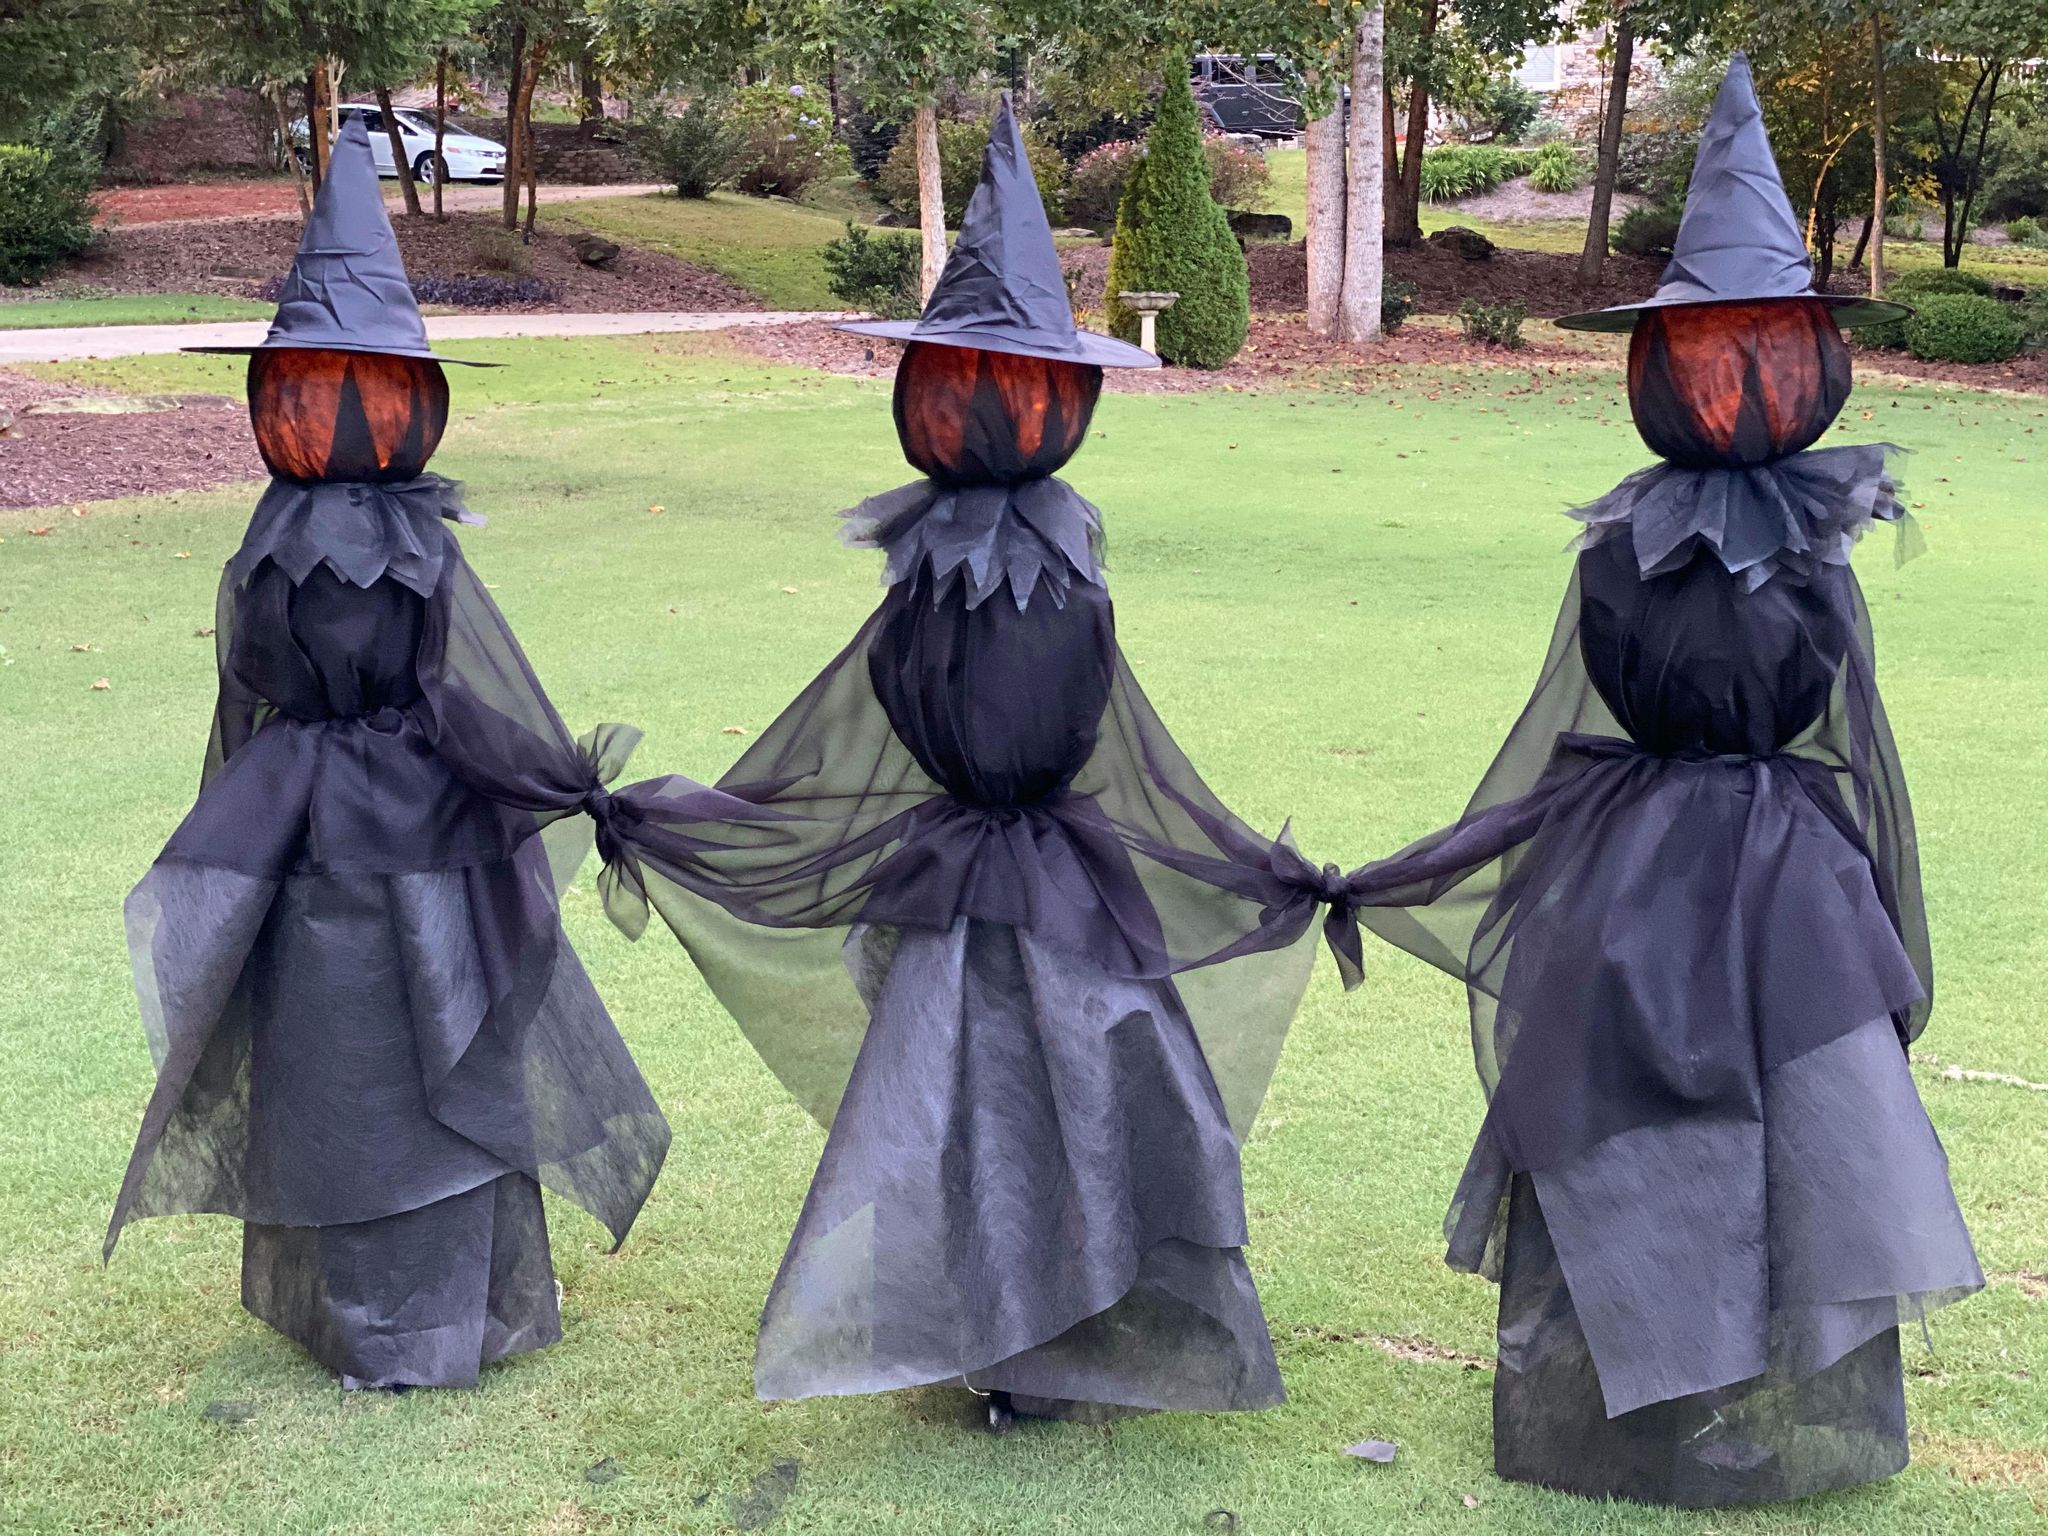
Witches have long been a symbol of mystery and magic, making them a perfect theme for Halloween decorations. They evoke a sense of fun and creativity, allowing us to embrace the spooky season with flair. By featuring witches holding hands, you can symbolize friendship and togetherness, which adds a unique twist to traditional Halloween decor.
Materials You’ll Need for Your Witches Holding Hands Yard Decor
Gathering the right materials is crucial for a successful DIY project. Here’s a comprehensive list:
- Black burlap fabric (or any dark fabric)
- Wooden dowels (about 36 inches long)
- Wire (for creating armatures)
- Craft foam or Styrofoam heads
- Acrylic paints (black, purple, green, and orange)
- PVA glue (for fabric and crafts)
- Scissors
- Brushes
- String lights (optional)
- Garden stakes (to secure them in the ground)
- Decorative accessories (like spiders, bats, or glitter)
Step-by-Step Guide to Creating Witches Holding Hands Yard Decor
Now that you have your materials ready, let’s get started on your witches holding hands project!

Step 1: Prepare the Witch Heads
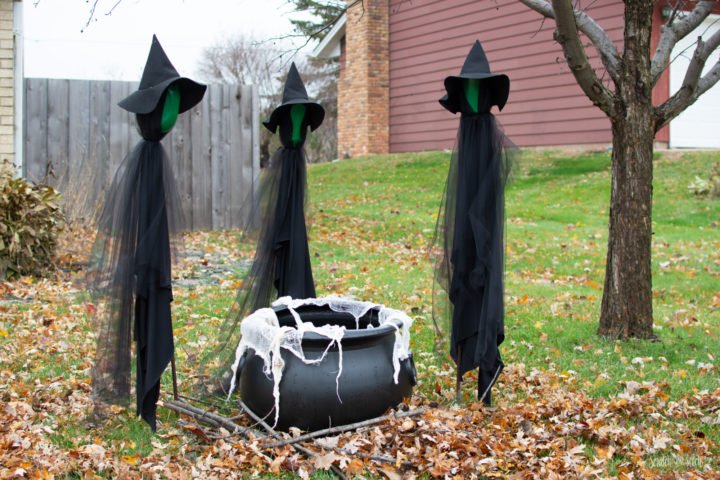
To begin, take your craft foam or Styrofoam heads and paint them in your desired skin tones. You can get creative with the colors—think about using green for a traditional witch look. Allow them to dry thoroughly before proceeding.
Step 2: Create the Witch Bodies
Cut the black burlap into long strips. You will need about 4-5 strips for each witch to create the flowing gown. Drape these strips over the wooden dowels to form the body shape. Secure the burlap with glue and wire where necessary.
Step 3: Assemble the Witches
Attach the painted heads to the tops of the wooden dowels. Use glue and wire to ensure they are securely fastened. Position the arms to appear as if the witches are holding hands, using more wire to keep them in place.
Step 4: Add Accessories
It’s time to give your witches some personality! Add hats, broomsticks, and any decorative accessories you’d like. Use your creativity here—the fun details will make your decor stand out!

Step 5: Finishing Touches
Once your witches are assembled, consider adding string lights around them for a magical glow at night. Secure them with garden stakes, ensuring they are stable and will withstand the wind.
Design Ideas for Your Witches Holding Hands Decor
Here are some design variations to inspire your creativity:
- Color Variation: Use different colors for each witch’s clothing to create a vibrant display.
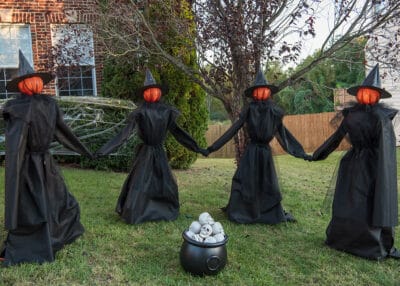
- Size Variation: Create witches of different heights to add visual interest.
- Theme Variation: Incorporate additional Halloween elements like pumpkins or ghosts around your witches.
Pros and Cons of Making Your Own Witches Decor
Before diving in, it’s useful to weigh the pros and cons. Here’s a quick comparison:
| Pros | Cons |
|---|---|
| Fully customizable to your taste | Time-consuming if done meticulously |
| Cost-effective compared to store-bought decor | Requires crafting skills and tools |
| Brings a personal touch to your Halloween display | Certain materials can be hard to find |
Maintenance Tips for Your Witches Holding Hands Decor
To ensure your witches last throughout the season, consider these maintenance tips:
- Place your decor in sheltered areas to protect them from rain.
- Check for loose parts periodically and reinforce if needed.
- Store indoors when not in use to prolong their lifespan.
Frequently Asked Questions (FAQs)
1. What materials are best for outdoor witches decor?
Weather-resistant materials such as treated wood, outdoor fabrics, and waterproof paint are ideal for outdoor decor to endure the elements.
2. How long does it take to create witches holding hands yard decor?
Depending on your crafting speed and experience, it can take anywhere from 3 to 6 hours to complete this project.
3. Can I use different themes for my witches decor?
Absolutely! You can customize them to fit any theme—think about using colors and accessories that align with your overall yard decor.
4. Where should I place my witches decor in the yard?
Position them in a visible area where they can be easily seen by guests, like near the front door or along a garden path. Adding lights can enhance visibility after dark.
Conclusion
Creating witches holding hands yard decor is not only a great way to express your creativity, but it also brings a touch of magic and whimsy to your Halloween celebrations. With a bit of patience and imagination, you can craft a delightful display that will enchant your neighbors and visitors alike. Happy crafting, and may your Halloween be filled with creativity and spooky joy!